Sales Email
Important: Oracle Guided Campaigns is only available if you have purchased licenses. For Standard and Enterprise Eloqua trims, you are entitled to 5 and 10 free licenses respectively. If you require additional licenses, or are on Eloqua Basic, please contact your account representative for more information.
This Tactic requires Oracle Sales. The tactic can only be initiated from the Oracle Sales application.
The sales email tactic allows users to initiate a tracked send from Oracle Eloqua.
The recipients for the email are selected from the Leads or Contacts that exist in the Oracle Sales application. Once selected, a smart action in Oracle Sales will open a new tab with the Oracle Guided Campaigns tactic in it.
The email to be sent can be chosen from the available emails from Oracle Eloqua. After the email is edited to be fit for sending, the email can be sent out to the chosen recipients, whose email addresses will have been retrieved from Oracle Sales.
Set up and initialisation
The Smart actions will be made available within the Sales application and your Sales administrator can assign them to be enabled using these steps.
To utilise the Tactic, your instances administrator will need to have set up a connection and credentials into Oracle Sales within the Advanced settings and permissions.
In order to access the tactic your sales user will need to be set up as an Oracle Eloqua user, with the Guided Campaigns Security group and license allocated.
Using the tactic
To initiate the Tactic, you would Start in Oracle Sales in the Contacts or Leads area.
Then clicking on the Actions button will launch the tactic.
Within Oracle Sales
To launch the tactic
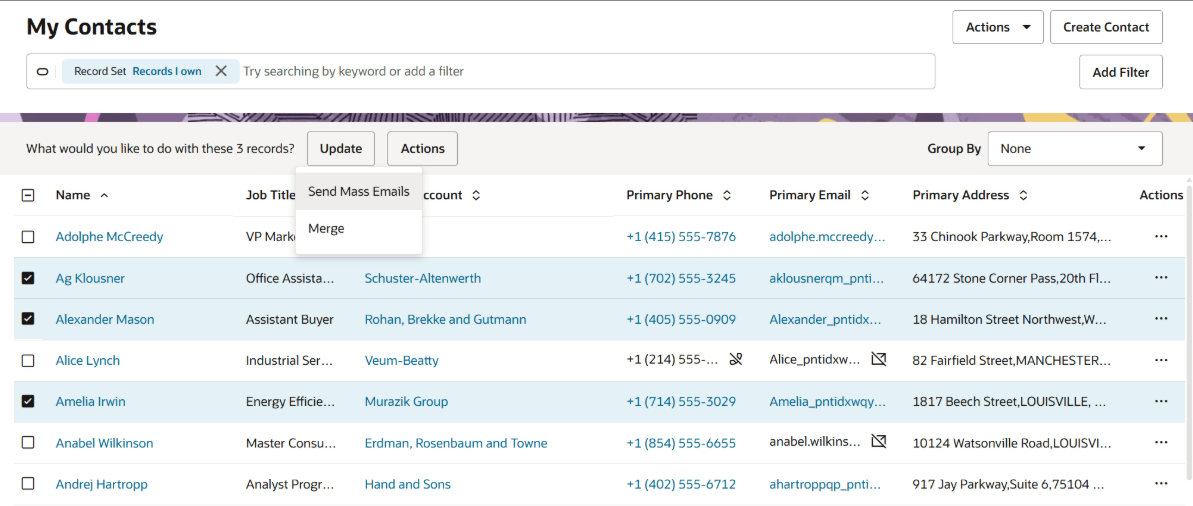
- Select the Leads or Contacts that should be sent emails to, by ticking as many as necessary (up to a limit of 10)
- Click on the Actions button
- Click on the Send Mass Emails button from the Actions menu
Upon initiation of the Sales Email tactic your tactic will launch Oracle Guided Campaigns in a new Browser tab.
If not already logged in, this will launch the Guided Campaigns Log in page. This is required for a security check, to ensure that your Oracle Sales users have been permitted to access the tactic.
After logging in you will be presented with the Email editing screen, and the email selection drawer will open to allow for selection of the Oracle Eloqua email to be used.
- The email selection drawer will open. This allows you to select the email that you wish to use.
Selecting an Email
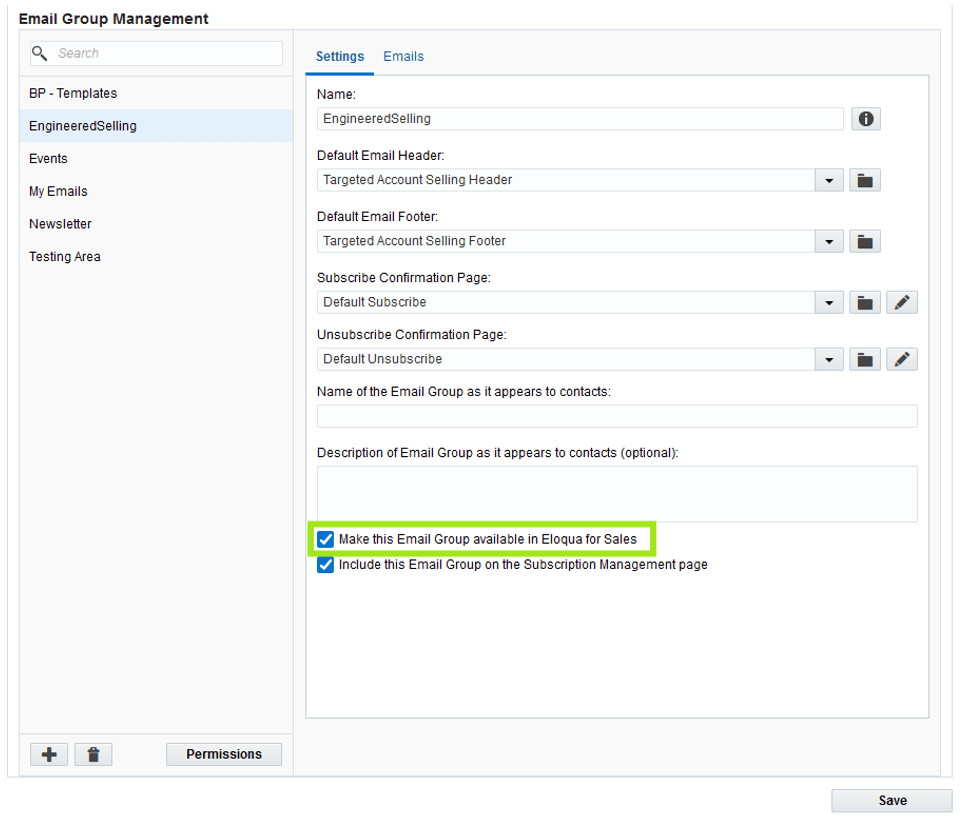
The emails that would be presented for selection are emails within any Email Group within Oracle Eloqua that has been made available in Eloqua for Sales.
The Sales Email Tactic shares the list of available emails with Engage for Oracle Eloqua.
learn more about Making emails available for use in Engage (and the Sales Email Tactic).
To select from only the emails You have created, use the Created by Me toggle, to choose from all of the emails in your available email groups, use the All toggle. The results can be sorted by using the sort by drop down, and you can use the search function to locate an email asset if you know the name.

After selection of the appropriate email, the Email Edit panel can be used to update , alter and fine tune the email to get it ready for sending.
Editing the email
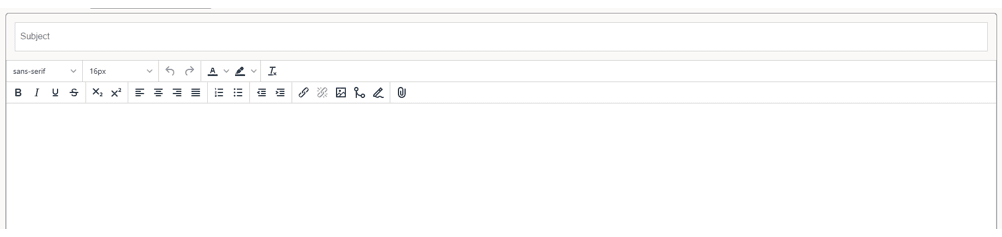
As well as altering the text, You can use the functions here to add Hyperlinks, Images, Field merges, Signature rules (from Eloqua), or include tracked Links to files located in Oracle Eloqua's File storage library.
Hyperlinks
Hyperlinks allow you to link from your email to a website, or web resource. If your hyperlink is tracked in Oracle Eloqua you will be able to monitor and measure the clicks on your hyperlinks
Adding a hyperlink
- Highlight the text that you want to be the actual link text
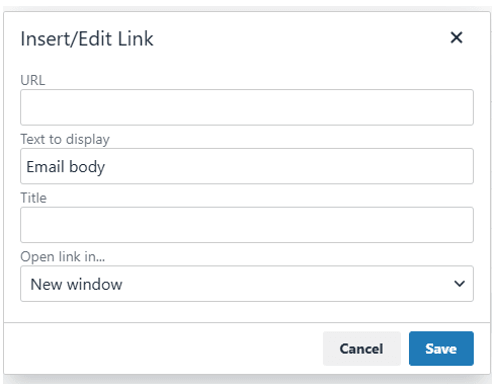
- Click on the hyperlink icon to open the edit link dialog
- In the popup Add the destination URL into the URL field.
- Update the Link text if desired.
- Add a HTML name for the hyperlink if necessary (*optional)
- Choose the link open method for your link.
- Press Save to save your changes.
Images
You can insert images from your Oracle Eloqua image library into your sales emails. You can also add hyperlinks to your images.
Images in Oracle Eloqua must have appropriate asset permissions in order to be available to the user. Administrators can manage this setting using security groups by enabling image view and edit asset permissions. Learn more about default asset permissions.
Adding an image
- Place your cursor at the location in the email where the image should be inserted.
- Click on the image icon
- From the select an image dialogue, find the image you wish to add.
- If you need to, you can use the search field to locate your image.
- Click on your desired image to select it.
- Click Choose to add your image to your email.
Field merges
A Field merge is a token used to personalise your emails with information from a contact. Learn more about field merges
Adding an field merge
- Put your cursor at the location in the email where the field merge should be inserted.
- Click on the field merge icon.
- Find your required field merge, You can search by the field merge name to quickly find the field merge you are looking for.
- With the field merge selected press choose to insert it into your email.
Attachments
You can insert attachments from your Oracle Eloqua File Storage library into your sales emails. This allows you to send a tracked link to relevant information such as white papers, event invitations, and so on, to your contacts to drive higher engagement.
Stored files in Oracle Eloqua must have appropriate asset permissions in order to be available to the user. Administrators can manage this setting using security groups by enabling a file's view and edit asset permissions. Learn more about default asset permissions.
Adding an attachment
- Put your cursor at the location in the email where the file link should be inserted.
- Click on the attachment icon.
- Find your file within Oracle Eloqua's file storage list. You can search by the file name to quickly find the file you are looking for.
- Click on the file to select it.
- With the file selected press choose to insert a link to it into your email.
Signature rules
A Signature rule allows you populate an organised series of field merges with information of the Logged in user. This can be useful if you want to show that your email came from you directly, even if it was sent from your Oracle Eloqua's 'from address'. (as depicted below)
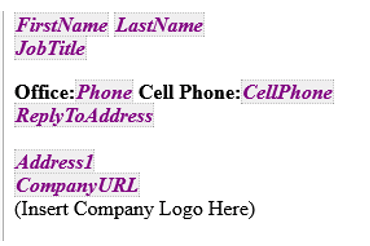
This draws in data from your Oracle Eloqua user Profile so to ensure your profile is accurate and up to date, please reach out to your Oracle Eloqua administrator.
Sending the email
The Send button will only be enabled if the email addresses populated in the to field are of contacts who exist in the Oracle Eloqua contact table, are subscribed and are not marked as hard bounceback.
Examples:
If a contact is Unsubscribed, you will see an error as below and will need to remove it to proceed.

If a contact has Hard bounced, you will see an error as below and will need to remove it to proceed.

If your contact does not exist in the Eloqua contact table, you will see an error as below and will need to remove it to proceed.

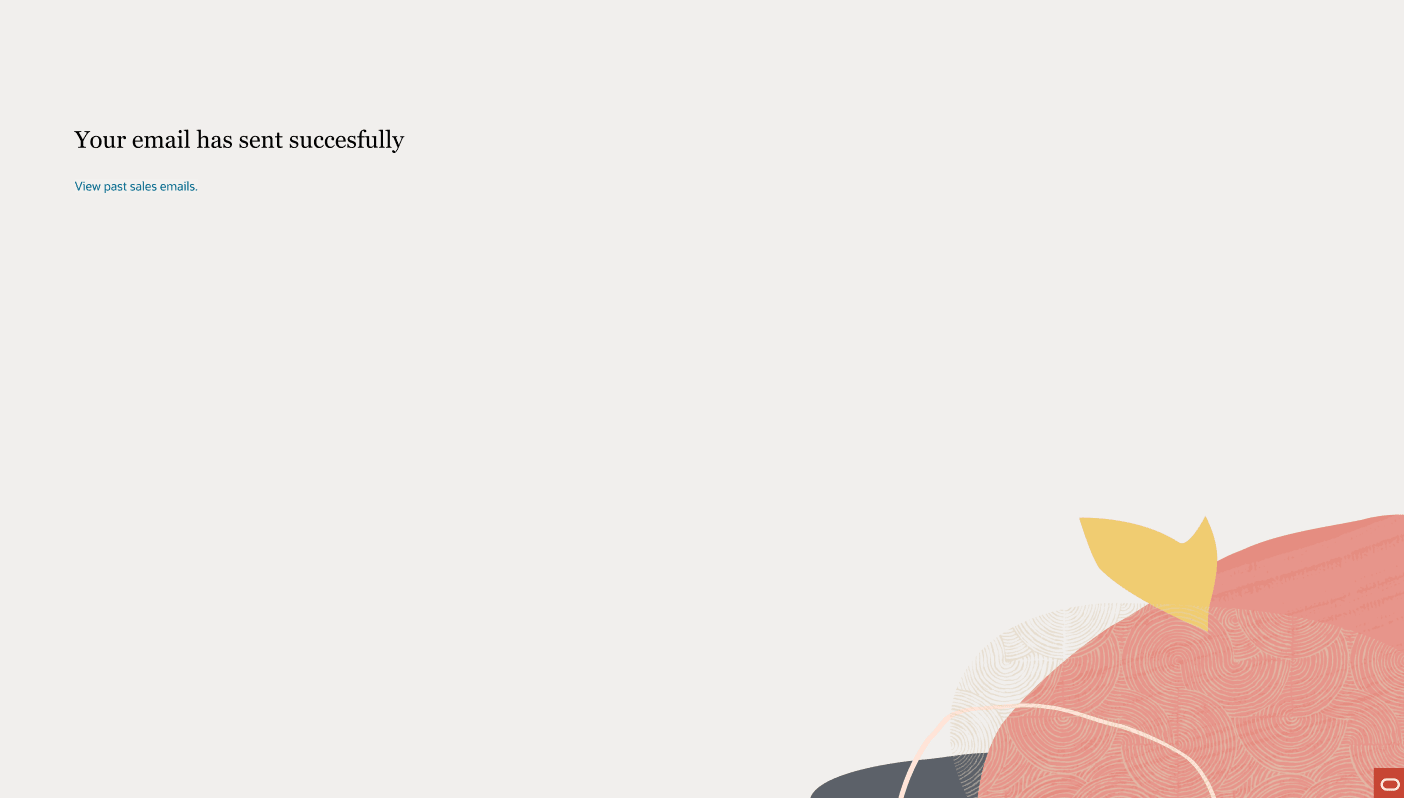
Once your email is ready for dispatch you can send it by clicking Send at the top-right.
After your send has been completed, you will be able to access your Sales Email send history. To access it click on the link titled: View past Sales Emails.
Viewing past emails
After opening your Sales emails Report, this allows you to review your previous Sales email sends
The Report includes the Subject line, recipients and send metrics for your email
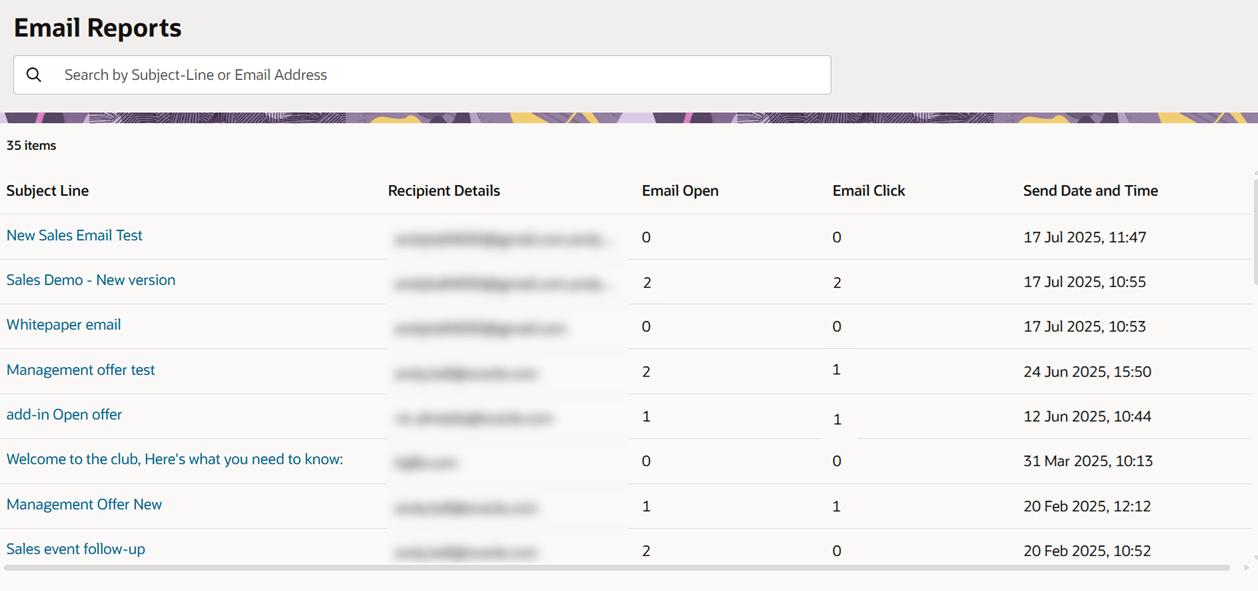
From this report you can:
- Review your most recent Sales email sends
- Search for a particular email send by subject line
- Search for a particular recipient by email address
- Filter any column in ascending or descending order
- Click on an email to drill down further for more detail
Oracle Guided Campaigns Tactics
Oracle CX Sales Integration app