Registering contacts for a WebEx meeting or event
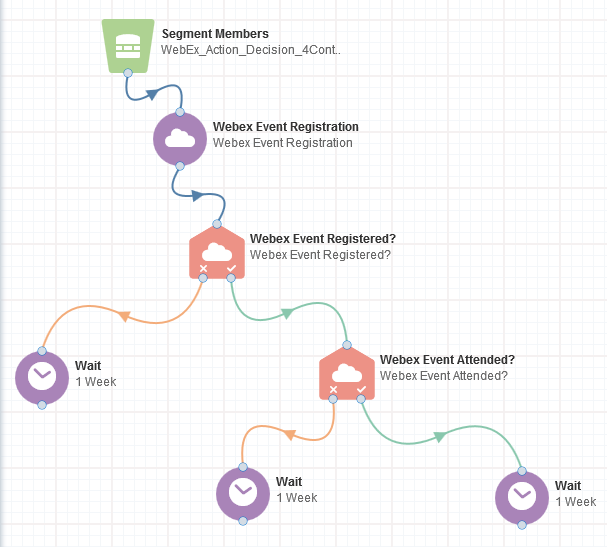
Using Oracle Eloqua's WebEx integration, you can register contacts for WebEx events or meetings directly in your multi-step campaign or program using the WebEx Meeting Registration and WebEx Event Registration cloud action services.
Important: To use the WebEx cloud content service to register contacts, you must log in to your WebEx account and check the Registration: Required box. Learn more about managing event registration in WebEx.
Important: When you create events in WebEx, do not select the Delete from My Meetings when Complete option. Otherwise, WebEx API errors can occur and Eloqua's WebEx app cannot access needed event data.
To register a contact for a WebEx event or meeting:
- Open an existing campaign or program, or create a new one.
- Drag the WebEx Event Registration or WebEx Meeting Registration element, from the Actions section, onto the canvas.
- Double-click the element to open the configure screen. The window that opens enables you to do the following:
- Change the name of the step to something more meaningful
- Configure the element
- Choose to route contacts that resulted in an error to another step (see campaign canvas elements for more information).
- Click the Edit icon to configure the action:
- Select User: Select a WebEx user for this service. Administrators with appropriate permissions can add and modify WebEx users by re-configuring the app.
- Select Event or Select Meeting: You have two options:
- Select an existing event or meeting that you have created in WebEx: input the WebEx session ID, and click Find Event or Find Meeting to confirm that it is a valid ID.
- Create a new event or meeting: click Create. The new event/meeting will be created, listing its ID. Fill out the scheduling and description information. Specify whether you want contacts to be notified via WebEx when they are registered in the event by checking Send Registration Confirmation Email. Otherwise, they'll receive an email from Eloqua. You may wish to copy the ID for future reference so that you can easily refer to it.
Note: If you have previously configured the action, your event or meeting details are saved. Click Change Selected Meeting/Event to modify your selection.
- Click Save.
Important: First name, last name, and email address are required fields for a contact to be registered.
When a contact flows into the action step, Eloqua calls out to WebEx to register the contact in the event.