Step 3: Customizing email notifications for authenticated microsites
Important: This feature is currently released under our Controlled Availability program. To request access to this feature, please log in to My Oracle Support and create a service request.
You can manage your contact's experience by customizing your notification emails with branded content, so that they can identify the email with your company. Oracle Eloqua sends out a standard notification email when a contact is added to a new authenticated microsite or resets a password, but you can configure custom notification emails for your authenticated microsite.
An authenticated microsite is a secure microsite that requires visitors to log in before they can view the site's content. Authenticated microsites use SSL protocol to encrypt the connection between the browser and the web server, and user credentials to restrict access. These security features allow you to create microsites that include sensitive information, or simply information that you want to restrict to a specific audience.
Before you begin:
- Create an authenticated microsite.
- Create the site's required landing pages.
To configure a custom notification email:
-
Create your notification email(s) - If you are creating multiple notification emails (for example, one for user creation and one for resetting a password), you will need to create a separate email for each.
-
Within the email, include one of the following custom tags wrapped around the link directing users to your authenticated microsite's Set Password or Reset Password landing pages. For HTML code examples, download the
In your emails, use the following custom tags:
- For your welcome email, use the custom tag
<eloqua type="setpasswordurlforauthcontact">Set Password</eloqua> - For your reset password email, use the custom tag
<eloqua type="resetpasswordurlforauthcontact">Reset Password</eloqua>
Important: You must include the custom tag in your email. If you do not include it, Oracle Eloqua still sends the email, but the email does not contain a link to your Set Password or Reset Password landing pages.
- For your welcome email, use the custom tag
-
In the navigation bar, click Settings
 .
. -
Click Users in the Users and Security area.
-
Click Users, then click Security Domain Settings.
-
Select your security domain.
-
In the Security Domain Details page, click Authentication Configuration.
-
Click Edit, then select the email(s) you created from the Welcome Email or Forgot Password Email drop-down.
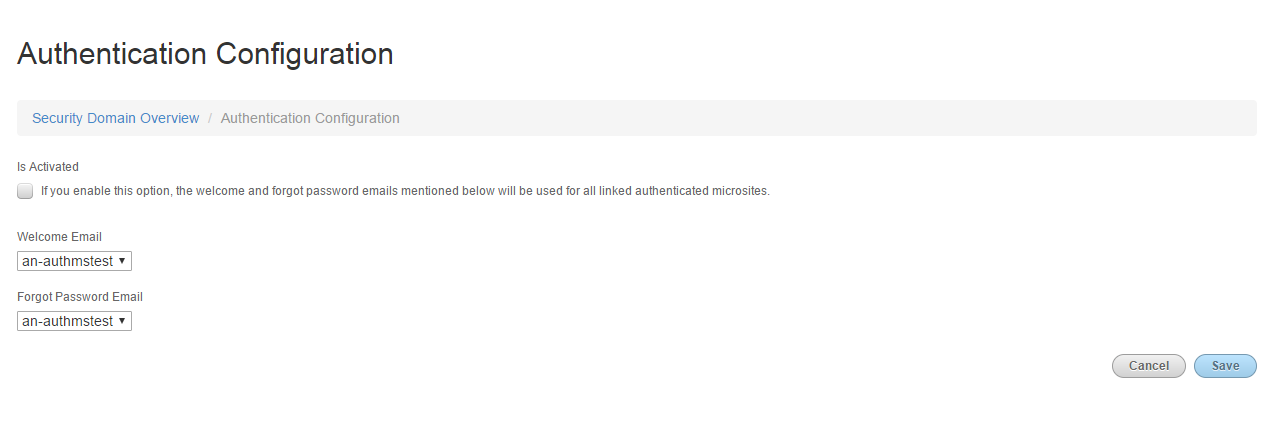
Tip: If the emails do not show up, double check to see if your landing pages are correctly linked through a custom tag (refer to step 2). Also, make sure that when you created your authenticated microsite, you chose your security domain in the Microsite Setup configuration.
-
Click Save.
Next step
Step 4: Creating a secure email group