Step 2: Creating authenticated microsites
Note: We're updating our help center to reflect the new Redwood experience. During the transition, some content reflects the previous version of the UI.
Important: This feature is currently released under our Controlled Availability program. To request access to this feature, please log in to My Oracle Support and create a service request.
An authenticated microsite is a secure microsite that requires visitors to log in before they can view the site's content. Authenticated microsites use SSL protocol to encrypt the connection between the browser and the web server, and user credentials to restrict access. These security features allow you to create microsites that include sensitive information, or simply information that you want to restrict to a specific audience.
A typical use of an authenticated microsite would be to allow partners or resellers to submit information (like register a lead, enter product registration, request samples, and so on) through a form that is only available to them.
To create an authenticated microsite:
- Create a secure microsite. This site can be configured as an authenticated microsite.
- (Optional) Create the landing pages for the authenticated microsite using the Design Editor or HTML editor. Authenticated microsites require several landing pages to control and manage user access.
Tip: Oracle Eloqua provides these landing pages out-of-the-box or you can create your own.
In the table below, you can find a list of the landing pages required and HTML sample code to get you started. When creating any of the landing pages, be sure to select the secure microsite you created in step 2 (above). Learn more about creating HTML landing pages, or importing the HTML asset to Oracle Eloqua using the HTML upload wizard.
Important: We recommend that a developer with HTML and JavaScript experience finalizes and validates your code prior to publishing.
The following table lists the landing pages required. For HTML code examples, download the
Landing page Description Default page This is the main page that users see after logging into the microsite (unless a specific URL is requested). Login page This is the page that users are directed to where they need to enter their credentials to gain access to the microsite. 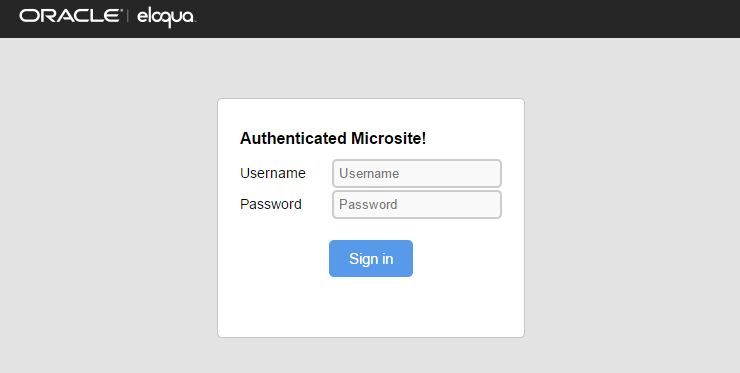
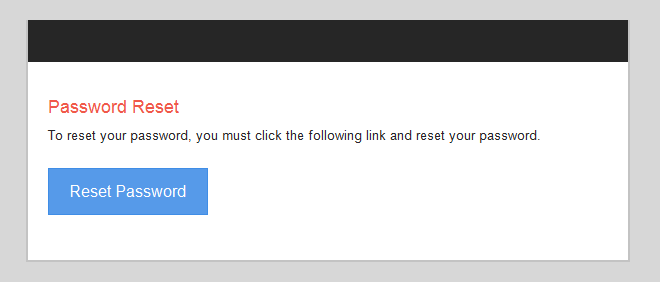
Set password page This is the page that allows users to set their password upon initial account creation or upon resetting their existing password. Users are linked to this page through default notification emails. 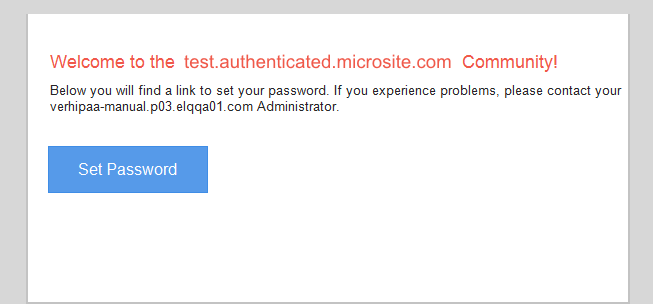
Email confirmation page This is the simple confirmation page where users are sent after they set or reset their password. 
- Navigate to Assets
 > Website Setup, then click Microsites to return to the Microsite Setup page.
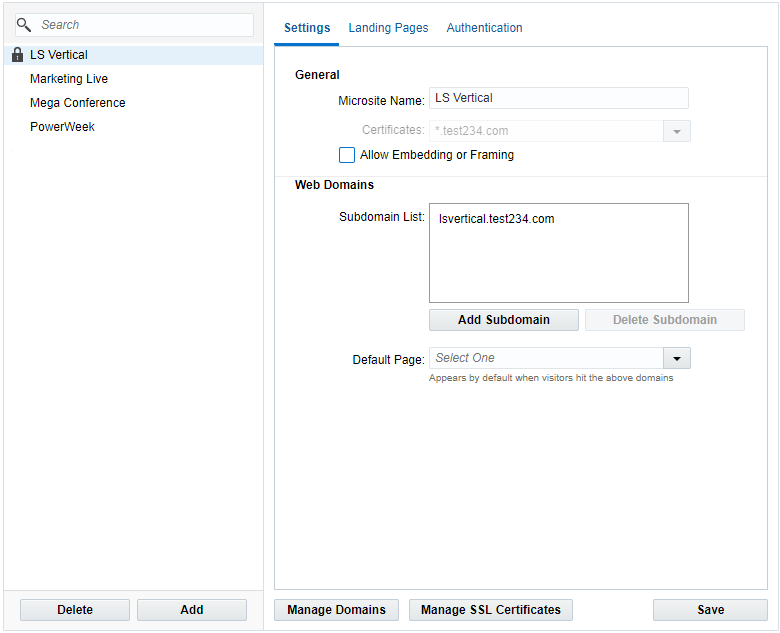
- Select your secure microsite (created in Step 2) from the list on the left panel.
- Click Add Subdomain, then enter a subdomain.
- Select the proper default page from the Default Page drop-down.
- Click the Authentication tab, then select the Require Authentication check box to enable configuration for the rest of the tab.
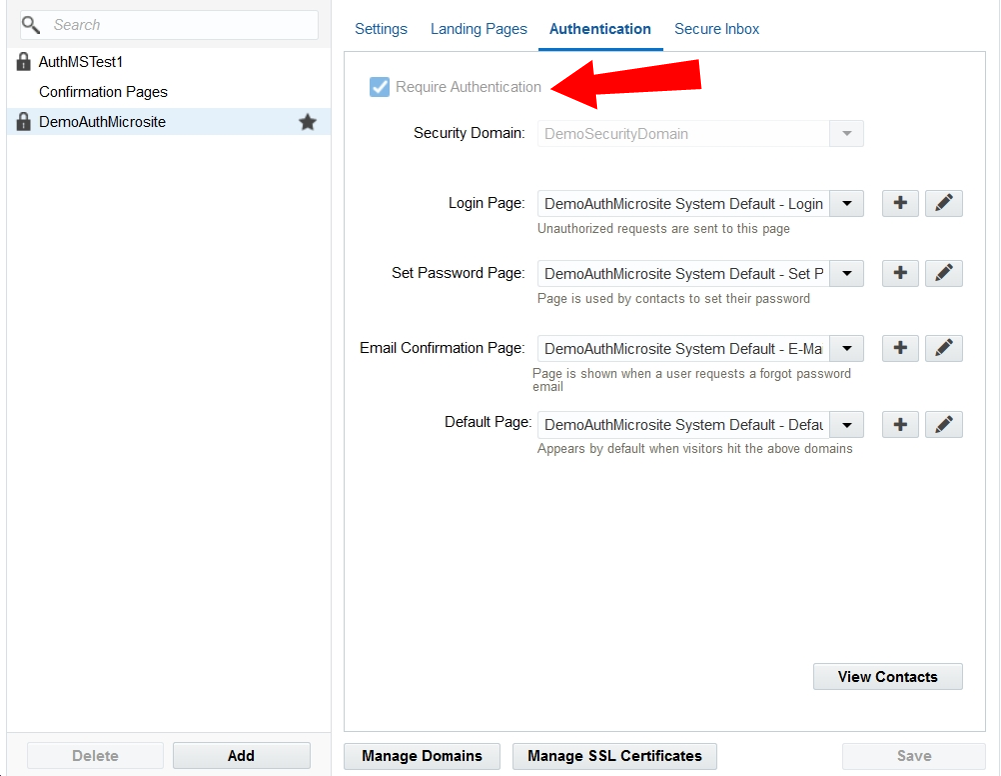
- Select your security domain (created in Step 1) from the Security Domain drop-down.
- Select the landing pages you created earlier in the appropriate drop-down lists, or click the add sign to have Oracle Eloqua create new system defaults. These assets can be modified in the Design Editor.
- Click the Landing Pages tab, then select the Exclude from Authentication check box for the following pages:
- login page
- set password page
- email confirmation page
This is required so users are able to access these pages in order to authenticate. No one can access your microsite unless these boxes are checked. You may also want to create other pages on this microsite that do not require authentication. This feature allows you to specify which pages require authentication and which do not.
- Create a custom notification email. You can manage your contact's experience by customizing your notification emails with branded content. By default, Oracle Eloqua sends out a standard notification email when a user is created or resets a password.
Next step
Step 3: Customizing email notifications for authenticated microsites