Program steps for the label assignment workflow canvas
The following is a list of each step available on the label assignment workflow canvas:
- Data Sources pull contacts into the program.
- Decisions evaluate contacts based on specific criteria, and then route them along a "Yes" path or "No" path.
- Actions process contacts in some significant way.
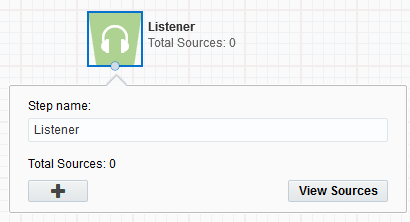
Listener
The listener step is a point of entry for contact data into a program path. This step listens for changes to your database in real-time, and immediately pulls any new contacts into your program as they are created in Eloqua.
To configure the Listener step:
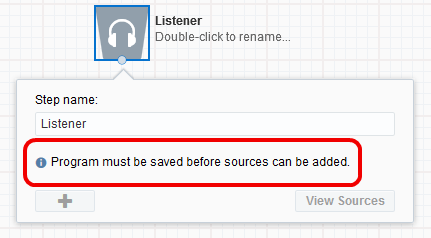
This condition does not apply to other step types.
- Double-click the element on the canvas.
- (Optional) Type a new name into the Step name field.
- Click the
 button, then select Contact Creation.
The step is configured to listen for any new contacts that are created in your Eloqua contacts database. This includes contacts that are created individually, contacts uploaded in bulk, contacts that are added through a scheduled data import, or contacts acquired through an integration. New contacts are sent along the program path to subsequent decision steps and action steps.
Segment Members
Contacts from a segment are added to the program. The contacts in that segment are sent along the program path to subsequent decision steps and actions steps. You can select and edit an existing segment, or create a new one. The segment will be reevaluated for contacts on a regular basis, and you can set the frequency of that evaluation. The minimal time between evaluations is 1 day.
To configure the Segment Members program step:
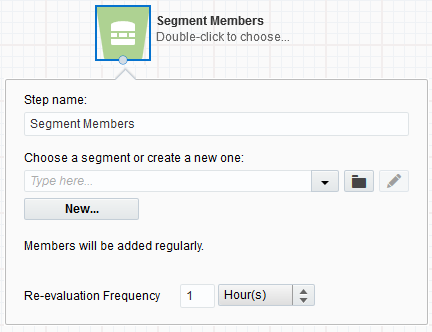
- (Optional) Type a new name into the Step name field.
- Select an existing segment from the Choose a segment drop-down list, or click the
 button and select one from the Segment Chooser. Once you have selected a segment, you can click the
  button to view it in a new window, and make any edits as needed. Or, click New to create a new segment.
 - Type a number into the Re-Evaluation Frequency field, then specify in hours, days, weeks, or months. This is the rate at which the segment will be scanned for contacts.
All contacts from the selected segment are sent through the connected path to the next step.
Compare Contact Fields
This step evaluates all incoming contacts based on the value of a specified contact field, and then routes those contacts depending on the value of that field in each contact record. For example, you can send all contacts that have "Toronto" in the City contact field through a Yes path, and all other contacts through a No path.
To configure the Compare Contact Fields step:
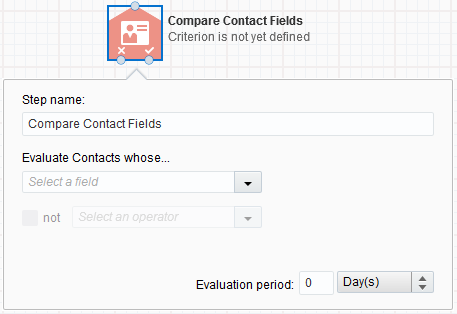
- (Optional) Type a new name into the Step name field.
- Select the desired values in the Evaluate Contacts whose fields:
- Select the contact field that you want to evaluate in the first drop-down list. For example, "Email Address."
- Select the operator for the comparison in the second drop-down list. This tells Eloqua how you want to filter incoming contacts based on the specified contact field. The operators vary depending on the field that you select.
- Enter a value in the last field. This information is the point of comparison within the specified contact field.
Example: If you select Job Role for the contact field, then select contains for the comparison operator, and type "management" into the last field, then this step will filter for all contacts that have the word "management" in the Job Role contact field. Contacts that meet this criteria will be routed through the Yes path of the step, and contacts that do not meet this criteria will either stop at this step, or be routed through the No path (if a path is connected).
- Type a number into the Evaluation period field, then specify if it is hours, days, weeks, or months. This is the period for which the step will check all incoming contacts while the program is active.
- If the evaluation period is set to 0, Eloqua will evaluate the contact immediately.
- If the evaluation period is set for 24 hours or less, Eloqua will retry the evaluation every 10 minutes.
- If the evaluation period is set for more than 1 day, Eloqua will retry the evaluation every 30 minutes.
- If the evaluation period is set for more than 1 week, Eloqua will retry the evaluation once every hour.
All contacts that meet the step criteria are sent through the Yes path, and all other contacts through the No path.
Compare Custom Object Fields
This step evaluates all incoming contacts based on the values of a custom object field, and then routes those contacts depending on the value of that field in each linked contact record.
To configure the Compare Custom Object Fields step:
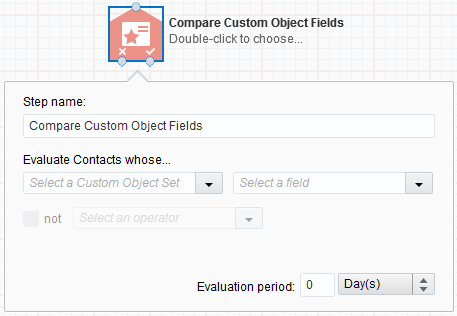
- (Optional) Type a new name into the Step name field.
- Select the desired values in the Evaluate Contacts whose fields:
- Select a custom object set in the first drop-down list.
- Select a contact field from the custom object set in the second drop-down list.
- Select an operator from the third drop-down list. This tells Eloqua how you want to filter incoming contacts based on the specified contact field. The operators vary depending on the field that you select.
- Enter a value in the last field. This information is the point of comparison within the specified contact field.
- Type a number into the evaluation period field, then specify if it is hours, days, weeks, or months. This is the period for which the step will check all incoming contacts while the program is active.
- If the evaluation period is set to 0, Eloqua will evaluate the contact immediately.
- If the evaluation period is set for 24 hours or less, Eloqua will retry the evaluation every 10 minutes.
- If the evaluation period is set for more than 1 day, Eloqua will retry the evaluation every 30 minutes.
- If the evaluation period is set for more than 1 week, Eloqua will retry the evaluation once every hour.
All contacts that meet the step criteria are sent through the Yes path, and all other contacts through the No path.
Shared List Member?
This step evaluates all incoming contacts as to whether they are members of a specific shared contact list, and then routes those contacts accordingly.
To configure the Shared List Member? step:
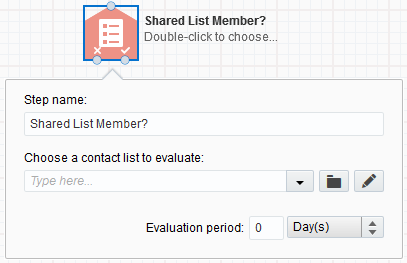
- (Optional) Type a new name into the Step name field.
- Select a shared list from the Choose a contact list drop-down list, or click the button and select one from the Shared List Chooser. Once you have selected a list, you can click the button to view it in a new window, and make any edits as needed.
- Type a number into the evaluation period field, then specify if it is hours, days, weeks, or months. This is the period for which the step will check all incoming contacts while the program is active.
- If the evaluation period is set to 0, Eloqua will evaluate the contact immediately.
- If the evaluation period is set for 24 hours or less, Eloqua will retry the evaluation every 10 minutes.
- If the evaluation period is set for more than 1 day, Eloqua will retry the evaluation every 30 minutes.
- If the evaluation period is set for more than 1 week, Eloqua will retry the evaluation once every hour.
All contacts that are on the shared list are sent through the Yes path, and all other contacts through the No path.
Shared Filter Member?
This step evaluates all incoming contacts as to whether they are members of a specific shared filter, and then routes those contacts accordingly.
To configure the Shared Filter Member? step:

- (Optional) Type a new name into the Step name field.
- Select a shared filter from the drop-down list, or click the button and select one from the Shared Filter Chooser.
- Type a number into the evaluation period field, then specify if it is hours, days, weeks, or months. This is the period for which the step will check all incoming contacts while the program is active.
- If the evaluation period is set to 0, Eloqua will evaluate the contact immediately.
- If the evaluation period is set for 24 hours or less, Eloqua will retry the evaluation every 10 minutes.
- If the evaluation period is set for more than 1 day, Eloqua will retry the evaluation every 30 minutes.
- If the evaluation period is set for more than 1 week, Eloqua will retry the evaluation once every hour.
All contacts that are in the shared filter are sent through the Yes path, and all other contacts through the No path.
Does the contact have a label?
This step evaluates as to whether or not incoming contacts have a label. You can configure this step to filter for any label, any label in a specific category, or a specific label.
To configure the Does the contact have a label? step:
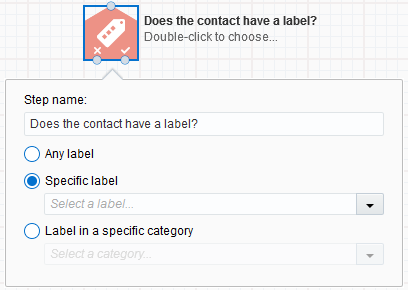
- (Optional) Type a new name into the Step name field.
- Select the type of label for which this step will filter. Your options are:
- Any label: The step filters for contacts with any label.
- Specific label: Select a label from the drop-down list. The step filters for contacts with the specified label.
- Label in a specific category: Select a category from the drop-down list. The step filters for contacts with any label in the specified category.
Important: If you do not see the desired labels or categories in the drop-down, then the labels have not been assigned to your user security group. Even administrators will need to have labels assigned to their security group before they can configure this step.
All contacts that meet the step criteria are sent through Yes path, and all other contacts through the No path.
Add to Campaign
This step adds incoming contacts to an element (step) in a specified campaign for further processing.
To configure the Add to Campaign step:
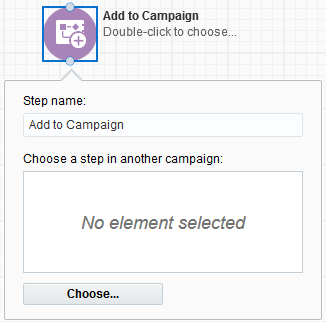
- (Optional) Type a new name into the Step name field.
- Click Choose to open the Choose a Campaign Step window.
- Select a campaign from the Choose a campaign drop-down list. The selected campaign opens.
- Select the specific element in that campaign to which you want to send the contacts, then click Choose.
All contacts are sent to the specified element in the selected campaign. If you link this step to a subsequent step, then the contacts will proceed through both this program and the selected campaign.
Add to Program
This step adds incoming contacts to a selected listener step in another contact program for further processing.
To Configure the Add to Program step:
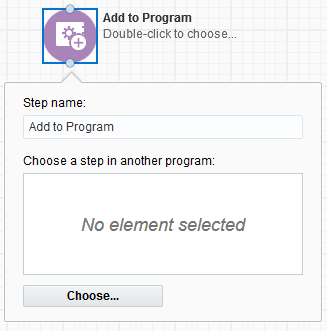
- (Optional) Type a new name into the Step name field.
- Click Choose to open the Choose a Program Step window.
- Select a campaign from the Choose a Program drop-down list. The selected program opens.
- Select the specific step in that program to which you want to send your contacts, then click Choose.
All contacts are sent to the specified step in the selected program. If you link this step to a subsequent step, then the contacts will proceed through both this program and the selected program.
Add to Shared List
This step adds incoming contacts to a shared contact list.
To configure the Add to Shared List step:
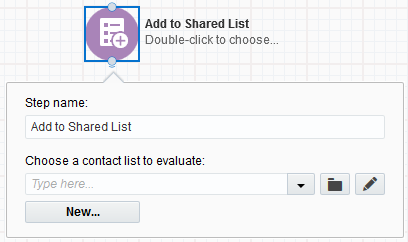
- (Optional) Type a new name into the Step name field.
- Select a shared list from the Choose a contact list drop-down list, or click the button and select one from the Shared List Chooser. Once you have selected a list, you can click the button to view it in a new window, and make any edits as needed. Or, click New to create a shared list.
All contacts are added to the shared list.
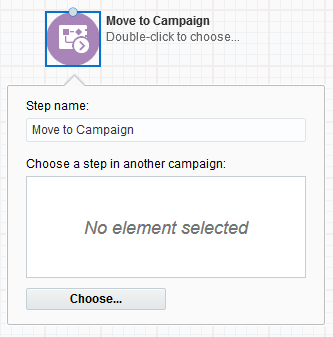
Move to Campaign
This step is identical to the Add to Campaign step, with the exception that you are not able to link to subsequent steps. In essence, this step ends the program path for incoming contacts.
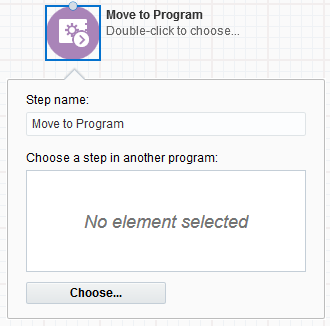
Move to Program
This step is identical to the Add to Program step, with the exception that you are not able to link to subsequent steps. In essence, this step ends the program path for incoming contacts.
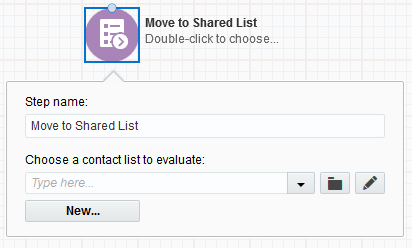
Move to Shared List
This step is identical to the Add to Shared List step, with the exception that you are not able link to subsequent steps. In essence, this step ends the program path for incoming contacts.
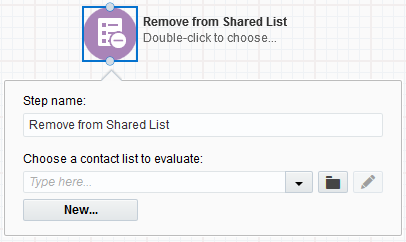
Remove from Shared List
This step removes incoming contacts from a shared list, if those contacts are already on the selected list.
To configure the Remove from Shared List step:
- (Optional) Type a new name into the Step name field.
- Select a shared list from the Choose a contact list drop-down list, or click the button and select one from the Shared List Chooser. Once you have selected a list, you can click the button to view it in a new window, and make any edits as needed.
Contacts will be removed from the shared list before moving on to the next step (if this step is linked to a subsequent step).
Wait
This element allows you to specify how much time will elapse between steps of your program.
To configure the Wait element:
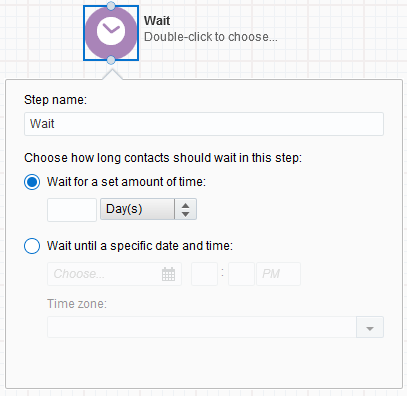
- (Optional) Type a new name into the Step name field.
- Select one the following options to determine the length of the wait interval:
- Wait for a set amount of time: Specify the number of hours, days, weeks, or months for the wait period.
Wait until a specific date and time: Set a specific date and time as the target wait period. Confirm the correct time zone is selected.
Note: If your time zone setting is affected by Daylight Savings Time, a note is shown that the GMT will be adjusted according to whether you are in Daylight Savings or Standard time.
All incoming contacts will rest at this step for the allotted amount of time before moving on to the subsequent step in the program path.
Update Rules
This step moves incoming contacts through a rule set in order to modify the desired contact field.
To configure the Update Rules step:
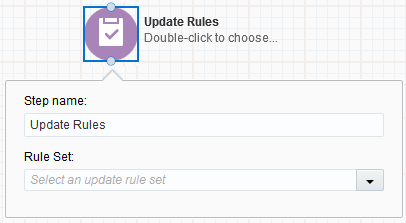
- (Optional) Type a new name into the Step name field.
- Select a rule set from the Rule Set drop-down list.
Incoming contacts will be updated as per the definitions in the selected rule set. See data tools for more information on rule sets.
Clear all Labels
This step removes all labels from the incoming contacts (if any exist).
There is nothing to configure in this step, other than the option of changing the Step name. All incoming contacts will have any labels removed before moving on to the subsequent step in the program path (if applicable).
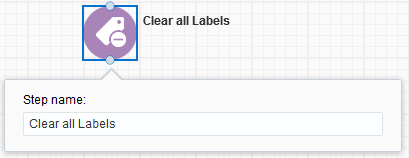
Tip: This step is particularly useful in scenarios where the apply default label settings are being used to restrict access to all new contacts. In this case, you can use the Clear all Labels step to remove the default label before sending the contacts along the appropriate program paths.
Assign Labels
This element applies a specific label to all incoming contacts.
To configure the Assign Labels step:
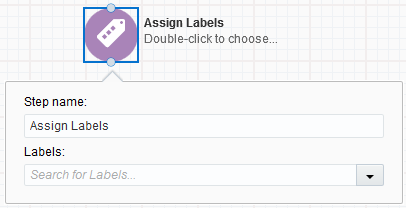
- (Optional) Type a new name into the Step name field.
- Select a label from the Labels drop-down list. The list may take a few seconds to load.
Important: If you do not see the desired label in the drop-down, then the label has not been assigned to your user security group. Even administrators will need to have labels assigned to their security group before they can configure this step.
The selected label will be applied to all contacts who pass through this step.
Label assignment workflow canvas
Creating a label assignment program using the workflow canvas