Configuring the HIPAA add-on
Note: Security group members can only access contacts that have the same labels as their security group. This also applies to contacts in Insight.
As of January 2021, HIPAA clients will have the Authenticated Portal enabled as part of their HIPAA solution. The HIPAA app, which is comparable to Authenticated Portals, is only available to customers enabled for the HIPAA solution before January 2021. The Authenticated Portals offers greater flexibility, personalization, and reporting capabilities for our HIPAA customers.
Configuration prerequisites:
- The HIPAA add-on must first be enabled by Oracle. Contact your account representative for more information.
- You must have a secure microsite configured in your Eloqua environment.
- You must be an experienced Eloqua user with the knowledge and experience necessary to create assets.
- The configuration will take approximately three hours to complete. This does not include additional time necessary to customize the look and feel of the assets.
Configuration
High level configuration steps:
- Verify the add-on is enabled.
- Create the required assets.
- Configure the HIPAA add-on secure communication application (Customer Administrator).
- Create a secure content campaign.
- Verify the HIPAA add-on configuration (Customer Administrator).
- (optional) Apply optional configurations.
Step 1: Verifying the add-on is enabled
Prior to beginning the configuration and installation of the HIPAA add-on, please perform the steps below to ensure the add-on is enabled in your environment and that all provisioning and database requirements are met.
- Verify that the appropriate HIPAA Communications email groups have been created.
- Navigate to Assets
 > Email Setup, then click Email Groups.
 - Check to ensure that two email groups have been created (secure and not secure).
- Navigate to Assets
- Verify that the ePHI security groups have been created successfully during your add-on installation.
- Click Settings
 .
. - Click Users in the Users and Security section.
- Click the Groups tab on the left-side pane, the security group should be listed.
- Click the drop-down to view security group details.
- Click Settings
- Verify that the HIPAA contact category and ePHI Labels are enabled, by performing the following steps:
- Click Settings .
- Click Users in the Users and Security section.
- Click Contact Security and select Manage Labels.
- Verify that the HIPAA category is shown as the available category.
- Click Edit next to the name of the HIPAA category.
- In the pop-up dialog box, verify that ePHI is listed as the label that will be applied to users in the corresponding Security Group.
- Click Settings
Important: If the changes outlined above are not reflected in your environment, do not continue with the configuration of the add-on. Contact your account representative to inquire about the status of your add-on deployment.
Step 2: Creating the required assets
Note: This step can be performed by the Customer Administrator or a Marketing User.
The add-on is made up of many components. In order for a campaign to be successful and to adhere to regulatory requirements, users must create assets that contain elements approved as part of the add-on.
After the assets are created, your users can customize the look and feel of the content rendered by the add-on. For more information, refer to styling the application. Depending on the type of content that is rendered by the Cloud Content services, it is best to design your pages such that the HTML that is displayed fits contextually with the rest of the page.
Important: To ensure a smooth configuration, we recommend creating the assets in the order specified below to ensure that all dependencies are created.
The following are the required assets that must be created in your Eloqua instance before making use of the secure email portal:
| Required Asset | Type | Description |
|---|---|---|
| Set Password -Success | Landing Page | This page is rendered if the contact sets his or her password successfully for the first time. |
| Landing Page | This page is displayed for failures that occur when the contact attempts to set his or her password for the first time. | |
| Set Password | HIPAA Landing Page | This page contains the Set Password Widget, which renders a form that contacts can use to set a password for the first time. |
| Reset Password Request - Success | Landing Page | This page is displayed after a contact successfully requests to change his or her password. |
| Reset Password Request | HIPAA Landing Page | This landing page contains the Reset Password Widget, which renders a form that contacts can use to specify their email address and request a password reset. |
| Reset Password | Email sent to contacts to reset their password. This email is sent to an email group without the Require Opt in or Use Secure channel flags enabled | |
| Secure Content - Default Content | Landing Page | This landing page is displayed when a user logs in successfully but there is no secure content waiting for the contact. |
| Secure Content - Failure | Landing Page | Defines the Landing Page to render if a failure occurs when rendering secure content. For example if a contact attempts to access this page without first providing credentials. |
| Secure Content - Container | HIPAA Landing Page | This landing page contains the Secure Content Cloud Service in order to display the secure content (that is, the most recent HIPAA Communications). |
| Secure Content - HIPAA Communication | Email sent to the HIPAA Communications email group which has the Require Opt in or Use Secure channel flags enabled. This email will not be sent via SMTP. The contents of the email will be held for pickup and displayed inside a secure landing page after a contact clicks on a link in the Secure Content - Notification email. | |
| Secure Content - Notification | Email sent to contacts informing them they have secure content with a link to login and view secure content. This email is sent to an email group without the Require Opt in or Use Secure channel flags enabled. | |
| Login | HIPAA Landing Page | This landing page renders the Login Form Widget in which contacts must use to access their secure content from a Landing Page. Contacts are required to login in order to access their secure content. The Login Form can be added to any Landing Page hosted on a Secure Microsite. This Form is a simple Form with User Name and Password, as well as a Submit button, however you can customize it as needed. |
| When contacts subscribe to HIPAA Communications, they are automatically delivered a Welcome Email with a link to set their password. A windows service (HIPAA Management Service) periodically checks for contacts that have subscribed to HIPAA Communications and automatically delivers an email containing the Access Token Cloud Content Service. The Access Token Email service provides a link where contacts can go to Set Password. This email is sent to an email group without the Require Opt in or Use Secure channel flags enabled |
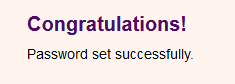
Set Password - Success (Landing Page)
This page is rendered after the contact sets his or her password successfully for the first time.
To create a Set Password - Success landing page:
- Create a new landing page.
- Add content so the user understands the password was set successfully.
- Specify an appropriate name for your landing page (example: Landing Page - Set Password Successfully).
- Save your landing page.
Set Password - Success (Landing Page) Example
Set Password - Failure (Landing Page)
This Landing Page is used for failures that occur when the contact attempts to set his or her password. The failure can be due to one of several reasons, including but not limited to connection timeouts, required fields missing data, and so on.
To create a Set Password Failure landing page:
-
Create a new landing page.
-
Add content so the user understands the password was not set successfully on the Set Password landing page.
-
Specify an appropriate name for your landing page (example: Landing Page - Failed to Set Password).
-
Save your landing page.
Set Password - Failure (Landing Page) Example

Set Password (Landing Page)
This service is responsible for rendering a form that contacts can use to set their passwords.
Note: This service requires a valid access token and should only be accessed via the Welcome Email (Access Token Email).
To create the Set Password landing page:
-
Create a new landing page.
-
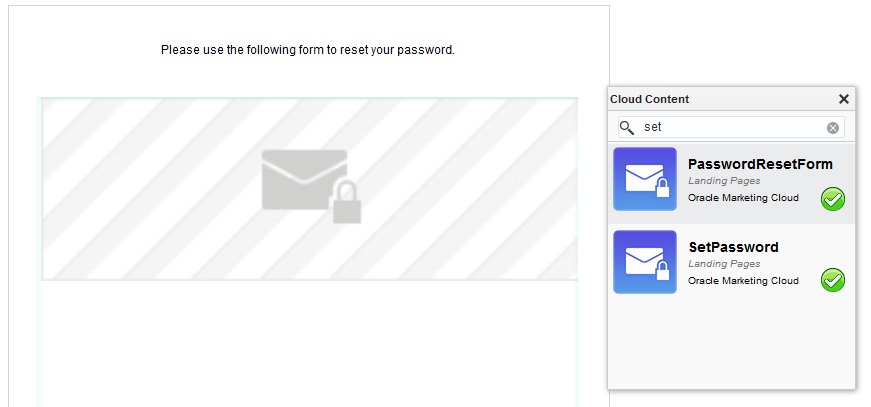
Add the Set Password widget to the landing page.
-
Double-click Cloud Content on the left panel.
-
Drag the SetPassword widget from the Cloud Content toolbar onto the canvas.

-
-
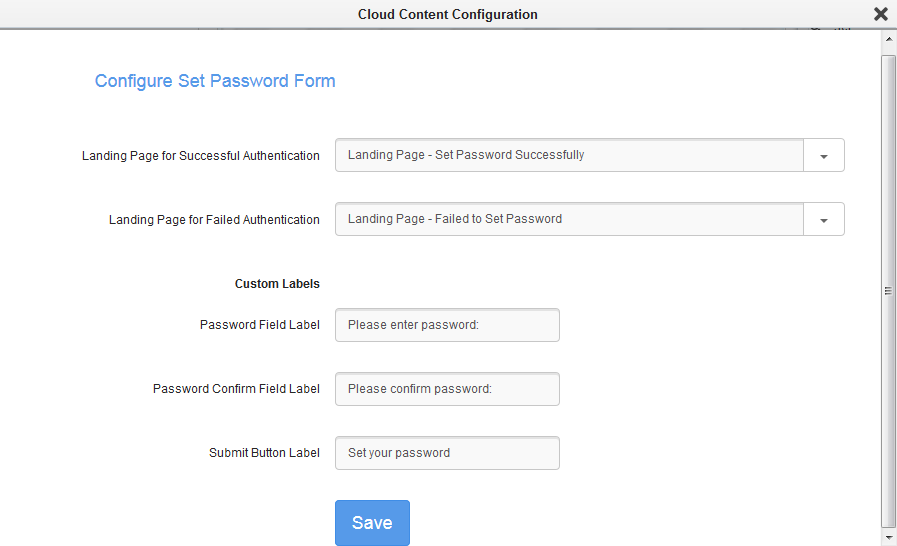
Double-click the SetPassword widget on the canvas to access the configuration page:
-
Specify the correct values for the Set Password widget configuration options:
-
Landing Page for Successful Authentication: Landing page that is rendered if the contact’s password was successfully reset.
-
Landing Page for Failed Authentication: Landing page that is rendered if an error occurs while setting the password.
-
Password Field Label: Defines the text that appears for the password field.
-
Password Confirm Field Label: Defines the text that appears for the password confirmation field.
-
Submit Button Label: Defines the text that appears on the submit button.
Click Save and then click X to close the Cloud Content Configuration dialog box.
-
-
Specify an appropriate name for your landing page (example: Landing Page - Set Password).
-
Save your landing page.
Set Password (Landing Page) Example
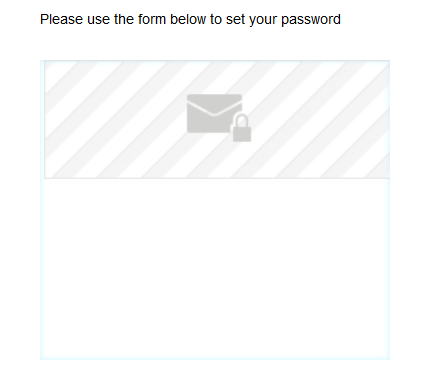
The following is an example of the Set Password widget (i.e. form) after it is rendered on the landing page:

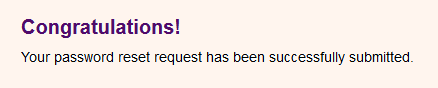
Reset Password Request - Success (Landing Page)
Upon successfully requesting the link to reset the password, a contact is redirected to this landing page. This landing page is only rendered if the request to reset password was successful. The content on this page should inform the contact that their request was successfully submitted.
To create the Reset Password Request Success landing page:
-
Create a new landing page.
-
Add content to the landing page so the user understands the password reset was successful and that they will receive an email shortly.
-
Specify a microsite.
-
Specify an appropriate name for your landing page (example: Landing Page - Send Password Reset Email Successfully).
-
Save the landing page.
Reset Password Request - Success (Landing Page) Example
Reset Password Request (Landing Page)
This landing page contains the Reset Password widget, which cloud content service. This service is responsible for rendering a form that contacts can use to reset their password. On submission, the form will deliver the Welcome Email (Access Token Email), containing a link where the contact can set their password.
To create the Reset Password Request landing page:
-
Create a new landing page.
-
Add the Password Reset widget to the landing page.
-
Double-click Cloud Content on the left panel.
-
Drag the Password Reset widget from the Cloud Content toolbar onto the canvas.
-
-
Double-click the widget on the canvas to access the configuration page:

-
Specify the correct values for the following Reset Password widget configuration option:
- Landing Page on Success: Defines the reset password request success landing page that is displayed if the request to reset password is successful.
- Landing Page on Failure: Landing page that is rendered if an error occurs while resetting the password.
- Password Reset email: Defines the reset password email that is sent to the user to facilitate the password reset (example: Email - Reset Password).
- Email Address Field Label: Defines the text displayed for the email address field.
- Submit Button Label: Defines the text displayed on the submit button.
-
Specify a microsite.
-
Specify an appropriate name for your landing page (example: Landing Page - Reset Password Request).
-
Save the landing page.
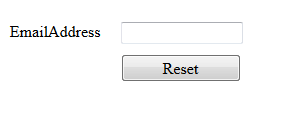
Reset Password Request (Landing Page) Example
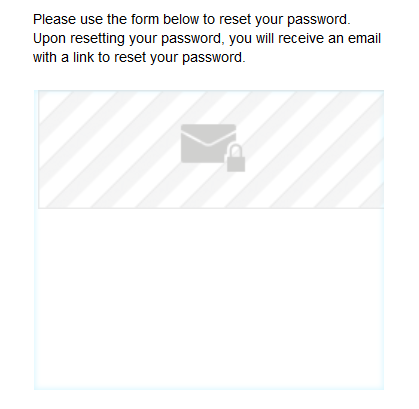
When displayed to the user, the Reset Password widget (i.e. form) portion of the landing page looks like this:
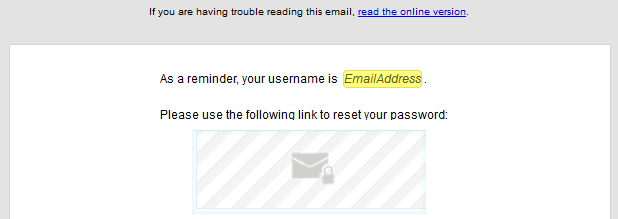
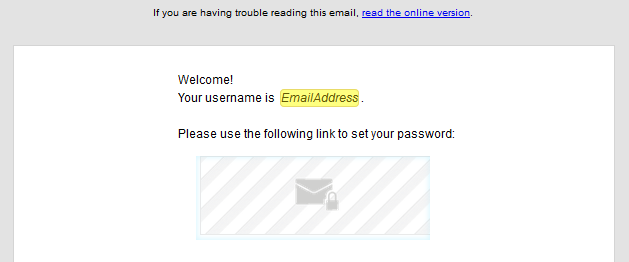
Reset Password (Email)
This email is sent to contacts to reset their password. This email is sent to an email group without the Require Opt In or Use Secure channel options enabled.
To create the Reset Password email:
- Create a new email.
-
Add the AccessTokenEmail to the landing page by performing the following steps:
-
Double-click Cloud Content on the left panel.
-
Drag the AccessTokenEmail from the Cloud Content toolbar onto the canvas.

-
-
Double-click the widget on the canvas to access the configuration page:
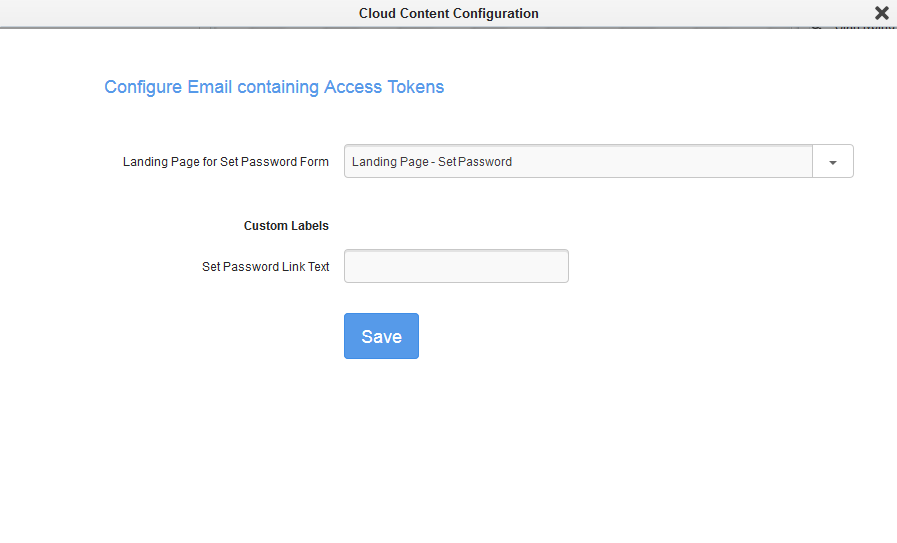
-
Specify the correct values for the following Access Reset Password widget configuration option:
- Landing Page for Set Password Form: Defines the set password landing page that is displayed so the user can reset the password.
- Set Password Link Text: Defines the text for the set password link. If you do not set the link text, the link URL is used.
-
Choose an email group that does not have the Require Opt in or Use Secure channel options enabled.
-
Specify an appropriate name for your email (example: Email - Reset Password)
-
Save your email.
Reset Password (Email) Example
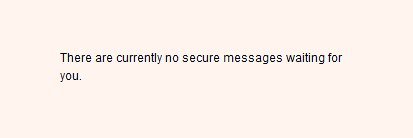
Secure Content - Default Content (Landing Page)
This landing page is displayed when a user logs in successfully but there is no secure content waiting for the contact.
This will act as a place holder until there is some secure content for the contact.
To create a Secure Content - Default Content landing page:
-
Create a new landing page.
-
Add appropriate content so the user understands there are no secure messages waiting.
-
Specify an appropriate name for your landing page (example: Landing Page - Default secure content)
-
Save your landing page.
Secure Content - Default Content (Landing Page) Example
Secure Content - Failure (Landing Page)
Defines the Landing Page to render if a failure occurs when rendering secure content. For example if a contact attempts to access this page without first providing credentials.
To create a Secure Content - Failure landing page:
-
Create a new landing page.
-
Add content so the user understands there was an issue rendering the secure content.
-
(optional) Add a link to the reset password request landing page so the user can easily request a password change, if required.
-
Specify an appropriate name for your landing page (example: Landing Page - Failed when display secure content).
-
Save your landing page.
Secure Content - Failure (Landing Page) Example

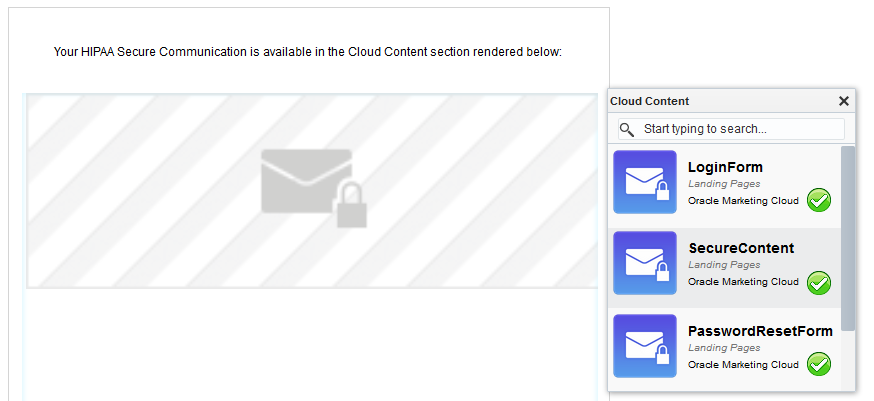
Secure Content - Container (Landing Page)
The Secure Content landing page must contain a Secure Content Widget. The Secure Content Widget is a Cloud Service that renders the secure content (that is, most recent HIPAA Communication) on the landing page.
Note: This page requires a valid temporary access token and should be accessed by the Login Form – as the Landing Page to render on Success.
To create the Secure Content - Container landing page:
- Create a new landing page.
-
Add the Secure Content service to your landing page by performing the following steps:
-
Double-click Cloud Content on the left panel.
-
Drag the Secure Content from the Cloud Content toolbar onto the canvas.
-
-
Double-click the widget on the canvas to access the configuration page:
-
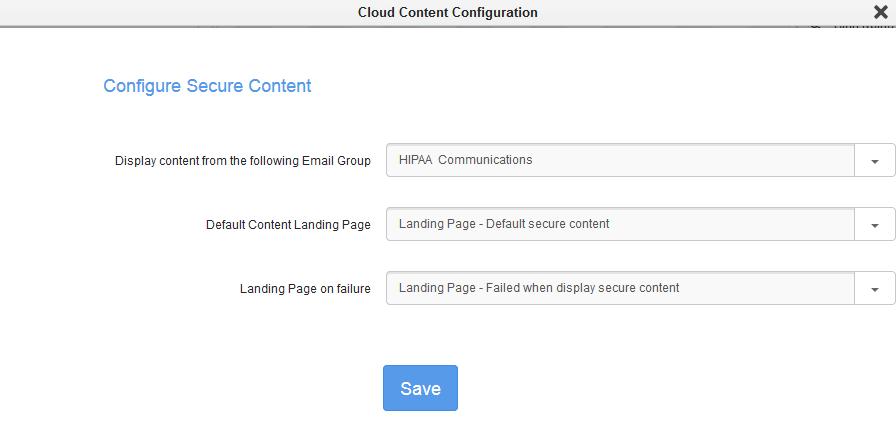
Specify the correct values for the following Secure Content widget configuration options:
-
Display Content from the following Email Group: The cloud content service is responsible for rendering the most recent Email. This option allows you to isolate Emails that are part of a specific email group, for example the HIPAA Communications email group. You can also create a new email group.
-
Default Content Landing Page: Defines the landing page to display if there is no secure content to display (example: Landing Page - Default secure content).
-
Landing Page on Failure: Defines the landing page to display if there is problem rendering the secure content (example: Landing Page - Failed when display secure content).
-
-
Specify an appropriate name for your landing page (example: Landing Page - Secure Content Container)
-
Save the landing page.
Secure Content - Container (Landing Page) Example
Secure Content - HIPAA Communication (Email)
Email sent to the HIPAA Communications email group which has the Require Opt in or Use Secure channel flags enabled. This email will not be sent via SMTP. The contents of the email will be held for pickup and displayed inside a secure landing page after a contact clicks on a link in the Secure Content - Notification email.
To create a Secure Content - HIPAA Communication email:
-
Create a new email
-
Add your secure content to the email.
Note: This email is not sent directly to the content. The user will login to view the secure content contained in this email.
-
Specify an email subject.
-
Specify a from address.
-
Specify an email group.
Important: The selected email group must be a HIPAA email group.
-
Specify an appropriate name for your email (Example: Email -Secure Content Communication).
-
Save your email.
Secure Content - HIPAA Communication (Email) Example

Login (Landing Page)
The Login landing page contains the Login Form Widget. The Login Form Widget is a Cloud Content Service that allows contacts to login to access their secure content.
Note: The Login Form Widget can be added to any Landing Page hosted on a Secure Microsite.
To create a new Login landing page:
-
Create a new landing page.
-
Add the Login Form Widget to the landing page by performing the following steps:
-
Double-click Cloud Content on the left panel.
-
Drag the Login Form Widget from the Cloud Content toolbar onto the canvas.
-
-
Double-click the widget on the canvas to access the configuration page:
-
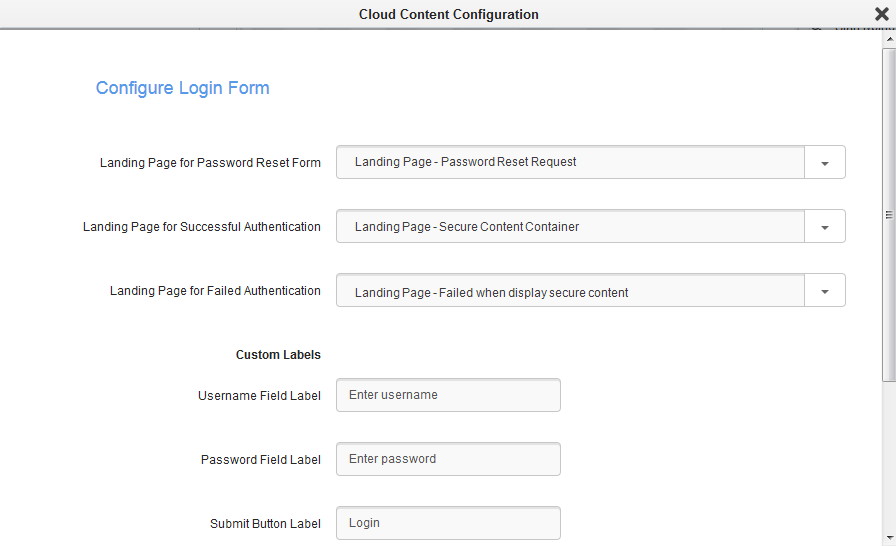
Specify the correct values for the following Login Form Widget configuration options:
- Landing Page for Password Reset Form: Provides a link to the landing page containing the password reset form – in the event that a contact has forgotten their password. (Example: Landing Page - Password Reset)
-
Landing Page for Successful Authentication: Defines the landing page to render when a contact successfully logs in (Example: Landing Page - Secure Content Container).
Note: This is typically set to the landing page that contains the Secure Content service. However, to provide flexibility, you can choose any landing page.
-
Landing Page for Failed Authentication: Defines the landing page to display when an authentication failure occurs. This page is typically defined as the Login Page, and on failure, an error message is displayed indicating that an error has occurred. For flexibility, Marketing Users can choose to define any page as the Failure Landing Page. Please keep in mind that this page should indicate that a failure occurred when trying to authenticate the contact’s credentials. (Example: Landing Page - Failed when display secure content)
-
Username Field Label: Defines the text displayed for the username field label.
-
Password Field Label: Defines the text that is displayed for the password field label.
-
Submit Button Label: Defines the text that is displayed for the submit button.
-
Forgot Password Link Label: Defines the text that is displayed for the forgotten password link. Users can click this link to access the password reset request page.
-
Invalid Username or Password Label: Defines the error text that is displayed if a user enters an invalid username or password.
-
Specify an appropriate name for your landing page (example: Landing Page - Login).
-
Save your landing page.
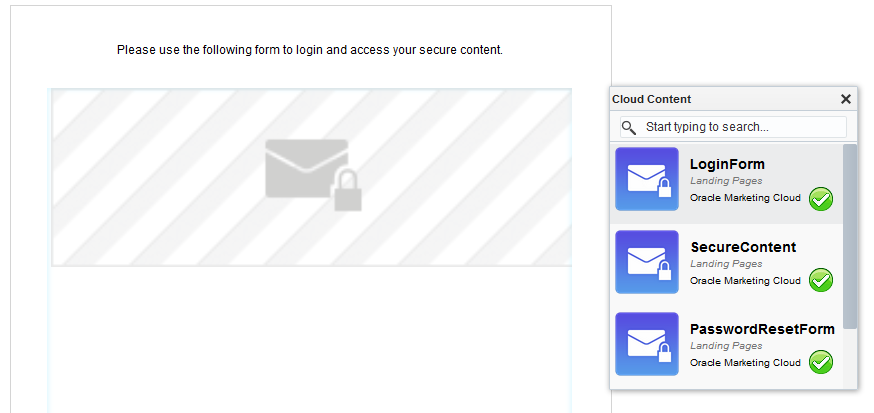
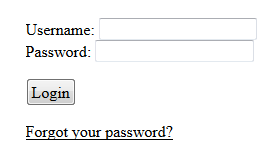
Login (Landing Page) Example
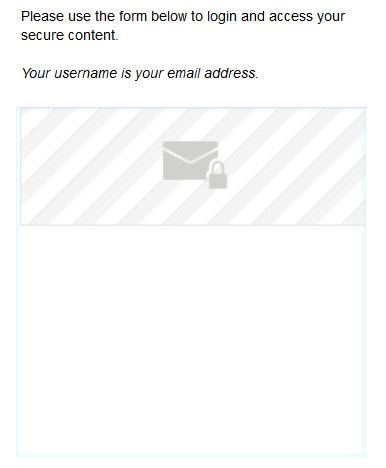
When rendered, the Login Form Widget portion of the landing page looks like this:
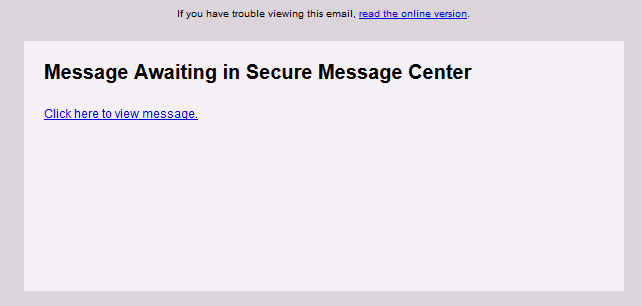
Secure Content - Notification (Email)
Email sent to contacts informing them they have secure content with a link to login and view secure content. This email is sent to an email group without the Require Opt in or Use Secure channel flags enabled.
To create a Secure Content - Notification email:
-
Create a new email.
-
Add content to the email so the user understands there is a secure message waiting.
-
Include a link to your login landing page so the user can login easily.
-
Specify an email subject.
-
Specify a from address.
-
Specify an email group.
Important: The selected email group must be not be a HIPAA email group.
-
Specify an appropriate name for your email (example: Email - Secure Content Notification).
-
Save your email.
Secure Content - Notification (Email) Example
Welcome Email (Access Token Email)
When a new contact opts-in (that is, the contact subscribes to the HIPAA Communicationsemail group), the Welcome Email is sent to the user. This email includes a link that directs the user to the set password landing page. The user can click the link, set a password, and then login to view their secure communication.
Note: The Oracle Eloqua Platform runs a service in the background that periodically checks for contacts who have recently opted in. Therefore, after a contact opts in, it can take 5-10 minutes for the Welcome Email to be sent.
Important: Once created, the email name must be communicated to the Customer Administrator because it is required in one of the configuration steps.
To create a Welcome email:
-
Create a new email.
-
Add the appropriate content to the welcome email.
-
The email text that is placed directly above the cloud content could be: “Welcome to HIPAA Communications…”
- Followed by the HTML that will be rendered by the Cloud Content service: “Click here to set your password”
-
-
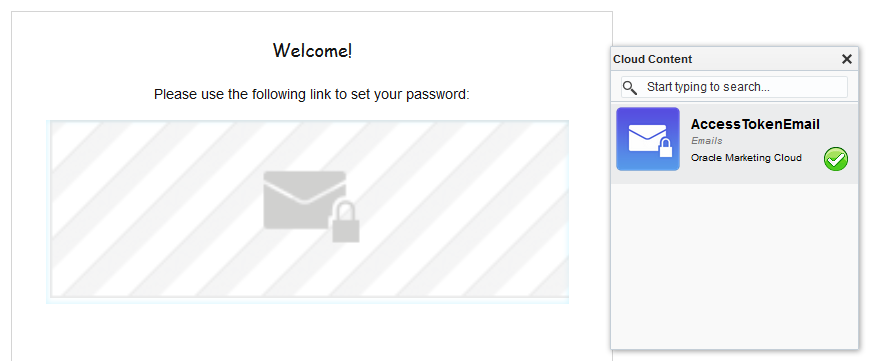
Add the AccessTokenEmail to the landing page by performing the following steps:
-
Double-click Cloud Content on the left panel.
-
Drag the AccessTokenEmail service from the Cloud Content toolbar onto the canvas.
-
-
Double-click the widget on the canvas to access the configuration page:

Note: The Cloud Content service should be contextually placed in the Email, such that the language flows.
-
Specify the correct values for the following Welcome Email Widget configuration option:
-
Landing Page for Set Password Form: You must select a landing page that contains the Set Password widget (i.e. Set Password Landing Page )
-
Set Password Link Text: Defines the text that is displayed for the link that directs the user to the set password landing page. If you do not set the link text, the link URL is used.
-
-
Specify an email subject.
-
Specify a from address.
-
Specify an email group.
Important: The selected email group must not be a HIPAA email group.
-
Specify an appropriate name for your email (example: Email - Welcome)
-
Save your email.
Welcome Email Example
Step 3: Configuring the HIPAA secure communication application
Note: This step must be configured by a Customer Administrator.
The HIPAA add-on,
Prior to completing the steps outlined in this document, the Oracle Eloqua Provisioning and Database Management team must have enabled the add-on for your Eloqua instance, as described in the Provisioning chapter.
To configure the HIPAA secure communications application:
-
Login to Eloqua.
-
Click Settings
. -
Click HIPAA Configuration in the Users and Security section.
Note: The HIPAA Configuration button is only available if your instance of Eloqua includes this add-on. Contact your account representative if you wish to obtain this add-on.
The HIPAA configuration page looks like this:
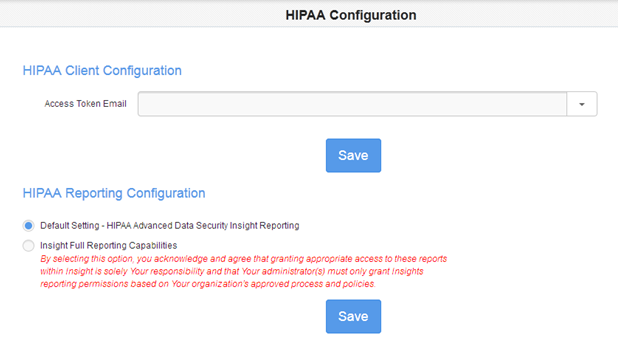
-
Specify the correct Welcome Email that was created in a previous configuration step (example: Email -Welcome).
-
Click Save.
Step 4: Creating a secure content campaign
A campaign must be configured to send your email communications. The campaigns can trigger emails to be sent to contacts for them to log in and view their secure content. Contacts flow through the Campaign Steps based on how you create your campaign. While there is no set structure for creating a campaign which uses secure content delivery, you must adhere to the regulatory requirements for logins, the delivery of content over secure channels.
To create a campaign for secure content delivery:
-
Create a new campaign.
-
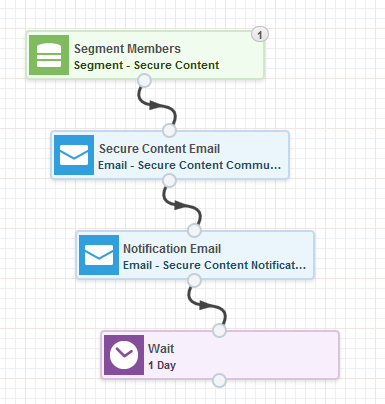
Add a segment to the campaign canvas. Ideally, this segment will include one or two test users.
-
Add your secure content email to the canvas.
-
Add your secure content notification email to the canvas.
-
Add a wait object to the canvas.
-
Connect the objects in the order outlined above.
-
Specify an appropriate name for your campaign (example: Campaign - Communication Test).
-
Save your campaign.
Secure Content Campaign Example
Step 5: Verifying the add-on configuration
High level verification steps:
Verifying that the Welcome email is sent and that the password can be set
-
Subscribe a user to a HIPAA email group (example: HIPAA Communications):
Note: For testing purposes, ensure you subscribe an internal user instead of actual contacts.
-
Verify the Welcome Email is sent to the user.
Note: It can take up to 5 minutes for the email to be sent to the user.
-
Verify the set password page is displayed when the user clicks the link in the welcome email.
-
Verify the user can successfully set a password on the set password page.
Verifying the delivery of secure content
-
Activate a test campaign (example: Campaign - Communication Test)
Note: For testing purposes, ensure the segment in your campaign only includes internal users and not actual contacts.
-
Verify the secure content email is not emailed directly to the user.
-
Verify the notification email is sent to the user.
-
Verify the login page is displayed when you click the link contained in the notification email.
-
Verify the secure content email is displayed on the secure content container landing page after you login successfully.
Step 6: Applying Optional Configurations
Applying Custom Labels
All of the default labels that are used in the HIPAA widgets can be customized from the widget configuration pages.

Styling the application
The various Cloud Content services provided by the HIPAA application display HTML content within Eloqua landing pages and emails. The Cloud Content elements each contain unique identifiers that can be accessed by the hosting asset (Landing Page or Email), such that CSS styles can be applied.
Style Customization Example: Login Form Widget
<form method="POST"
    action="https://devsecure.eloquacorp.com/apps/HIPAA/WebHandler/LoginForm/HandleLoginRequest">
  Username: <input type="text" id="username" name="username" />
  <br />
  Password: <input type="password" id="password" name="password" />
  <br />
  <input type="hidden" id="content-service-site-id"
    name="content-service-site-id" value="3" />
  <input type="hidden" id="content-service-instance-id"
    name="content-service-instance-id" value="4a6937b9-b05e-4a1d-9f73-faae6f128cd5" />
  <p><input type="submit" value="Login" /></p>
  <a href="https://lsvertical.test234.com/LP=14">Forgot your password?</a>
</form>
To access and apply styles to any of the HTML controls, refer to their ID or CSS Class name in your CSS.
Creating a custom HIPAA email group
You can use the default HIPAA Communications email group, or you can create a new one.
Note: The HIPAA Communications Email Group. is used to filter contacts to which a Welcome Email is sent to. It is recommended to use the default HIPAA CommunicationsEmail Group to store contacts who subscribe to HIPAA communications.
To configure a HIPAA email group:
- Navigate to Assets > Email Setup, then click Email Groups.
-
Create a new email group.
-
Ensure the following options are enabled:
-
Require opt-in: This setting ensures that HIPAA-secured emails are not sent to contacts until they have specifically selected to opt-in to this email group, either through a Form Submission or by your manually Subscribing them to the email group. This setting is enabled by default on the HIPAA Communications email group and must remain enabled for
-
Use secure channel: This setting ensures emails are not sent from Eloqua directly but instead are marked for processing using a special process. This setting is enabled by default on the HIPAA Communications email group and must remain enabled for
-
-
Choose the appropriate Subscribe confirmation page that will be used to subscribe users to the HIPAA email group.
-
Click Save to save your settings.
Note: There are some email group settings (example: Name of the email group As It Appears to contacts and Description of email group as it appears to contacts (optional)) that are pre-populated and cannot be changed.