Embedding Engage as a subtab in Oracle Sales
Important: Oracle Sales was formerly known as Oracle Sales Cloud. All instances of Oracle Sales Cloud have been changed to Oracle Sales across the app user interface.
To enrich the user experience when working in Oracle Sales, you can embed an Engage subtab into standard objects, such as Contacts and Sales Leads. This way, you can allow users to send emails with Engage without having to leave Oracle Sales.
Prerequisites:
-
Build an allowlist of the domains that will be hosting embedded Engage pages. Learn more in the Configuring Engage topic.
- Determine the Oracle Eloqua login URL you want to use. You can use the simplified login URL or a specific legacy URL based on the desired login method. Learn more. The steps below assume you are using the simplified login URL.
There are five steps to creating an Engage subtab in Oracle Sales:
- Creating a sandbox
- Creating mashup content
- Adding the mashup content to a standard object in Oracle Sales
- Publishing your sandbox
Step 1: Creating a sandbox
To create a sandbox:
- Log in to Oracle Sales with your Administrator credentials.
- Click Navigator
 at the top of the page, and under Configuration click Sandboxes.
 - Click Create Sandbox.
- Ensure Application Composer is checked as Active, give your sandbox a name, and ensure that Publishable is set to Yes.
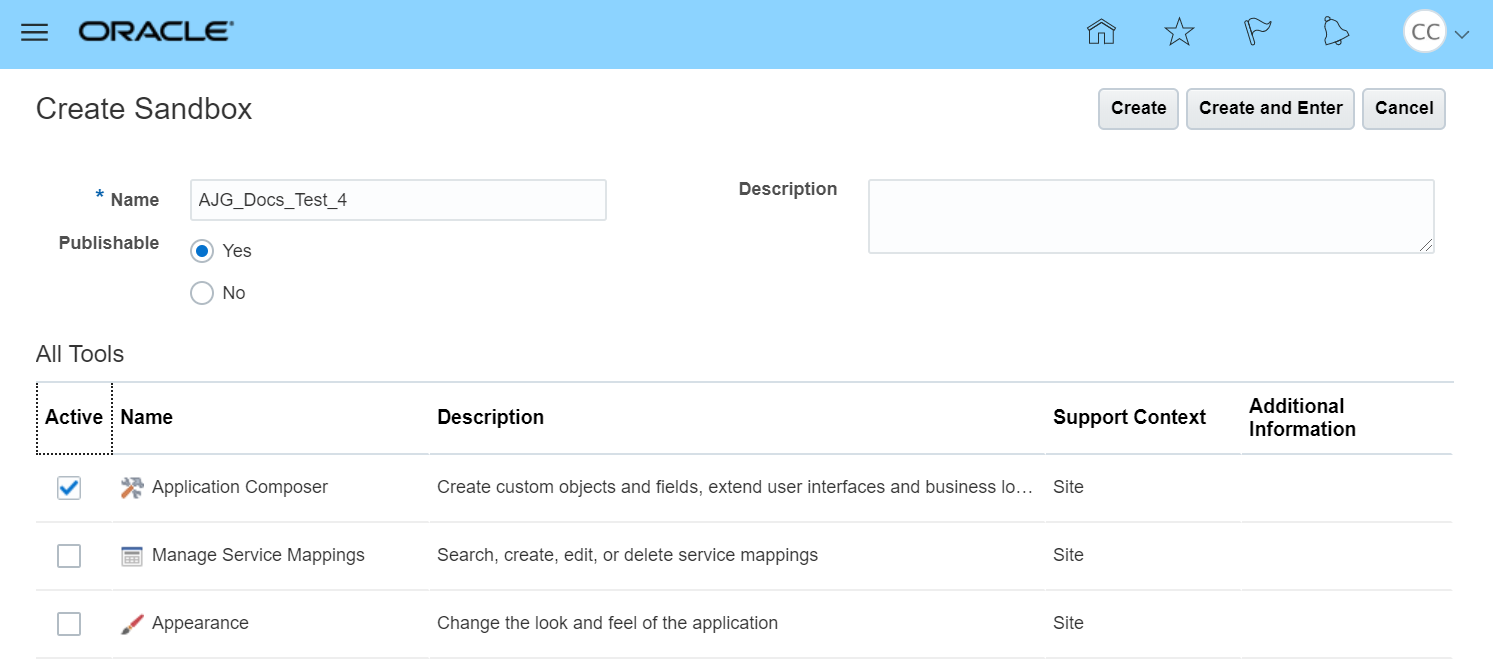
- Click Create and Enter.
You'll be redirected to the Available Sandboxes page.
Step 2: Creating mashup content
To create mashup content:
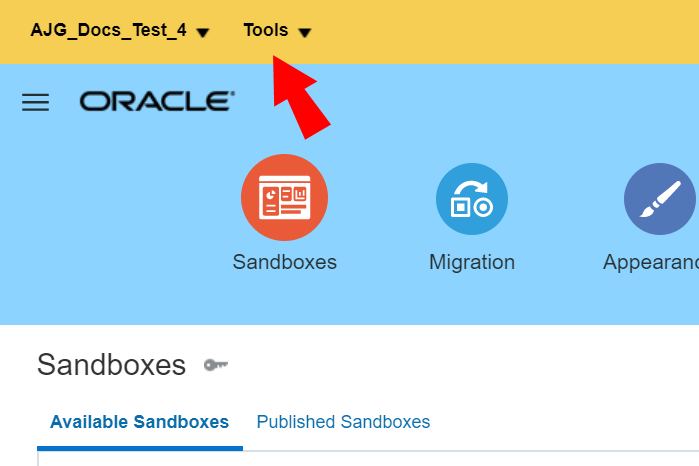
- At the top of the page, click Tools > Application Composer.
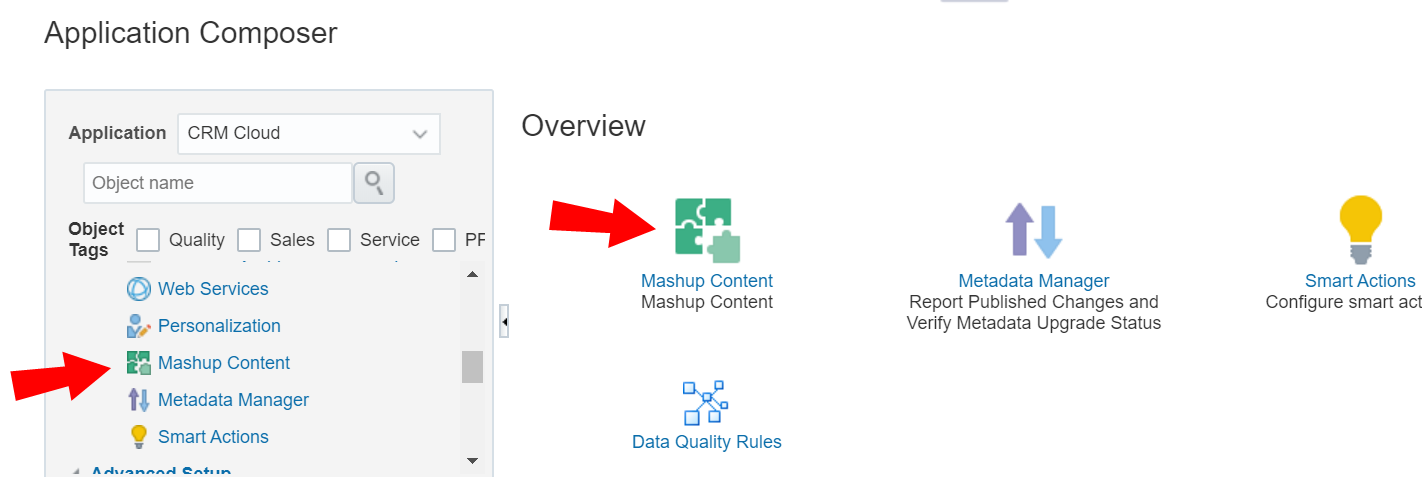
- In the Overview section, click Mashup Content > Register Web Application. Alternatively, you can click Mashup Content in the left-side panel under Common Setup.
- Configure the following options:
- Give your web application a name. For example, Eloqua Engage.
- Select Groovy expression.
- Click Save and Close.
Step 3: Adding the mashup content to a standard object
To add the mashup content to a Contact or Sales Lead object:
- Still in the Application Composer, navigate to the left-side panel under Objects, expand Standard Objects, then expand the object you would like to add your subtab to.
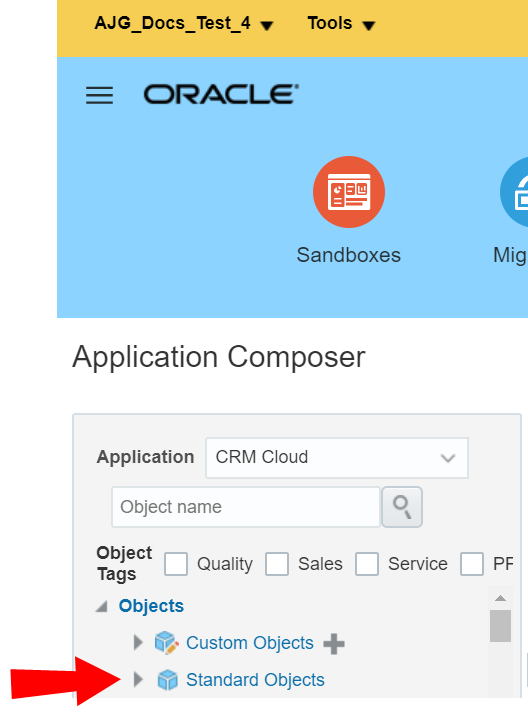
In this topic, we'll expand the Sales Lead object.
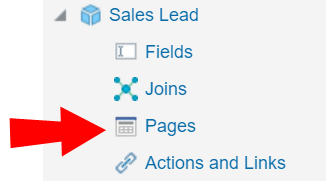
- Click Pages.
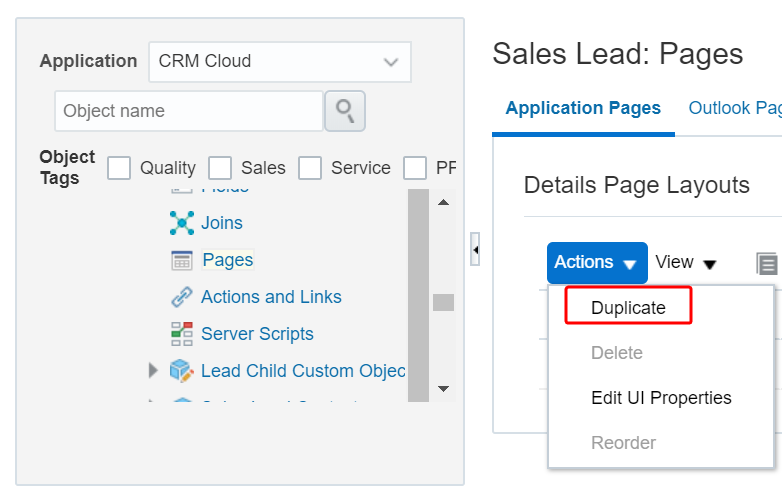
- In the Application Pages tab, scroll down to the Details Page Layouts section, and click Default Custom Layout.
Note: If you do not see the Default Custom Layout you can add it by duplicating an existing layout. For example, duplicate the Standard layout, then edit the duplicate layout.
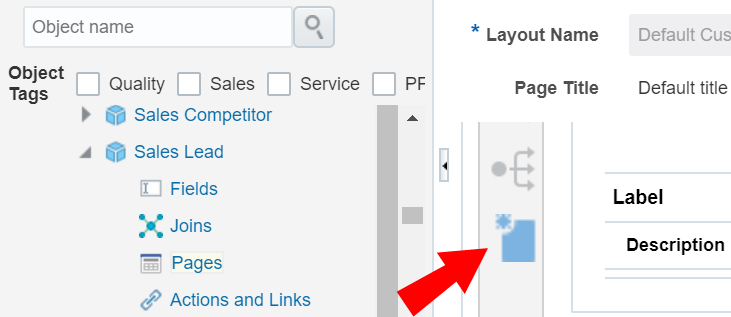
- Scroll down and click Add
 .
. 
- Select Mashup Content, then click Next.
- Select your Mashup Content from the Web Applications list, then click Insert.
- Configure the following options:
- Give your subtab a name. In this case, you would give it a name related to Engage. For example, you could name the subtab Eloqua Engage.
- (Optional) Click Change Icon to change your subtab's Display Icon.
- In the Edit Script area, insert the following script:
if (PrimaryContactEmailAddress != null) {return "https://login.eloqua.com/siteLogin?SiteName={CompanyName}&ReturnUrl=/apps/embed/salesTools/engage/compose?emailAddress=" + PrimaryContactEmailAddress;}
else {return "https://login.eloqua.com/siteLogin?SiteName={CompanyName}&ReturnUrl=/apps/embed/salesTools/engage/compose";}
Tip: If you're adding Profiler to the Contacts object, replace
PrimaryContactEmailAddressin the above code samples withPrimaryEmailAddress. Since in this topic we're adding Profiler to the Sales Leads object, we'll keepPrimaryContactEmailAddressin our code. - (Optional) Click Next. The Next option only appears if there are other details page layouts available to add the subtab to.
- Click Save and Close.
- Done.
Step 5: Publishing your sandbox
- Click Sandboxes, then click on your sandbox's name.

- Click Publish.
After following these steps for Engage, you can now view the subtab when you navigate to the standard object's page. For example, since in this topic we created a subtab for the Sales Lead object, we'll navigate to Navigator
> Leads under Sales. Once you open a lead, you see the Engage subtab.
Troubleshooting
- For Firefox users, if you’re using Autologin or SAML access methods, and you cannot progress past the Eloqua authenticate now login screen, you may have to disable Firefox enhance tracking protection. To do this, in Firefox, navigate to Options in the Firefox browser > Privacy & Security > Enhanced Tracking Protection > select Custom > uncheck the box for Cookies.
- If you see a content security policy directive message in the iframe, check that your Engage allowlist includes the required URLs for embedding in Oracle Sales. Make sure to also confirm that the URL you are using is correct.

Embedding Profiler as a subtab in Oracle Sales
Adding a Profiler link to Oracle Sales
Adding an Engage link to Oracle Sales
Embedding Engage as a subtab in Oracle Sales