Configuring a progressive profile in staged mode for the Design Editor
Staged mode allows you to decide which contact fields are displayed together and on which visit they appear to the contact. Unlike List mode, you do not have to have a static number of fields to display, as different stages can have a different amount of fields, so you can coordinate for certain fields to appear together in accordance to how many times the contact has filled out the form. Different stages are divided by a dotted line. See Configuring a progressive profile in staged mode for the Classic Design Editor if you're working in the Classic Design Editor.
To configure a progressive profile in staged mode:
- In the
 tab, drag and drop Progressive Profile to your form.
- Click the Progressive Profile content block.
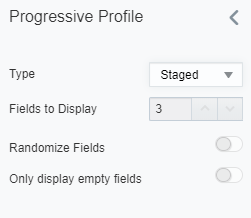
The Progressive Profile panel opens.
- Select Staged from the Type drop-down list.
To learn about List mode, see Configuring a progressive profile in list mode for the Design Editor.
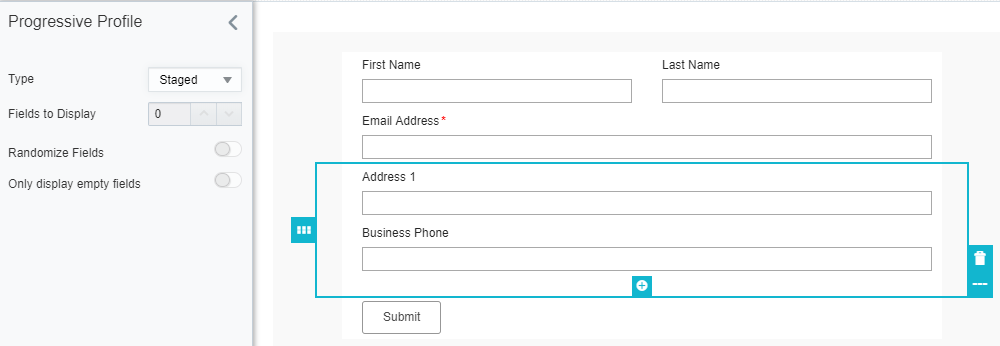
- Drag contact and custom fields inside. Learn more about contact and custom fields here.
- Click
 to add a stage.
 - Click on a field you want to move, then click
 and drag the field to a new location. Repeat this step until all your stages are in their desired places.
 - Delete a stage by selecting the stage and then clicking
 .
. - Click Save to save your changes.
Note: If using Staged mode, progressive profiles need at least two stages with at least one field to be saved.
You have now configured your progressive profile in Staged mode.
Configuring a progressive profile in list mode for the Classic Design Editor