Configuring the Salesforce identity provider in Oracle Eloqua
Configure Salesforce as an identity provider in Oracle Eloqua. Oracle Eloqua allows you to create an identity provider using the Salesforce SAML metadata, or you can manually provide the required information.
Before you begin:
- You will need the SAML metadata file that you downloaded from Salesforce. See Preliminary Salesforce setup for SSO integration for more information.
-
In this setup, Salesforce is setup using the Identity Provider page in Oracle Eloqua.

Important: The Salesforce native SSO integration page (highlighted below) requires the use of the deprecated Salesforce native CRM integration. Since this native CRM integration was deprecated, and the use of the Salesforce Integration app is encouraged, use the Identity Provider setup instead.
For more information on the Salesforce native SSO integration, download the configuration guide.
To configure the Salesforce identity provider in Oracle Eloqua:
- Click Settings
 .
. - Click Single Sign-On in the Users and Security area.
- Click Upload From Metadata.
- Provide a descriptive name for the identity provider and upload the metadata file.
- After the file uploads, open the identity provider you created.
- Complete the user identity settings in the User Identity section. These settings identity how users are identified in SAML assertions. For more information on the settings, see Identity provider settings.
- Complete any additional settings in the Options section. For more information on the settings, see Identity provider settings.
After you finish: Continue to Configuring Oracle Eloqua as a service provider.
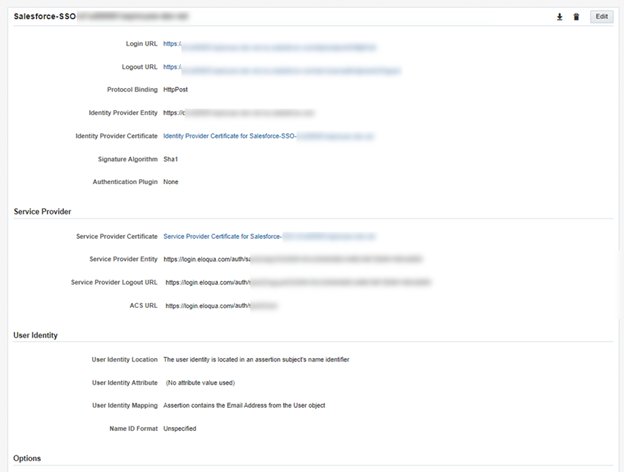
Example
Next step
Configuring Oracle Eloqua as a connected app