Creating an A/B campaign
Find out how to:
- Create a simple A/B test
- Add pages and create variants
- Target visitors
- Track visitor actions
- QA and publish
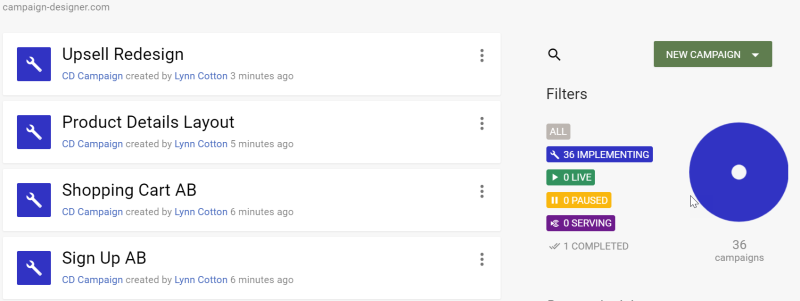
To create a single page A/B campaign directly from the dashboard:
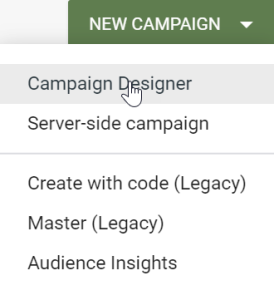
- On the dashboard, click NEW CAMPAIGN.
-
Select Campaign Designer.

-
Enter the campaign name.

-
Click CREATE.
-
On the Overview click GET STARTED on the URLs panel.
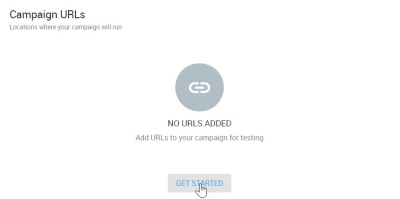
-
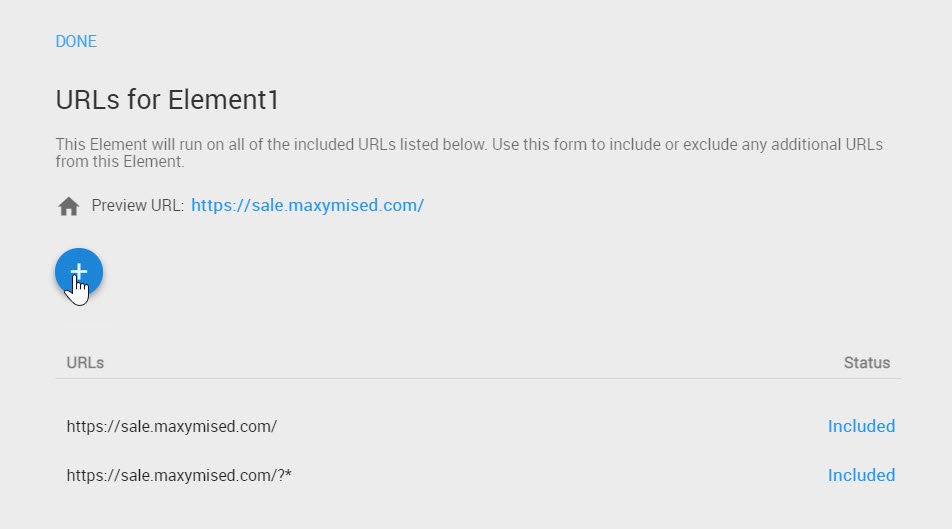
Browse your site to the page you want to test and add the current URL by clicking
 .
.
-
Click URLS to include or exclude additional URLs.

-
In the campaign outline panel you can see we've already created a variant for you, you can click
 to create additional variants.
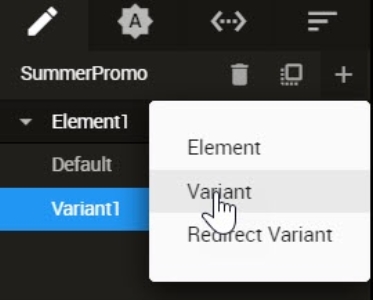
-
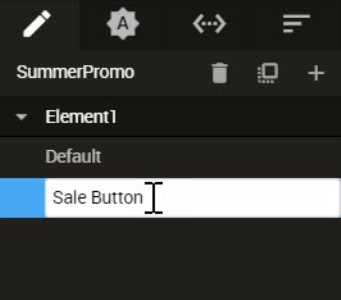
Double-click the variant name to rename it.
-
Enter the new name.
-
Repeat these steps for each variant you want to create.


Adding another Element to this campaign would make it a multi variate test (MVT).
Modify variant
You can modify variants by selecting the variant and using the properties panel or using the code editor. In this example we will change the color of the sale link on the home page and replace one of the banners on the home page with a sale banner.
To modify a variant:
-
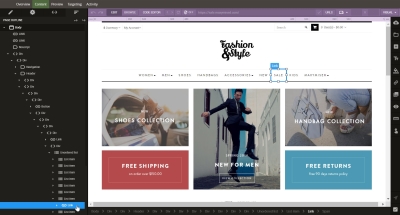
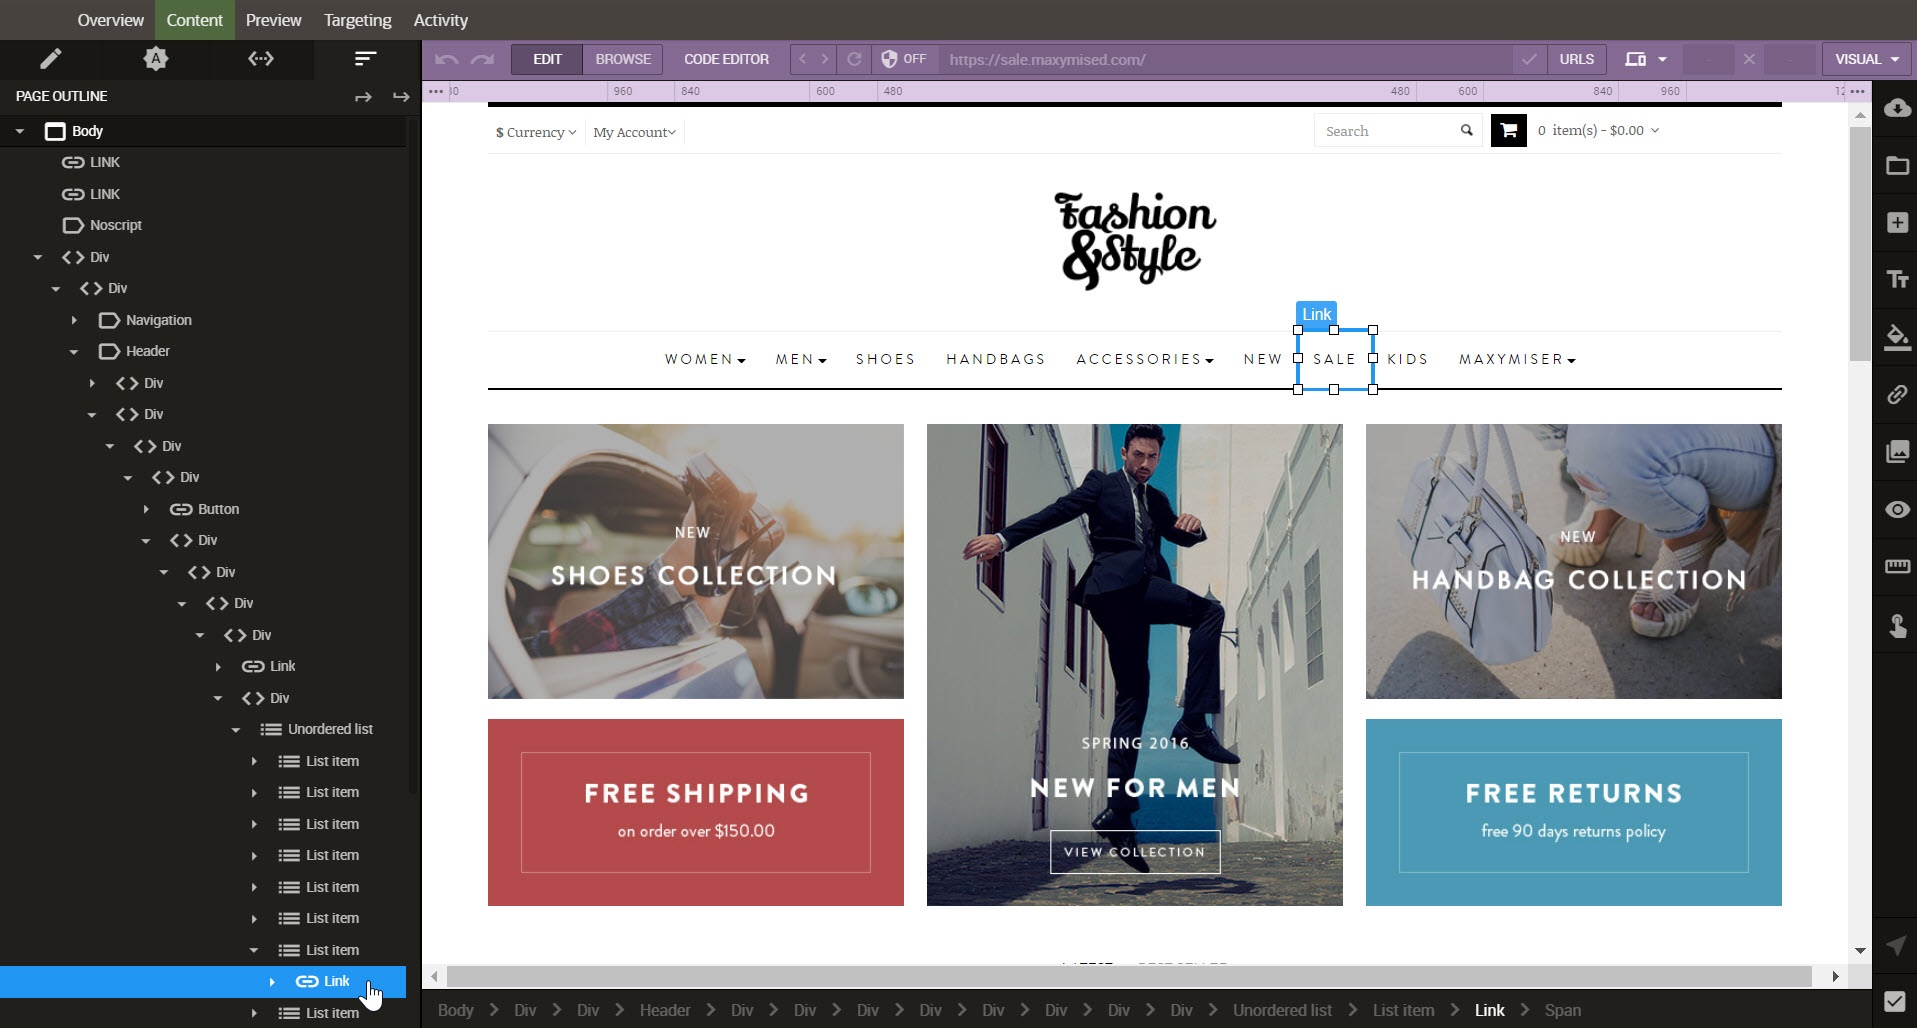
Browse to the page that you want to test and click EDIT.

-
Select the item on the page that you want to modify. In this example, click the SALE menu item.

-
In addition to clicking on the item on your site, you can also use the outline tree on the left hand panel or the breadcrumbs along the bottom of the page.
-
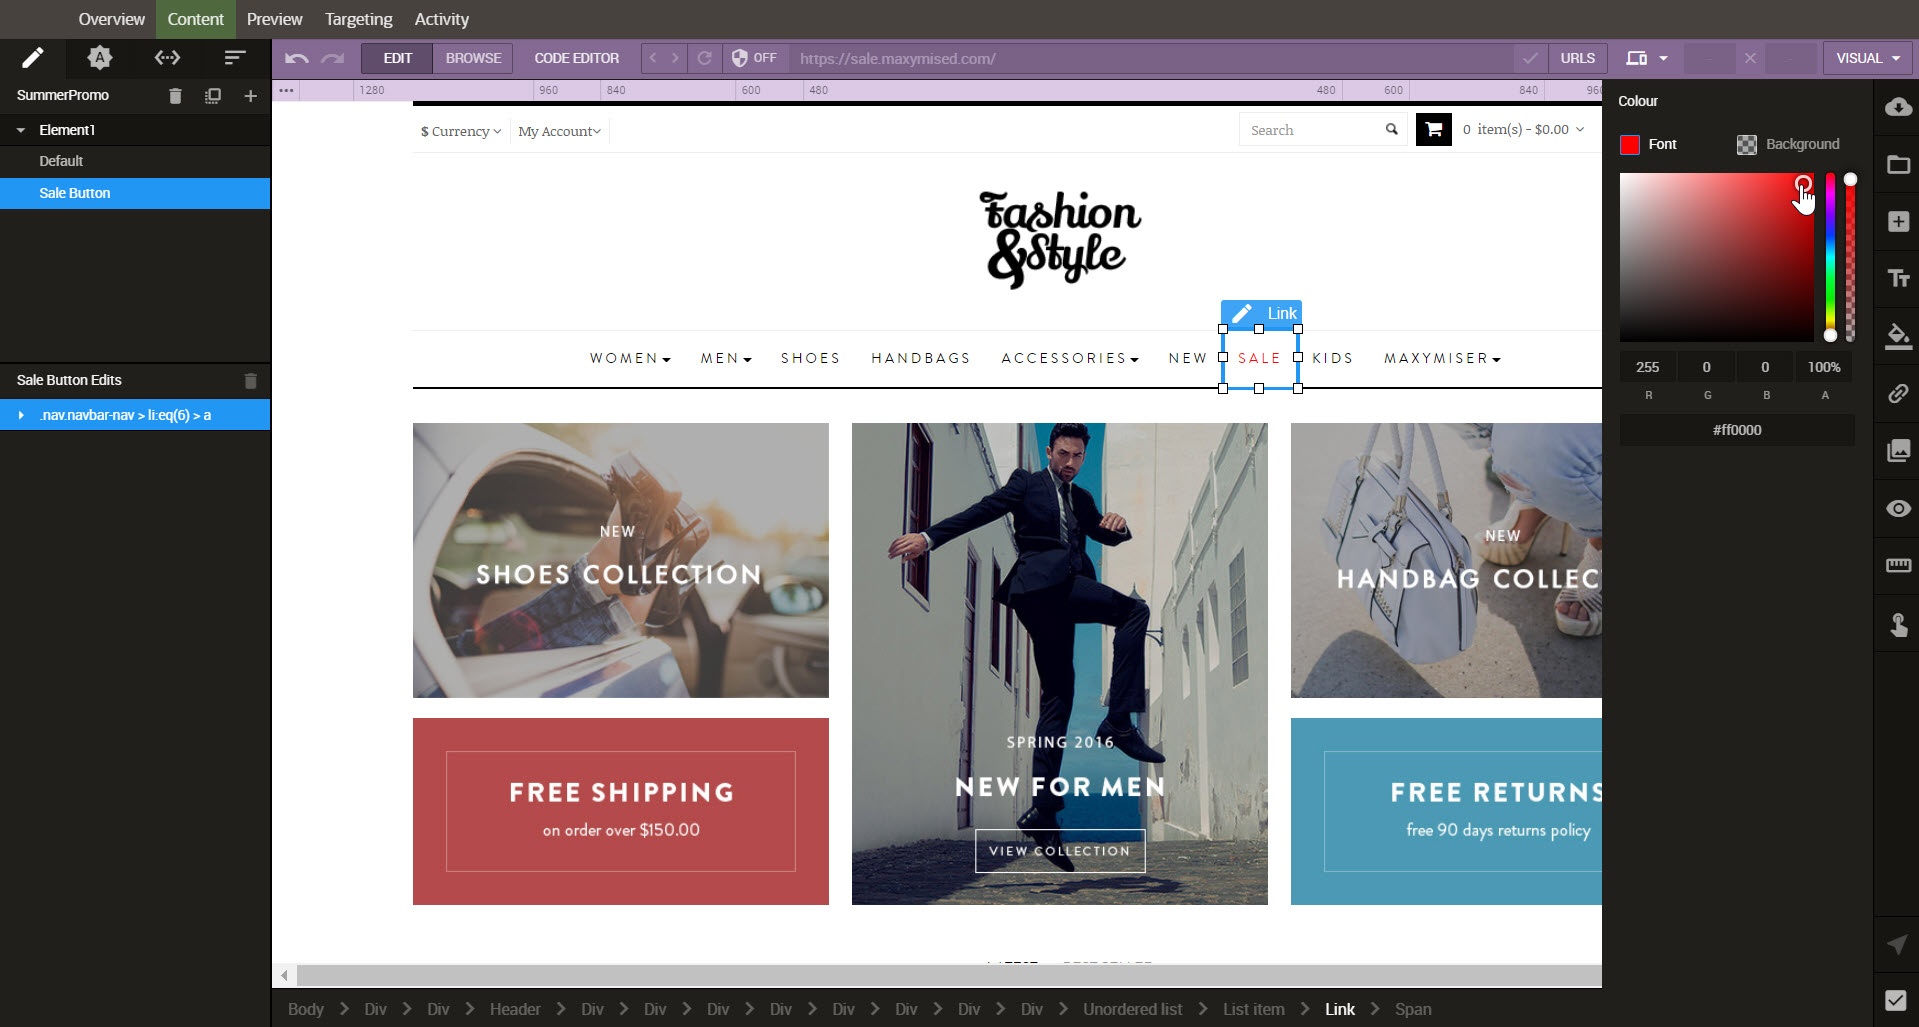
Notice the properties icons displayed on the right. You can change the UI Element properties using the fields in the different properties panels. For example, change font colors, background colors, fonts size, button text etc. Lets change the font color to red.

-
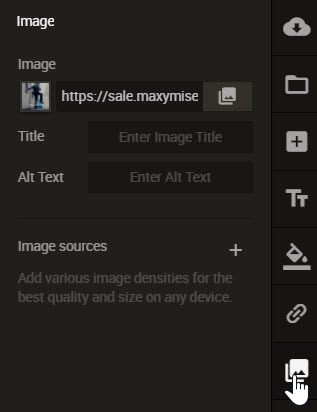
Now replace a banner on the home page with a free delivery banner. You can either upload the image to the image library or enter a URL of an image. We'll use an image that has been added to the image to the library.

-
Select the image on your site and expand the image properties panel on the right.

-
Select the image library icon to view images in the library.

-
The pencil
 indicates items on your page that you have edited. You can also see a list of edits to this variant in the left hand panel. Use
 to undo/redo your edits.
-
Using the code editor, you can add your own code or amend the code of any changes made via the properties panel. Click
 to open the code editor to view the changes that have been made.
-
If you make any changes to the code, you must click Save at the bottom of the code editor to view your changes.
-
Now click Code Editor to close the editor.


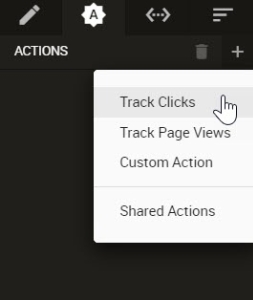
Set up the following types of actions:
- Track Clicks: Use to track the number of times visitors click on a screen element.
- Track Page Views: Use to track the number of times a visitor views the page containing the element.
- Share Actions: Use one of the existing site actions, such as revenue, check out, purchase, and add to cart.
To create a new track click action on the Sale link:
- Select Edit mode.
- Select the SALE menu item.
- Select the Actions tab.
- Click + to add an action.
- Select the action type - Track Clicks
-
Enter the action name and description.
-
Click
 to attach the action to the Sale link.


Note: If you set up multiple actions, select one as the primary (the main metric used to measure the effectiveness of a campaign), which is typically the metric on which a decision is based.
QA'ing a campaign
Until you publish your campaign it is not visible to website visitors, your campaign is in a Sandbox (test environment) where you can test your campaign before putting it live. The QA Tool provides an easy way to test your campaign on your website. You can preview experiences and validate that metrics are captured prior to publishing.
Publishing a campaign
Once you have tested your campaign, you will use the publish center to transfer campaigns from the Sandbox (test environment) to the Production environment where visitors see campaign content.
Note: Oracle Maxymiser recommends that you designate the role of publisher to a selected user or group of users.
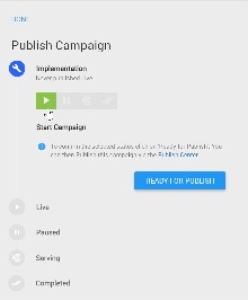
To publish a campaign:
-
Click Publish from Overview panel.
-
To start the campaign, click
 and READY FOR PUBLISH. Then follow the instructions in the publish center.