Campaign Designer
- Access the Campaign Designer features
- Change text, images, or element styles on your page
- Define success metrics
- View your campaign on different devices
- Automate campaign content and behavior
- Access the code editor
- Access other parts of the Oracle Maxymiser platform
The Campaign Designer workspace provides tools that help you make quick, visual changes to your website.
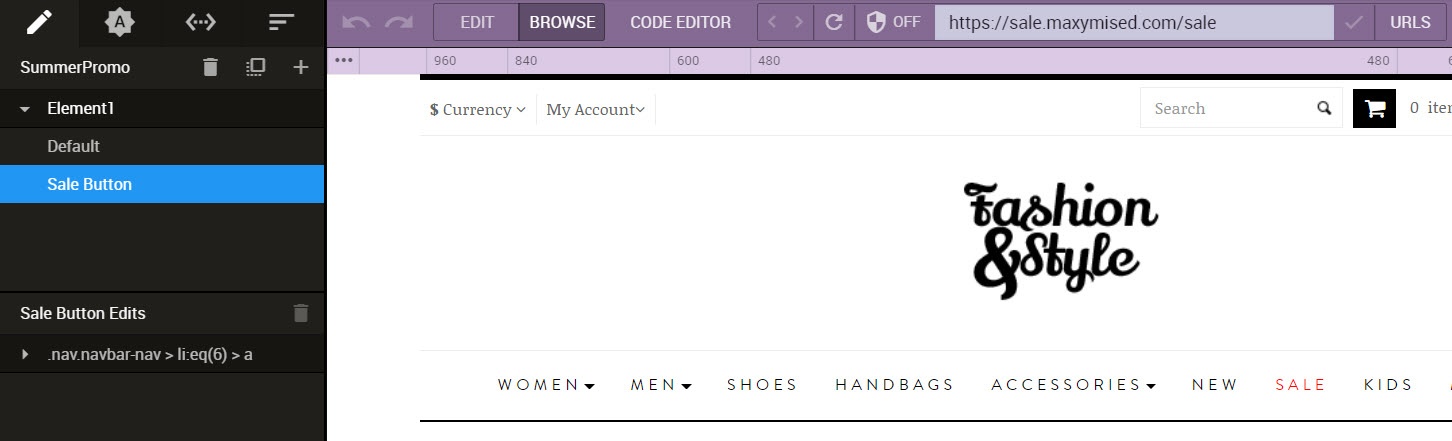
Overview tab
The Overview tab provides a quick snapshot of your campaign:

| Item | Name | Description |
|---|---|---|

|
Tabs | Quickly switch between Campaign Designer features, where you can specify the items summarized on the Overview tab. |

|
Campaign URLs | The URLs where your campaign will run |

|
Campaign content | The number of test page variants for the element you are testing and the associated variant weights |

|
Actions | The actions captured |

|
Devices | The devices where your campaign will run |

|
Targeting | Any targeting rules for the campaign |

|
Scripts | Any attached scripts |

|
Integrations | Import data into Oracle Maxymiser or deliver your Oracle Maxymiser data to other platforms |

|
Settings | Campaign settings including SPA Support, Cross Device and Low Traffic |

|
QA Campaign | Launch QA Tool on your site |

|
Publish | Publish the campaign when you are done configuring it |
Content tab
Interact with different parts of your website pages to create campaign content. Create variants for an AB test or in the case of MVT set up the structure of a campaign using elements and variants.
Content Toolbar

- Undo or Redo: undo and redo edits within your current session
- Edit page: Switch between edit mode or browse mode. Use edit mode when modifying variants and changing elements on the page or using the code editor.
- Browse page: Use browse to navigate through your site when choosing where your campaign should run.
- Code Editor: Use to show/hide the code editor. You can insert or modify code directly. This is for more advanced users and gives you the flexibility to make complex transformations to the page. The code editor gives you a real time view of what is changing in your sites HTML, CSS and JavaScript. It also enables seamless and bi-directional switching between WYSIWYG and code.
- Back, forward and reload: browsing controls that can be used when navigating your website
- Compatibility mode: use the compatibility mode to help resolve certain issues when loading your website in Campaign Designer. Some websites are restricted from being loaded within an Iframe - see Enabling compatibility mode for more details.
- URLs: decide where your campaign should run by including and excluding URLs.
- Select Device: You can view pages on a different devices using the device selector.
- Visual or Code: Switch to visual mode to use the WYSIWYG editor or switch to code mode to edit your variant.
Browse to any page on your site
Make your edits with fewer clicks - browse to the page you want or type the URL. You can also browse pages not included in your campaign.
Edit website content directly on the page
Edit content freely directly on the page - ![]() highlighting on the page shows you the parts of the page that have been changed. Your changes are automatically saved as you make them.
highlighting on the page shows you the parts of the page that have been changed. Your changes are automatically saved as you make them.
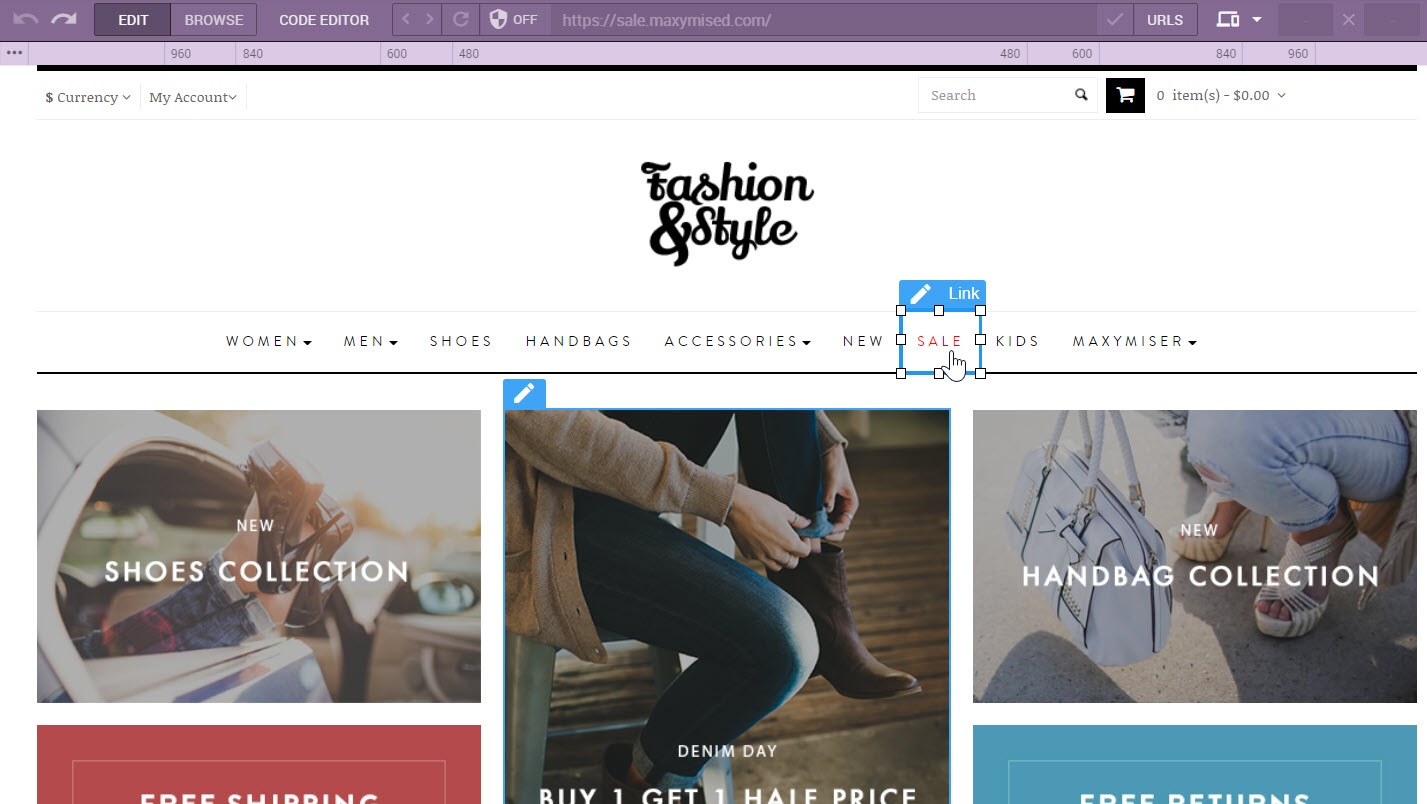
View and change the properties for the website content you have selected in an instant - you can change typography, images, colors, layouts, and so on.

Select and edit the correct site element
Quickly navigate between the site elements you want to edit using the breadcrumbs at the bottom of the page.
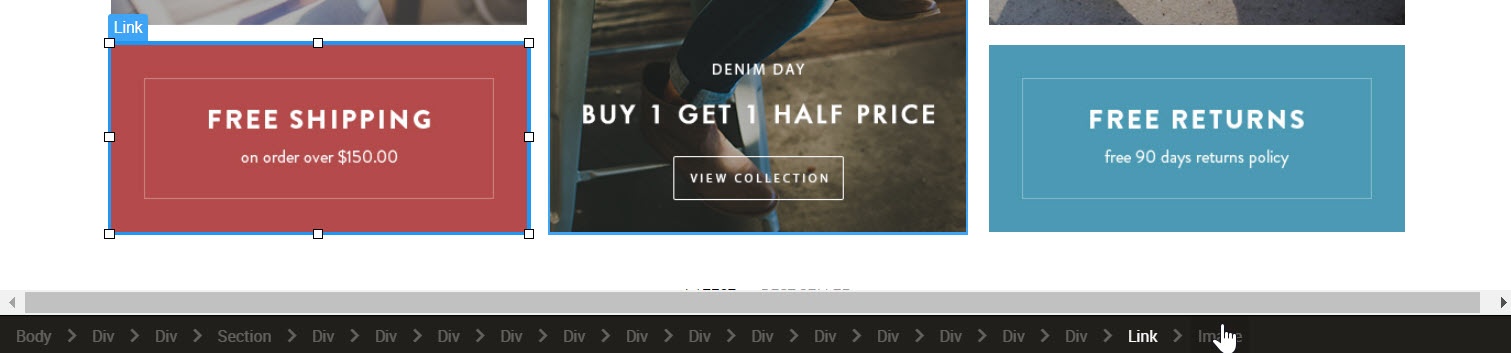
Or use the DOM tree to view the entire page outline and navigate up, or drill down to find the element you want to edit.

Integrated code editor for developers
with seamless switching between WYSIWYG and code.

Create campaigns for responsive sites
Create content for desktops, mobile phones and tablets and preview your campaign on any screen size.

Easy action tracking
Action highlighting on the page shows you the parts of the page that have been changed and what actions you are tracking. You can track actions on any page, even pages that do not have a test variant. The ![]() highlighting on the page shows you what actions you are tracking.
highlighting on the page shows you what actions you are tracking.
![]()
You can capture attributes such as text or order values from a page.
Scripts panel
Use to create and manage campaign scripts.

Preview tab
Preview your test variants exactly as they will appear on the web page or specific device. Share links to experiences with colleagues who won't need to log into the Maxymiser UI.

Targeting tab
Intuitive creation of targeting rules with drag and drop functionality to display even complex rules in simple English. Developers can use custom JavaScript when creating targeting rules.
Use to set up campaign and content rules so you can determine who will see your campaign and what content will be shown. Use out of the box attributes such as behavior, location or imported custom attributes. You can specify how much of your site traffic you want to include in the campaign.

Next steps
Creating a preview URL to share a variant preview
Editing or inserting HTML into a page
Running a campaign on multiple pages
Selecting elements on a page to edit or track actions
Testing a single page application website
Troubleshooting website loading in Campaign Designer