Creating a Server-side campaign
To learn what a Server-side Campaign is, refer to Oracle Maxymiser Campaign Designer API Overview.
This topic covers:
Creating Server-side campaigns
To create a Server-side campaign:
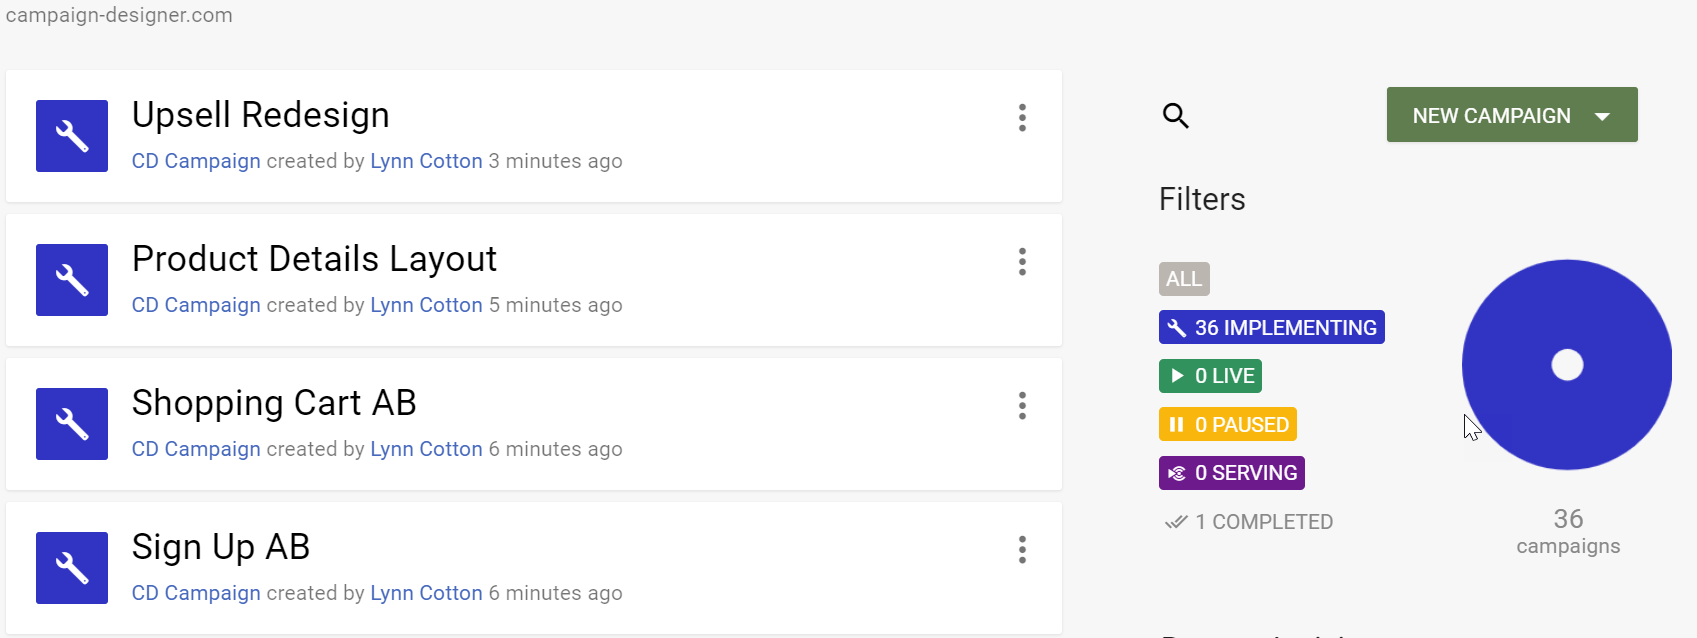
- From the dashboard, click NEW CAMPAIGN.
- For the campaign type, select Server-side campaign.
- Enter the name and description.
- Click CREATE.

Adding Elements and Variants
Note: Unlike regular Campaign Designer campaigns, Server-side campaigns don’t have a Content tab for adding Elements and Variants. Instead, you can create Elements and Variants directly from the Overview tab.
To add a new Element or Variant:
- From the Overview tab, click

- Click either Element or Variant.

Adding URLs
To add a URL to your campaign:
- Click the Edit URLs icon
 )
) - Select the Add URL icon
 )
) - Enter the URL and click ADD.

Note: All included URLs will appear in the Campaign URLs widget, but excluded URLs will not display in this widget.
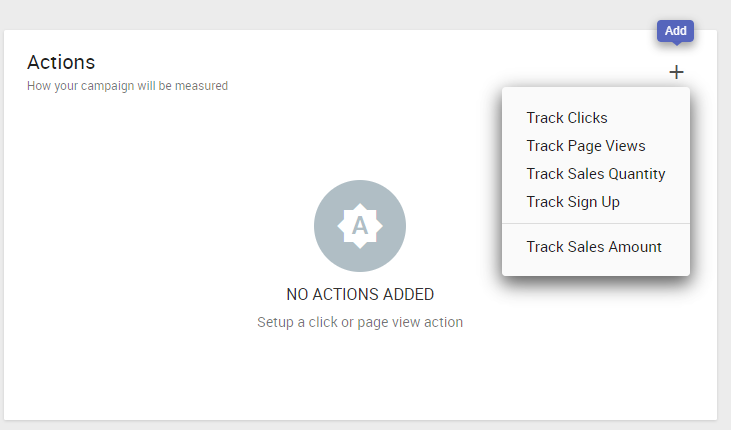
Adding Actions
Server-side campaigns currently support the following types of actions: Clicks, Page Views, Sales Quantity, Sign Up, and Sales Amount.
To create a new action:
- Click in the Actions widget.
- From the list of action types, select the one you would like to track.
- Enter the action name and description. To change the default name, double-click on the action.
Note: By default your first action is added as the Primary action.
To edit the Primary action:
- Click the Edit Action icon
 )
) - Select Make this the Primary Action.
- Click DONE.


Note: If you select the Sales Amount action type, you must specify the Currency and the Value Multiplier. Click on each field to make your selection. The Value Multiplier field helps prevent fractions in the action value when you map an action. For example, if the action value you want to capture is 538 and you want to view the result in campaign reports as 5.38, set the Value Multiplier to 0.01. 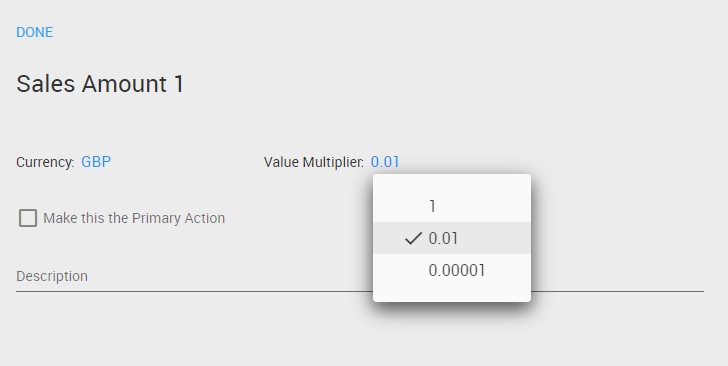
Targeting
Targeting allows you to set up campaign and content rules to control who sees your campaign and which content displays.
Note: The number of standard attributes available within Targeting are currently limited for Server-side campaigns.
To configure targeting:
- From the Overview tab, click ADD A RULE or navigate to the Targeting tab.
- Choose from the standard attributes such as Location and Technology or navigate to the Custom tab to use custom attributes. To learn more, refer to: Targeting my campaign to certain visitors.
Related
Targeting my campaign to certain visitors