Launching a Message Center campaign with Campaign Designer
Important: This information applies to the Message Center Campaign Designer, which is now generally available for all accounts. It replaces the Message Center Campaign Workbook.
To see how the Message Center Campaign Designer differs from the old Message Center Campaign Workbook, see Message Center Campaign Designer changes. For a breakdown of the Campaign Designer's visuals, see Message Center Campaign Designer visuals overview.
Campaign Designer has a simplified workflow and easy to follow interface. Use Campaign Designer as part of your customer engagement strategy by reaching customers through communication personalized to them. Message Center campaigns let your mobile app send messages directly to an app's Message Center without also sending a push notification. Message Center campaigns can be sent to opted-out users, whereas Push campaigns exclude opted-out users.
With Campaign Designer, create and launch a campaign in four steps:
- Create your campaign and define its targeting
- Create personalized messaging
- Test your campaign
- Launch your campaign
To navigate to the Campaign Designer :
- On the side navigation bar, click
 Campaigns and select Manage Campaigns.
The Manage campaigns page opens.
- Click Create Campaign, or open an existing campaign.
Step 1: Create a targeted campaign
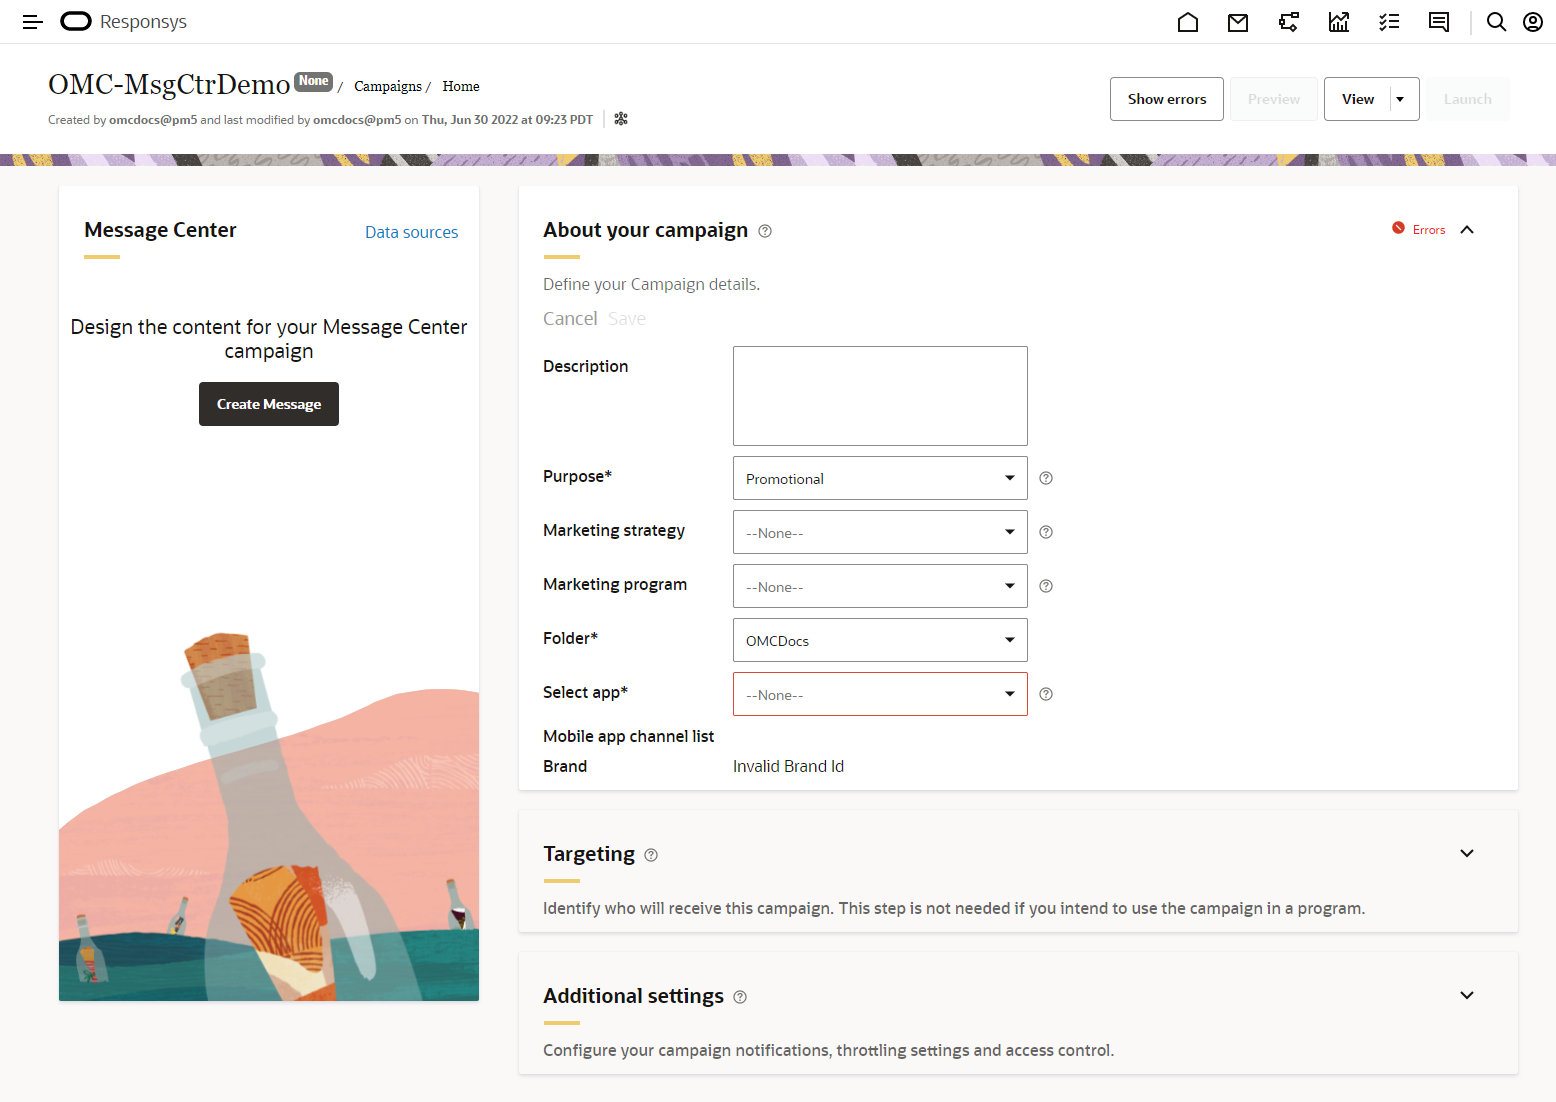
- Create your Message Center campaign
- Select your app and configure the About your campaign panel
- Configure the Targeting panel to ensure your campaign is targeted
- Configure the Additional settings panel