Adding Users Using Oracle Identity Cloud
When you login in to Responsys, if you are if you are redirected to the Oracle Cloud login, you add users using Oracle Identity Cloud.

If you are shown the Responsys login page, you can add users using Responsys. Learn more.
This topic describes:
Note: You need to be have instance administrator access to perform the tasks in this topic. Only add users after your Responsys account after provisioning is complete. The provisioning is complete when the user associated with your Oracle Cloud Account has received their Responsys Welcome email.
Log in to Oracle Identity Cloud
To log in to Oracle Identity Cloud:
-
Go to the Oracle Cloud Console: Console URL link, and sign in using the user name that you received in your Setup Complete email and the password that you set after activating your account.
-
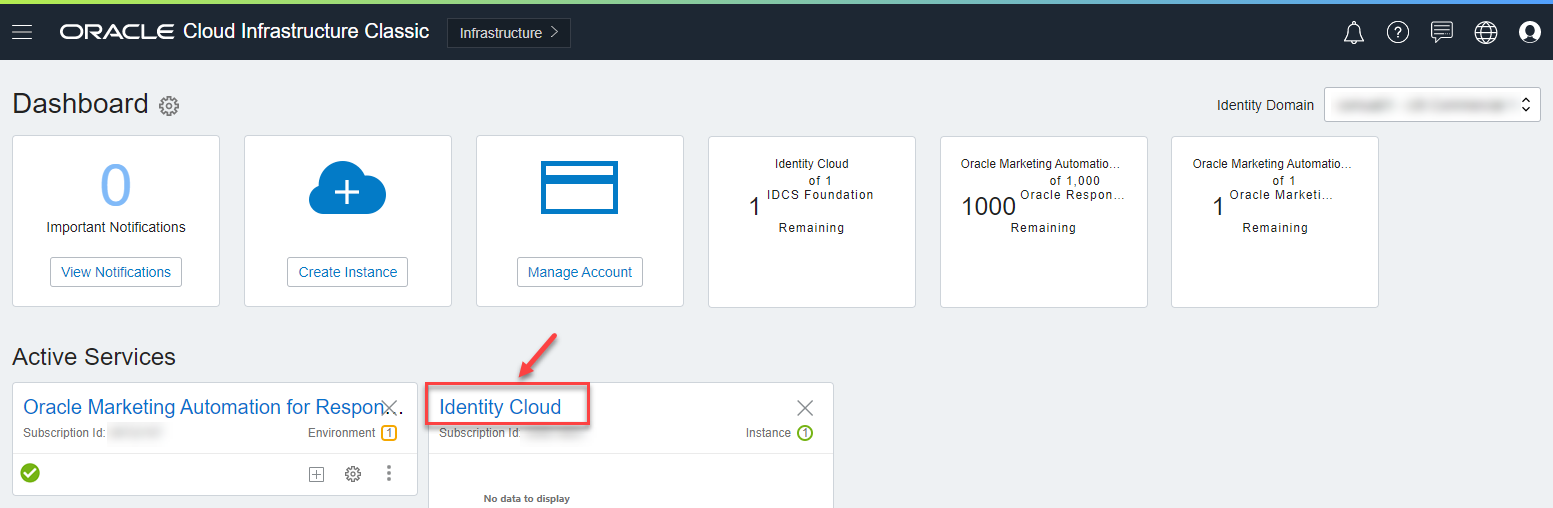
From the Oracle CloudDashboard page, locate the Identity Cloud card and click its link.
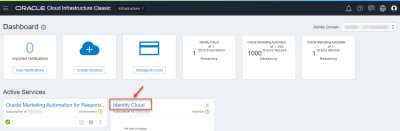
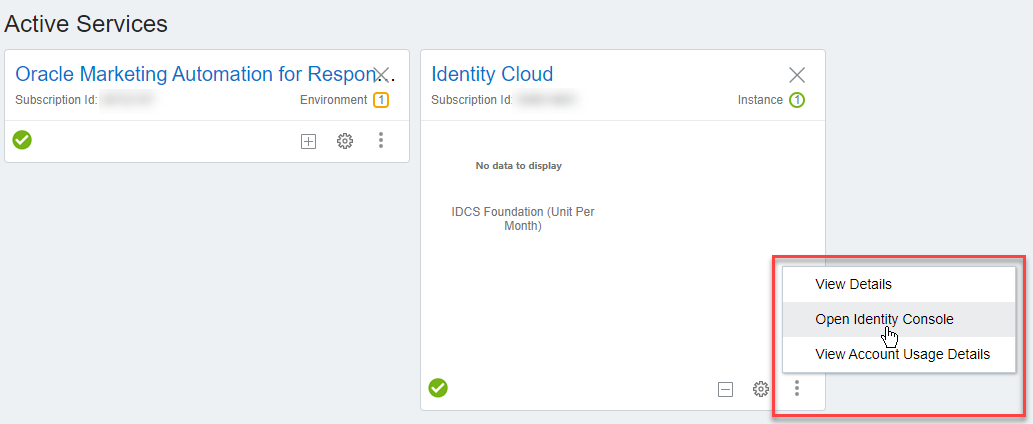
Tip: Alternatively, you can click the Action menu
 , and then select Open Identity Console. This takes you directly to the Oracle Identity Cloud Service dashboard page, and you can skip to step 4 below.
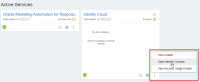
-
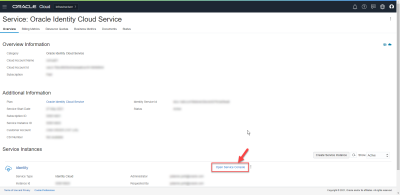
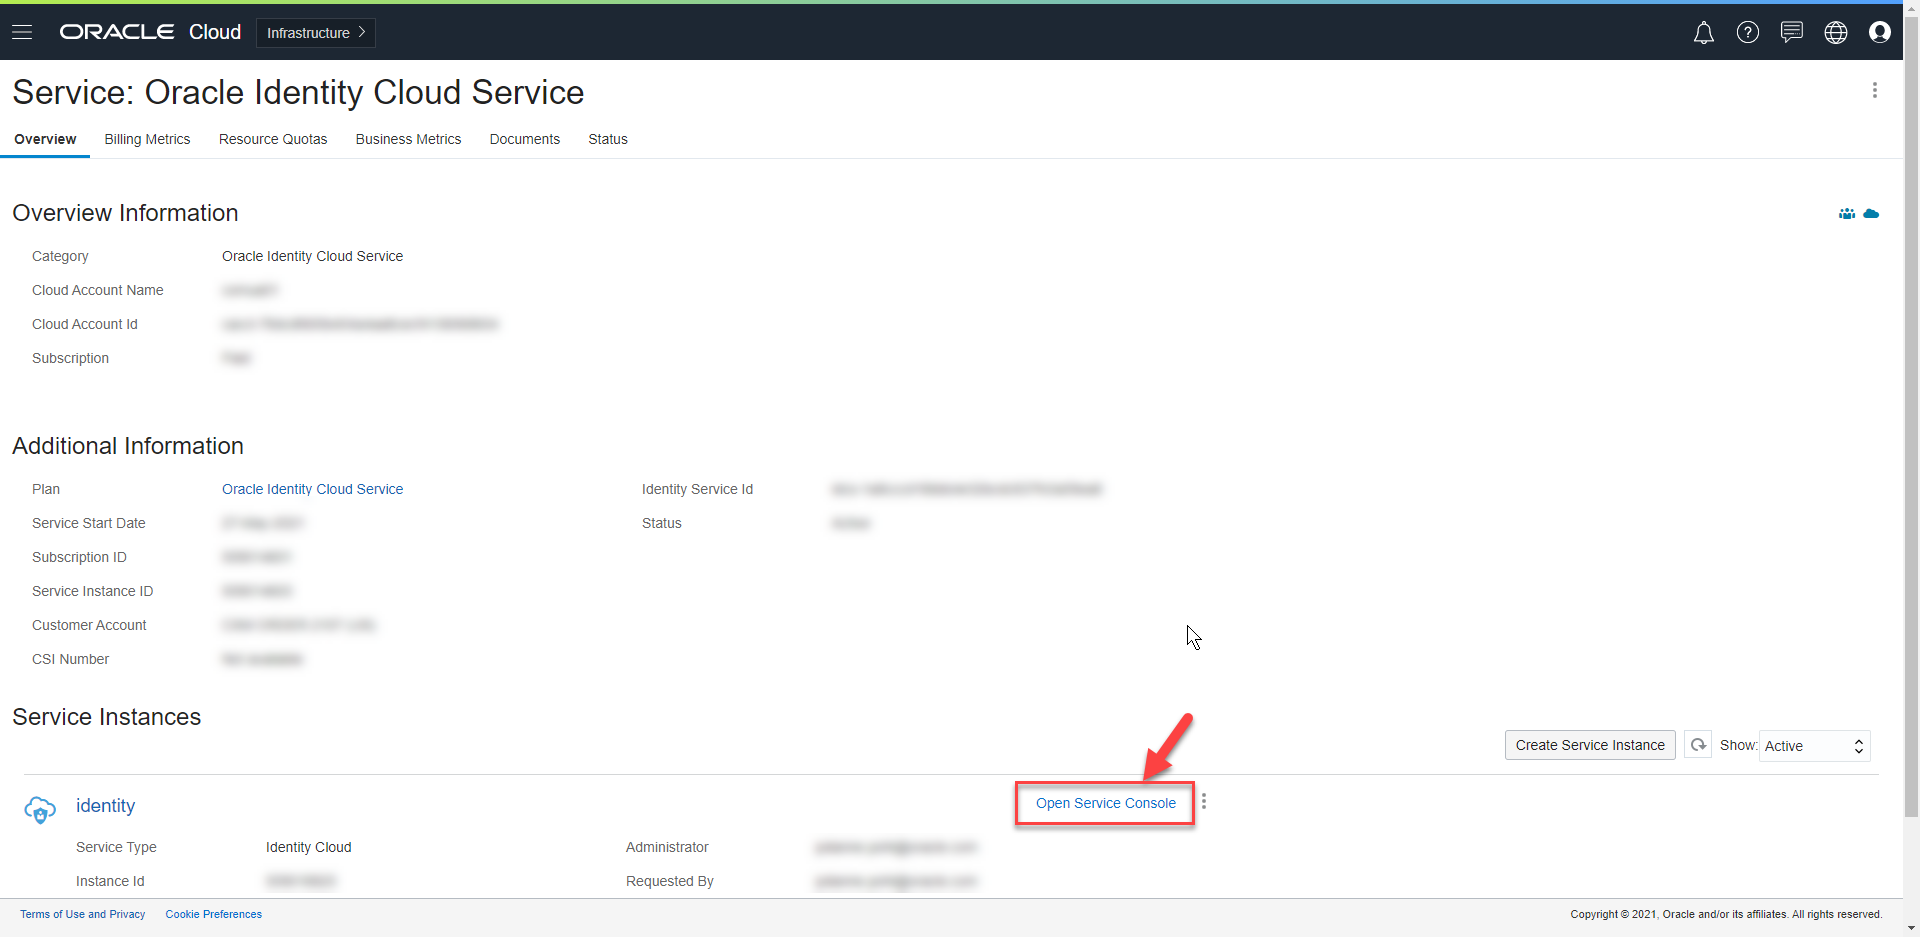
From the Service: Oracle Identity Cloud Service page, locate and click the Open Service Console link. This takes you to the Oracle Identity Cloud Service dashboard page.
-
From the Oracle Identity Cloud Service dashboard, click the navigation drawer, and then select Users. This opens the Users page.
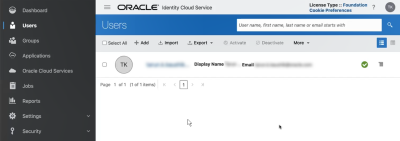
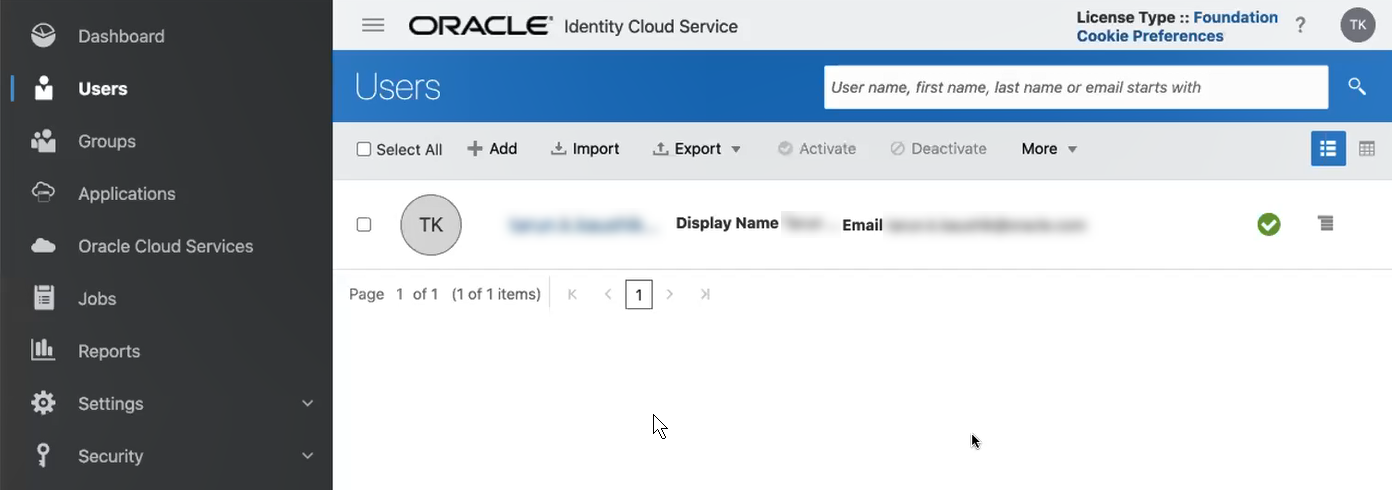
Continue to the next section to add new users.
Optionally, create a group for your Responsys account
To save time and ease of use, we recommend that you create a group for each Responsys account that you manage. You can then assign the group access to Responsys.
The overall steps to do this look like this:
-
In Oracle Identity Cloud, create a new group.
-
Assign the group access to your Responsys account.
-
Make the user a member of the group as described below.
For more information on creating groups, see the Oracle Identity Cloud Service help center.
Add new users
There are four main tasks when adding users to Responsys:
- Add the user to your organization's user list.
- Assign the user access to Responsys. The Responsys application is prefixed with CXMARKETINGAUTO followed by your service instance name.
- Provide the user with the sign in link that they will need to access Responsys.
Step 1: Add user to user list
You can start adding users to your organization's user list from the Users page.
Important: If the user was previously added to the Oracle Identity Cloud Service because they have used other Oracle products, then you don't need to add them again. You only need to assign them access to the Responsys application. You can skip these steps and go to Step 2: Assign user access to application.
To add a user:
- From the Users page, click Add. The Add User dialog will display.
- Enter the name details for the user and the user name. Click the checkbox to use the user's email address as their user name.
- Click Finish. You will be directed to the Users page and the user will be added to the list.
Learn more about Managing Oracle Identity Cloud Service Users in the Oracle Identify Cloud Service Help Center

After you finish: After creating the user, they will receive a welcome email to Oracle Cloud Identity Service to activate their account. Continue to Step 2: Assign user access to application.
Step 2: Assign user access to application
You will now need to assign the user to the Responsys application. You can do this by one of the following methods:
-
Assign the user to the Responsys application
-
If you set up a group as described in above, make the user a member of the group you created.
You can also update the details for the user.
To update the user's details and assign the user to Responsys:
- Click the user name of the user you just added. The user's information will display.
- If needed, click the Details tab and update the details for the user. Then click Update User.
- Choose an option
- If you set up a group, click the Groups tab.
- If you did not set up a group, click the Access tab.
- Click + Assign and choose an option:
- If you are assigning groups, search for groups to assign to the user account. In the Assign Groups window, select the check box for each group that you want to assign to the user account.
- If you are assigning applications, select the application prefixed with CXMARKETINGAUTO followed by your service instance name for the Responsys application, and then click Assign.

-
The user will now have access to the Responsys application.


After you finish: The user will not receive an email from Responsys. Continue to the next step to send the user the Responsys sign in URL. See Step 3: Send the user the sign-in link for Responsys.
You can add additional users in any of the following ways:
- From the Oracle Identify Cloud Service Users page, click + Add.
- Visit the Oracle Identify Cloud Service dashboard. In the Users section, click Add user
 .
.


Step 3: Send the user the sign-in link for Responsys
After the user activates their account and you assigned them access to the Responsys app, the user now needs to sign in to Responsys. Responsys does not send an email with the sign-in link. As the instance administrator, you'll need to send it to them.
To get the sign-in link for Responsys:
-
Go to the Oracle Cloud Console: Console URL link, and sign in using the user name that you received in your Setup Complete email and the password that you set in Step 2: Assign user access to application.
-
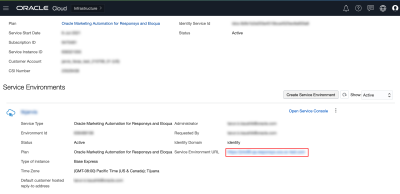
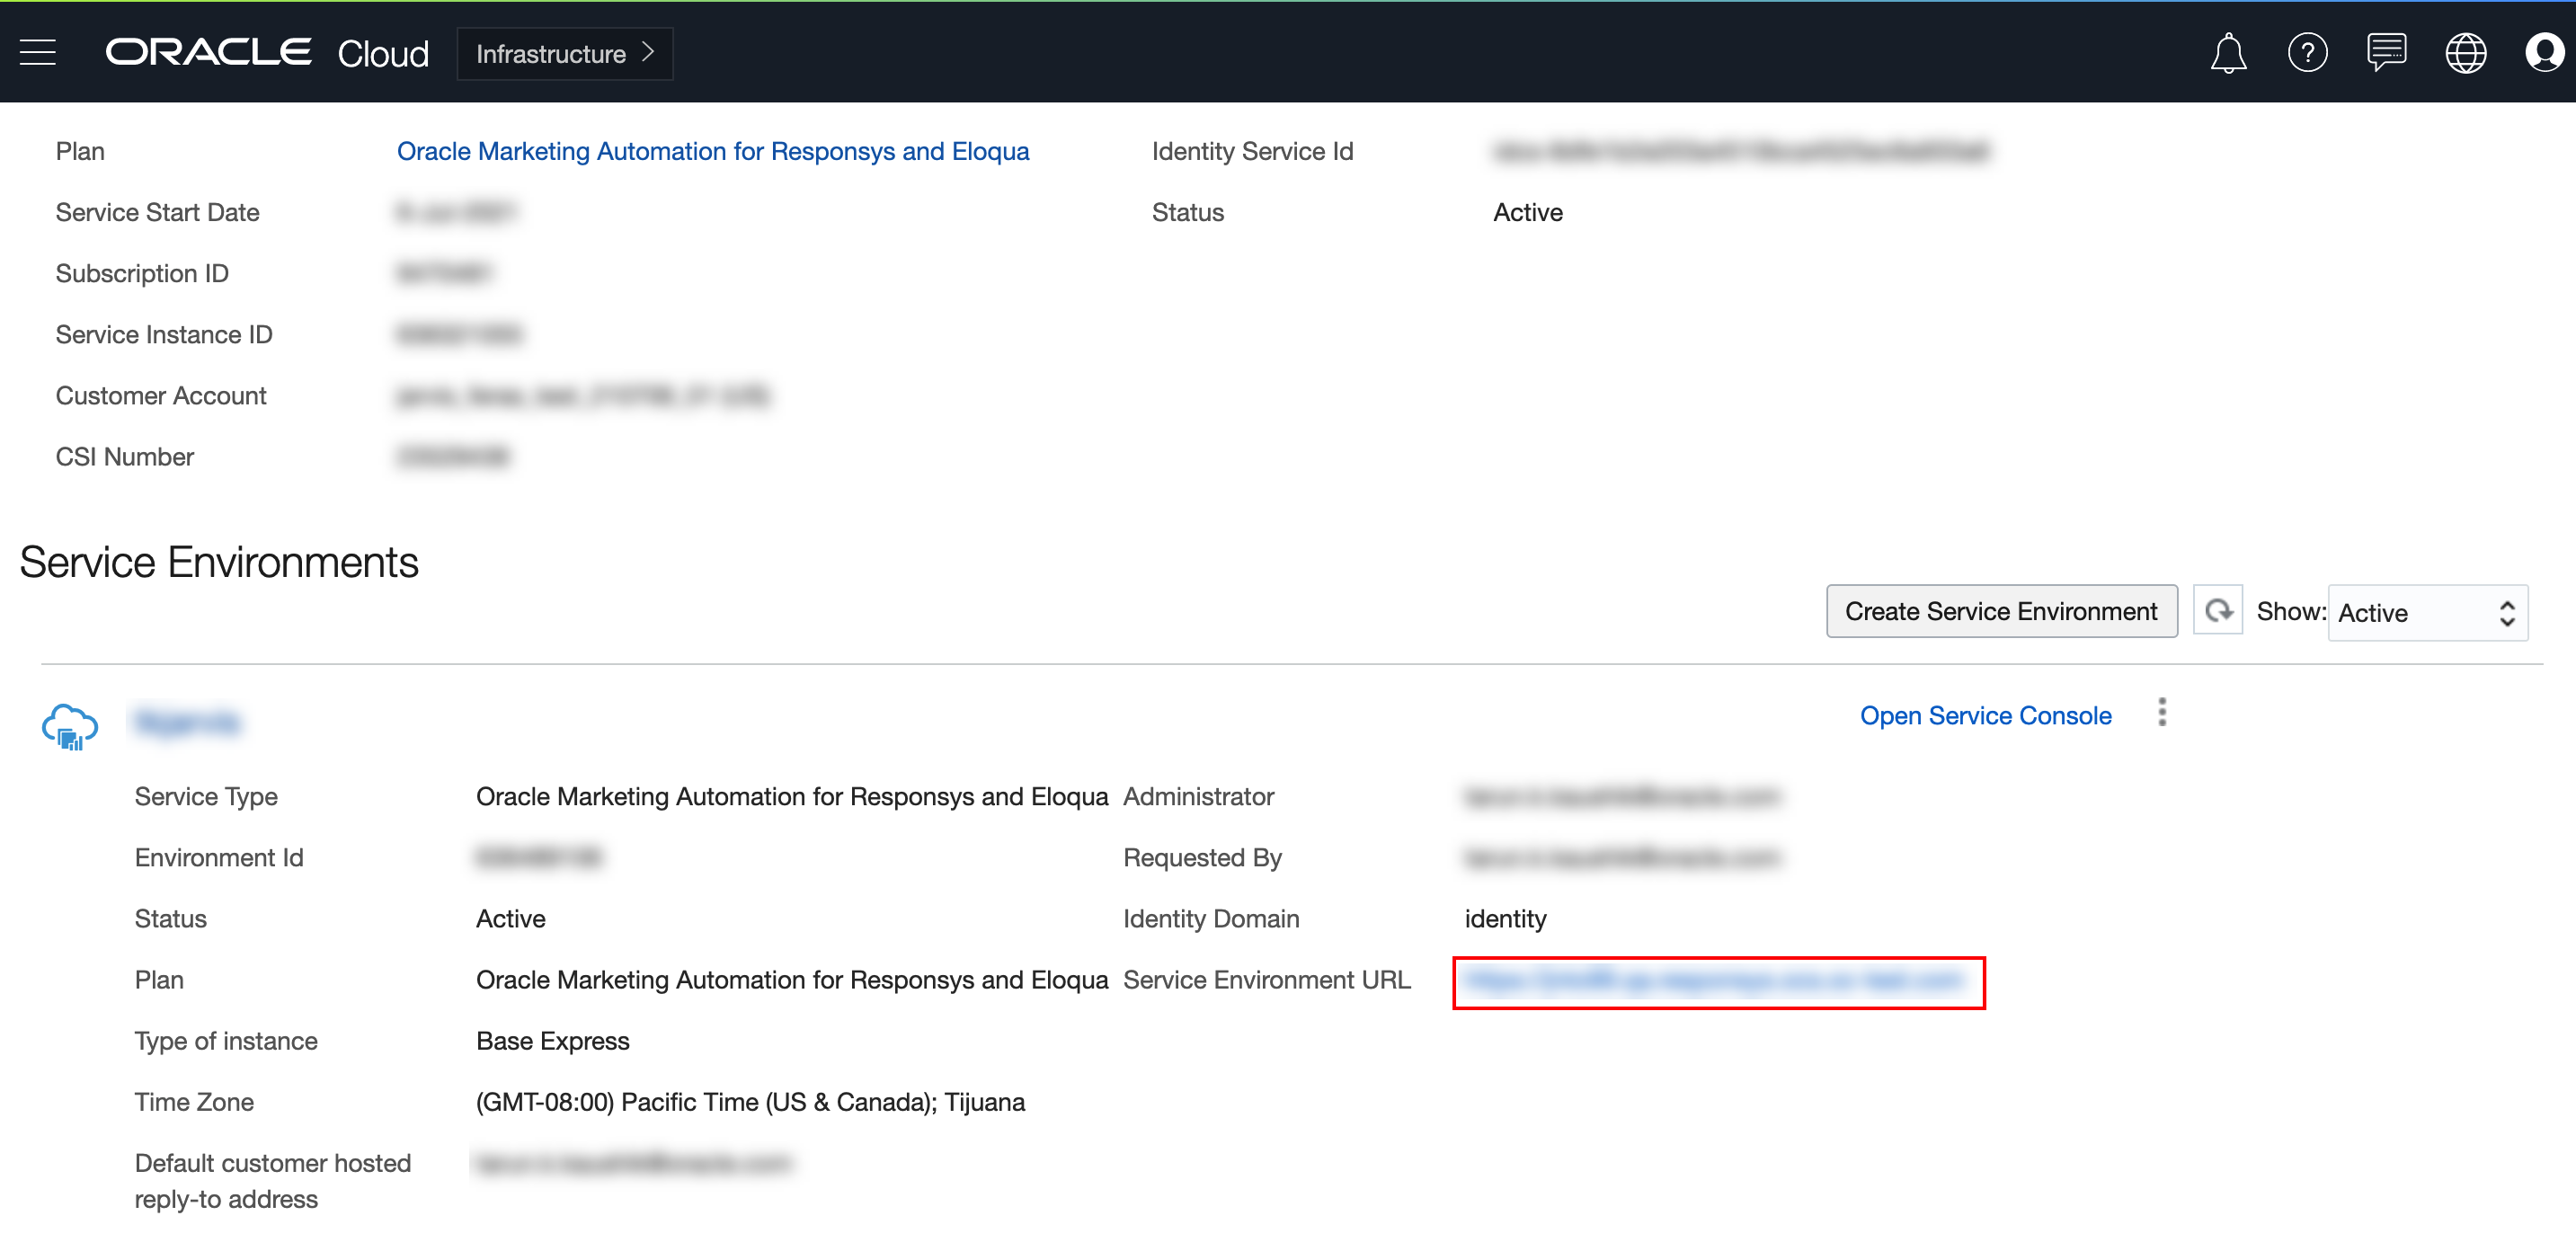
Click the Oracle Marketing Automation for Responsys and Eloqua card. Locate and copy the Service Environment URL. The Service Environment URL is the sign-in link for Responsys.
-
Paste the sign-in link into the email that you will send new users.
Add Instance admin users
The Instance admin role can access and manage all instance management functions in Responsys. You can assign the Instance admin role to users from the Oracle Identity Cloud Service portal.
To create a user with the role of Instance admin, you will need to do the following:
Once you have completed these steps, you can then follow the steps below.
To assign the Instance admin role:
- Log in to the Oracle Identify Cloud Service.
- In the left-hand navigation menu, go to Security and select Administrators. The Administrators page will display.
- Click the heading Identity Domain Administrator.
- Click + Add. The Add Users to the Administrator Role dialog will display.
- Review the current list of users that have access to Responsys and use the search field if needed. Click the checkbox next the user's name to assign them the Identity Domain Administrator role.
- Click OK.


