Getting Started
With scripting enabled the Scripting Center section is available in Administration, see Scripting Switches.
This also enables the Scripts section in Modify the form permissions forms and in Administration > Customization.
Quick Start
-
Sign in as an Administrator and go to the Scripting Center section.
Note:Make sure you have the necessary switches enabled, see Scripting Switches.
-
Create a new script from the Create Button. See Creating Form Scripts and Creating Scheduled Scripts.
You need to specify a unique filename for the script in the Dedicated Scripting Workspace. You can optionally select a document that already has the script you need otherwise an empty script file will be created. If you specify a document to upload then a new script file is created from the specified file and the original file left untouched.
Note:An individual script can only be associated with one form. The same script cannot be triggered by two different forms or even form events. An individual form may trigger as many scripts as necessary.
-
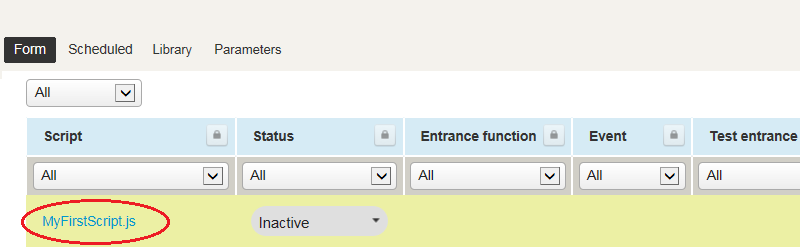
Click on the Script link in the Scripting Center to open the script in the Scripting Studio.
-
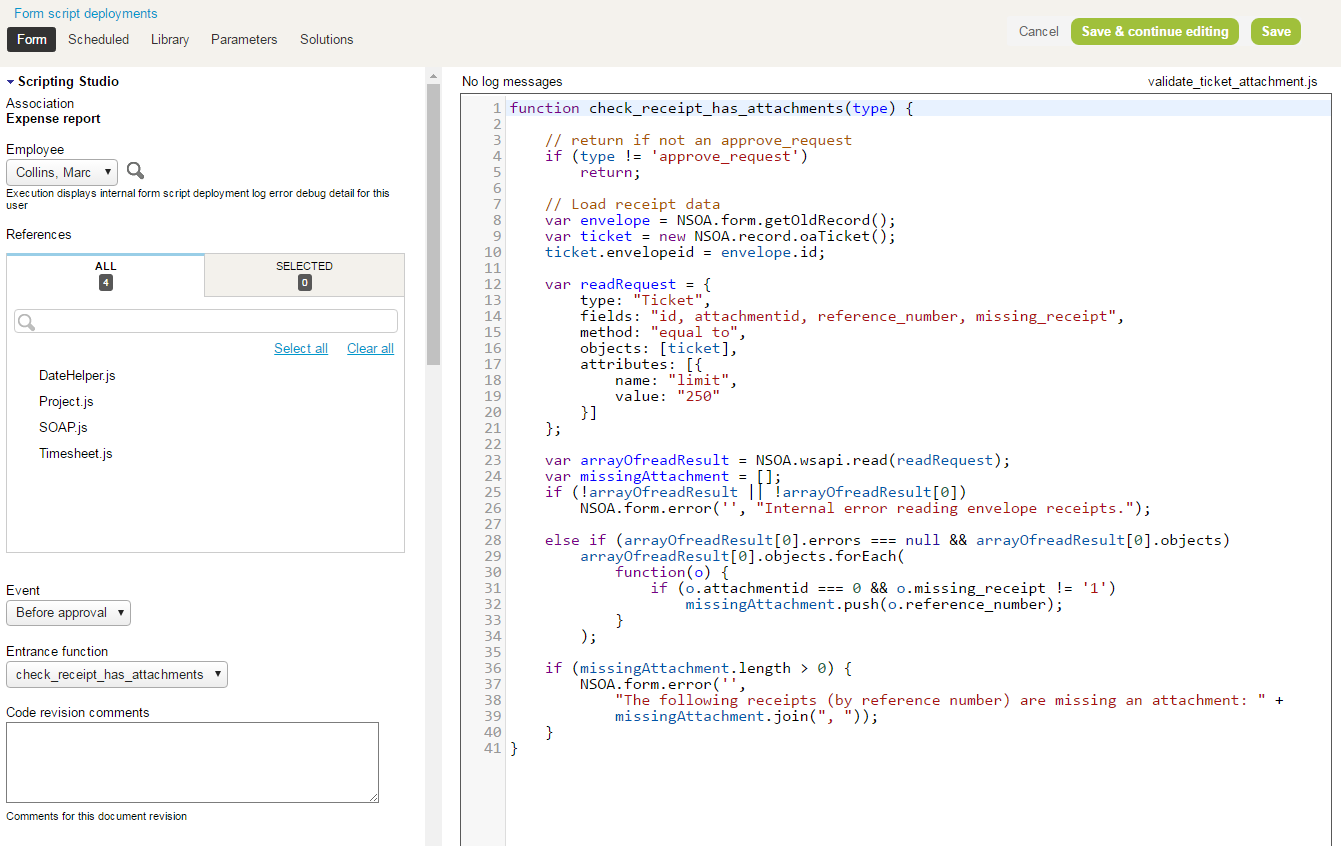
Type the script into the editor and then fill out the fields in the Scripting Studio Tools and Settings:
-
Select the user that the script will run for 'In testing' state, see Testing and Debugging.
-
Select any libraries referenced by this script.
-
Select the Event to trigger the script, see Events.
-
Select the Entrance function, the name of your function to run in the editor, see Entrance Function.
-
Use the Code revision comments to comment the script changes made.
-
Click SAVE.
 Note:
Note:The act of saving a script in the 'Inactive' state will move the script to the 'In testing' state, see Scripting Workflow.
-
-
The script will now run when the SAVE button is pressed on the form to which it has been deployed.
Important:Test your scripts in a sandbox account before deploying to a production account.
-
To deploy the script, select the Deploy option from the Status menu, see Scripting Workflow.

For more details see:
-
Scripting Center - How to build, test, and deploy your scripts.
-
Scripting Studio - Details on the SuiteProjects Pro IDE.
-
NSOA Functions - Details on the functions provided to access SuiteProjects Pro.
-
JavaScript - How to use the JavaScript language.
-
Code Samples - User script examples.
-
Real World Use Cases - Larger examples provided to assist you in developing your own scripts.