Guidelines for CSV Import Files
To use the Import Assistant, you need full permission for the Import CSV File feature. The types of data that you can import with the Assistant depend upon your assigned role, permissions, and on your account's enabled features. For more information, see NetSuite Permissions Overview.
You should scrub your data before importing it into NetSuite.
Before you import data with the Import Assistant, set up CSV files and review their formatting carefully to avoid errors that prevent import and to ensure that data is imported with correct values.
To help with the setup of your CSV files:
-
Review the guidelines for each record type, available from links in Supported Record Types for CSV Import.
-
Review general tips that apply to imports of all record types, in Tips for Successful CSV Imports.
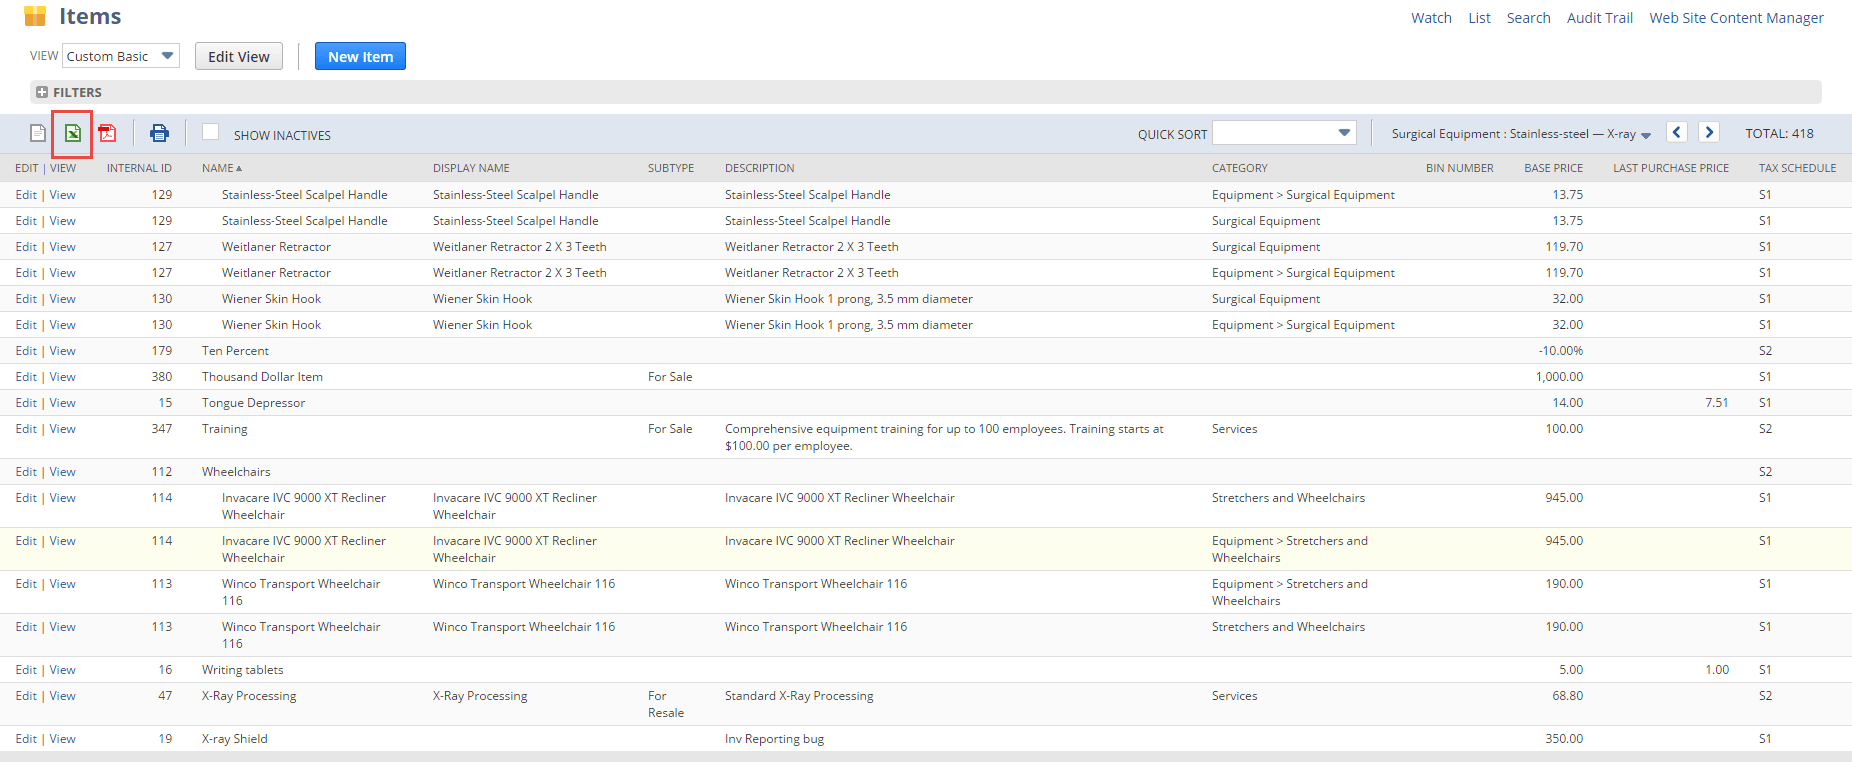
You can create a CSV import template file using the list view for the record type, even if the list is empty. Select the view that displays the most appropriate columns, set the view to show only the columns needed for your import, and then click the Export - Microsoft Excel icon at the top of the list. Open the exported file and save the values to be imported. The following example shows a customized view of the Items list page. Click Export - Microsoft Excel, and then use the exported file to create the CSV import file.
If you want to create your own CSV import template files with columns that automatically map to NetSuite data, review the SOAP Schema Browser for details about fields for each record type. For information about working with this tool, see the help topic SOAP Schema Browser.
For information about the available import types, see the following: