Indirect Cost Allocation Workbook
The workbook uses the Expense Transaction Detail dataset and shows your cost allocation data.
To access the Indirect Cost Allocations Workbook:
-
Go to Analytics > Workbooks subtab.
-
In the Search field, enter Indirect Cost Allocations Workbook.
-
Click the Indirect Cost Allocations Workbook tile. The workbook opens.
To get accurate data groupings in the dataset and the workbook, you must select Grant as your allocation segment in Indirect Cost Allocation for Grants Preferences page. For more information, see Setting Up the Indirect Cost Allocation for Grants Preferences.
Adding Grant Field to Dataset and Workbook
After selecting Grant as allocation segment in the preferences, you must add and apply the Grant field to the dataset and workbook.
To add the Grant field to the dataset and workbook:
-
Go to Analytics > Workbooks subtab.
-
In the Search field, enter Indirect Cost Allocations Workbook.
-
Click the Indirect Cost Allocations Workbook tile.
The workbook opens.
-
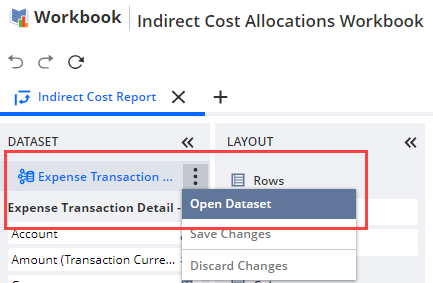
Next to Expense Transaction Detail dataset name, click the menu icon, and then select Open Dataset.
-
In the Search field, enter Grant.
-
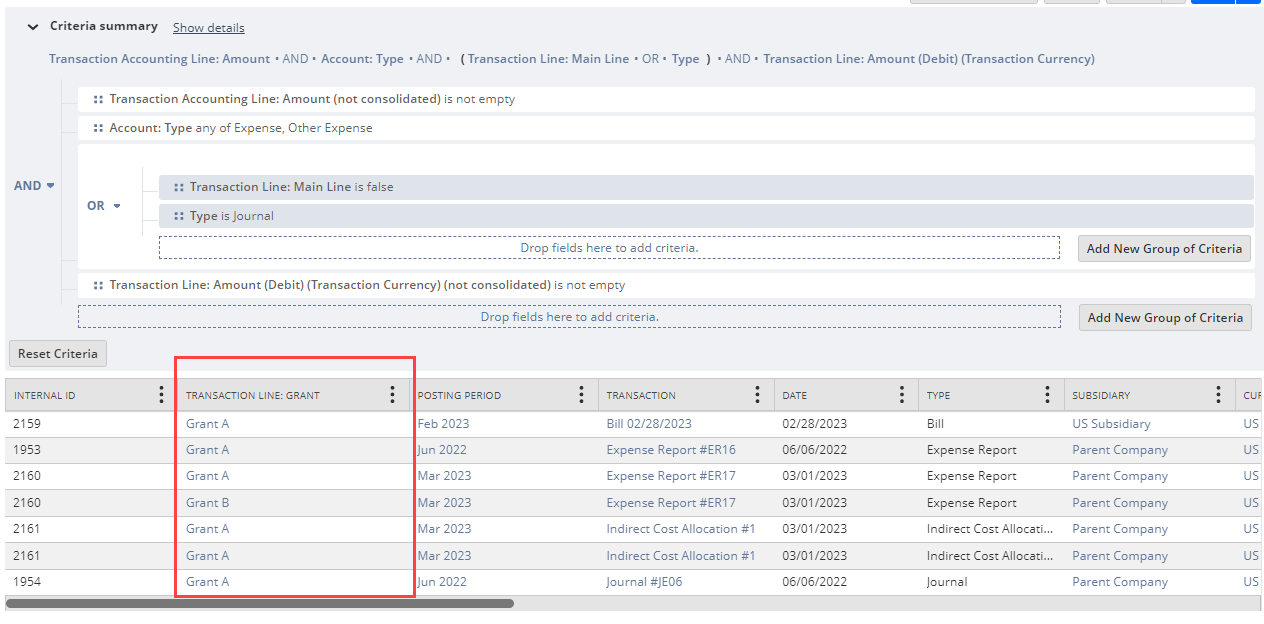
From the Fields list, drag the Grant field next to Transaction Line and move it to the data grid.
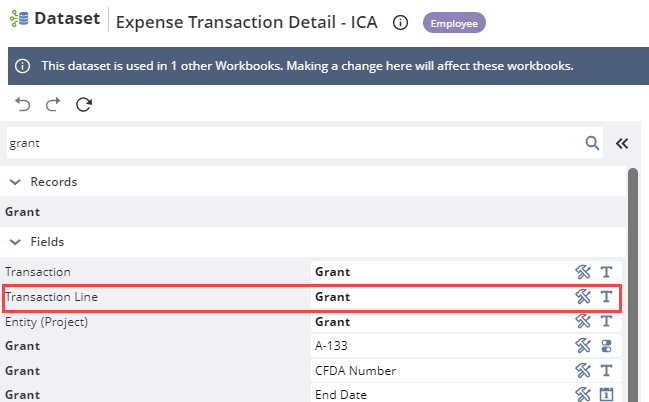
A new column for Transaction Line: Grant should appear in the data grid.
-
Click Apply to Workbook. The dataset builder closes.
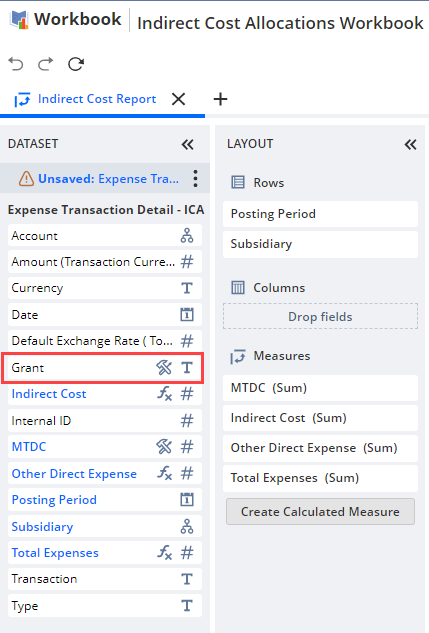
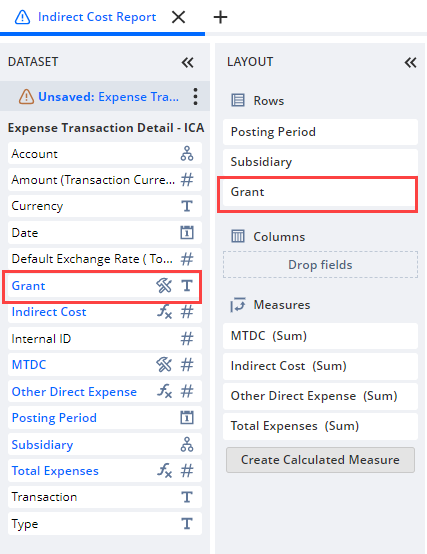
The Grant field lists under the Dataset column.
-
Drag the Grant field to the Rows section of the Layout column.
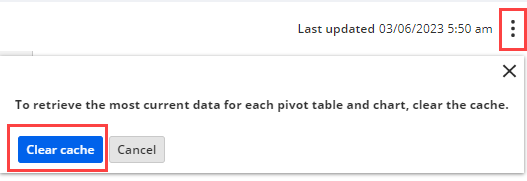
-
Next to the timestamp, click the menu icon, and then click Clear Cache.
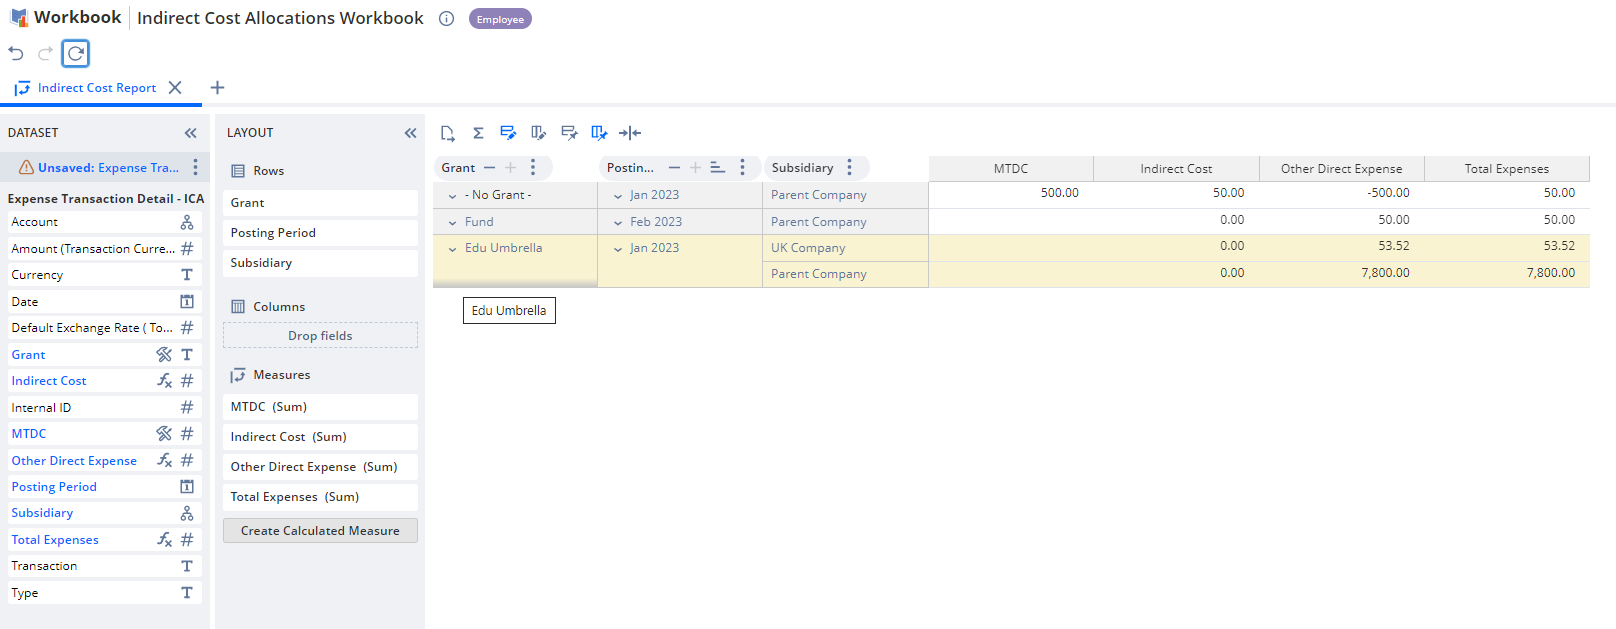
-
Click the Refresh icon. The preview now shows grouped indirect cost allocation transactions according to grant, posting period, and subsidiary. Here is an example.
 Note:
Note:When multiple currencies are involved, the workbook automatically converts the amounts to a root subsidiary currency using a consolidated exchange rate.
This conversion may result in slight rounding-off differences in the amounts.
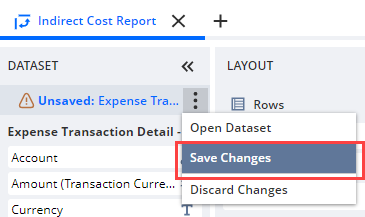
-
To save the dataset, click the menu icon next to Expense Transaction Detail dataset and select Save Changes.
-
To save the workbook, click Save.
For more information about navigating workbooks and editing datasets, see Workbooks and Datasets.
Related Topics
- Indirect Cost Allocation for Grants
- Installing Indirect Cost Allocation for Grants SuiteApp
- Roles and Permissions for Indirect Cost Allocation for Grants
- Setting Up Indirect Cost Allocation for Grants
- Generating Indirect Cost Allocations Manually
- Creating Invoices for Billable Indirect Costs
- Common Indirect Cost Allocation Transaction Creation Errors