Creating Formula Fields in SuiteAnalytics Workbook
You can customize formula fields by using SQL functions and context values. After you create formula fields, you can use them in datasets and workbook visualizations. When working with custom formula fields, keep these points in mind:
Creating a Custom Formula Field in SuiteAnalytics Workbook
In the following example, you'll create a formula field to convert data values to another format. The Formula Field window only shows fields from the root record type and any related fields added to the Data Grid.
To do arithmetic calculations or view totals for fields with values in more than one currency, you must convert or consolidate the values to a specific currency. In the Dataset Builder, you can only do this using custom formula fields. For more information, see Currency Conversion Using Custom Formula Fields.
To create a custom formula field in SuiteAnalytics Workbook:
-
Click Formulas above the Records list on the Dataset Builder.
-
In the Fields list, click New Formula.
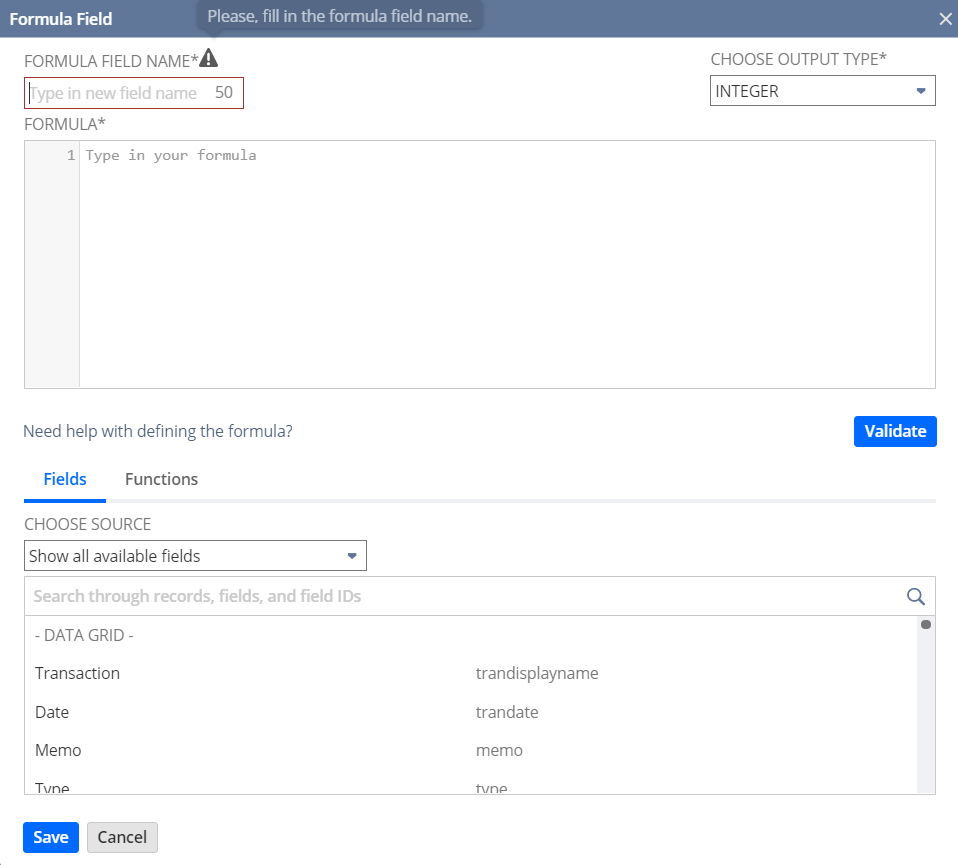
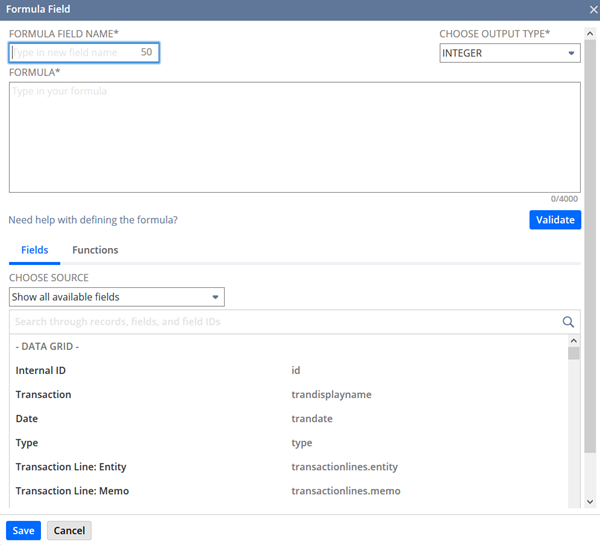
The Formula Field window appears.

-
Enter a Formula Field Name.
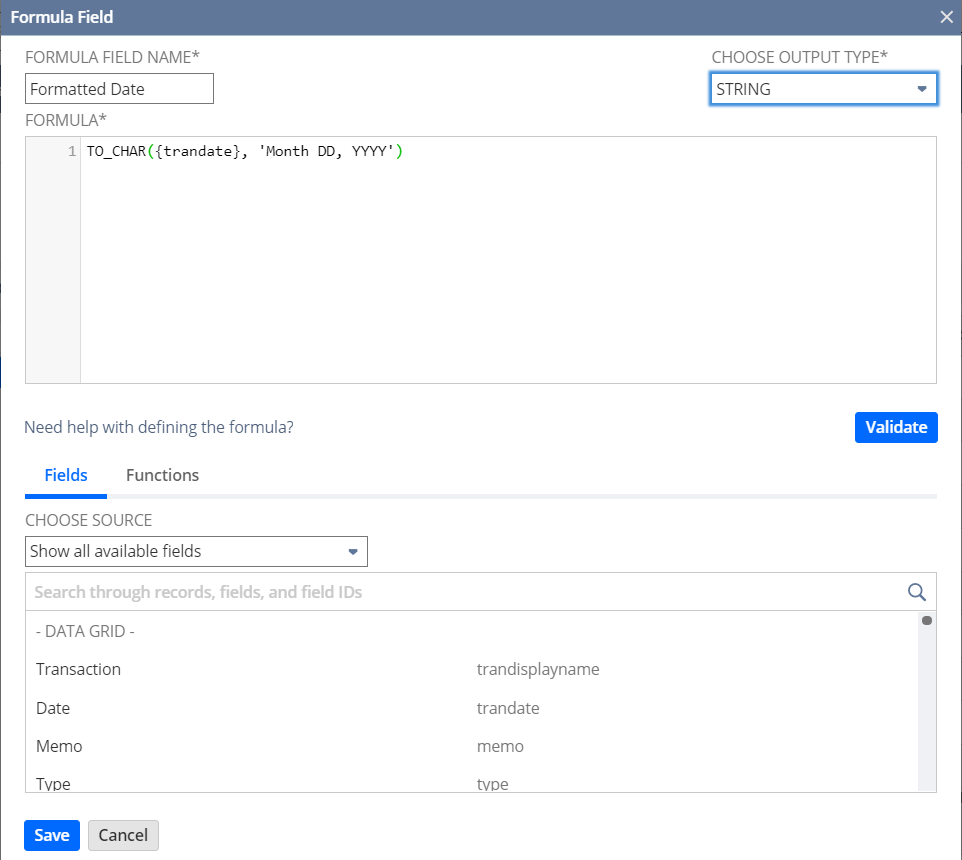
For this example, enter Formatted Date.
-
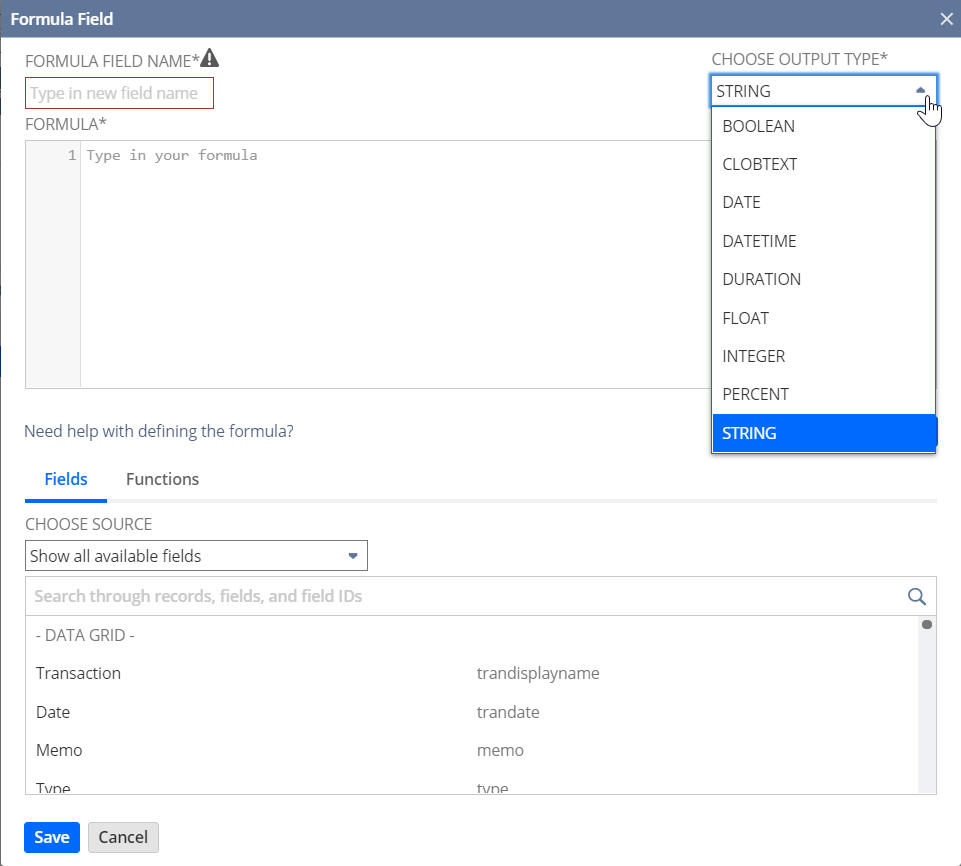
Choose an Output Type for the formula field values.
For this example, select String.
 Note:
Note:Each output type only works with certain fields and formula functions. If you select an incompatible output type for the formula, the formula is invalidated and the Formula Builder highlights the error in the definition. To view details about the validation error and for information about how to correct the definition, click the error icon
 .
. -
In the Formula field, enter the field IDs and SQL functions you want to use in the formula. You can also double-click field IDs or formula functions from the Functions or Fields tabs to add them.
For this example, select the TO_CHAR and replace the content in the brackets with {trandate}, 'Month DD, YYYY'.

-
To validate the formula, click Validate.
Note:If there are errors with the formula, click the error icon
 to view the details.
 -
Click Apply to add the formula field to your dataset.
The field appears in the Field lists on the Dataset Builder when you click Formulas. If you add the field to the Data Grid, you can use it in any workbook visualizations that use this dataset.
Creating Criteria Filters Using Formula Fields
In this example, you'll use the Criteria Builder to make a filter with a formula field.
To create criteria filters using formula fields:
-
Create a valid formula field on the Dataset Builder.
-
Double-click or drag the field from the Fields list or the Data Grid to the Criteria Builder.
-
Set your filter conditions in the Filter window. For more details, see Filter Types.
Using Context Values in Formula Fields
You can use different context values in fields to set how values are shown. For example, you can show a field's name instead of its ID.
The following example shows a formula definition where type is the field and display is the context value that defines how results are displayed. Context values are placed after the number sign # within the same parentheses containing the field name in a formula definition.
Example: {type#display}
Before you start working with context values, keep these things in mind:
Supported Context Values
SuiteAnalytics Workbook supports the following context values:
|
Context Value |
Description |
|---|---|
|
|
Shows consolidated currency amounts in the currency of the lowest-level parent subsidiary you can access. The exchange rate for the consolidation is based on the rate in effect when you run the query or visualization. For more information, see Currency in Datasets and Workbooks. Formula example:
|
|
|
Shows converted currency amounts in your account's base currency. The exchange rate for the conversion is based on the rate in effect when you run the query or visualization. For more information, see Currency in Datasets and Workbooks. Formula example:
|
|
|
Shows the currency amounts in the currency ID specified in the brackets [1]. The exchange rate is based on the run date for your query or visualization. For more information, see Currency in Datasets and Workbooks.
Note:
The currency ID 1 corresponds to the base currency. Formula example:
|
|
|
Shows the currency amounts in the currency specified in the brackets [1], using the exchange rate in effect on the date you specify (use YYYY-MM-DD format). By default, the currency ID is set to 1. For more information, see Currency in Datasets and Workbooks.
Note:
The currency ID 1 corresponds to the base currency. Formula example:
|
|
|
Shows field values in a more user-friendly way. For the type field, you'll see labels like bill, cash refund, or inventory adjustment. Formula example:
|
|
|
Shows raw field values, like internal IDs. For the type field, the raw value shows the transaction type ID.
Note:
The ID is a unique identifier that doesn't change. If a field name changes, you can still find it using the ID instead of the name. For example, you'd get CashRfnd instead of cash refund. Formula example:
|
|
|
Shows more user-friendly field values for hierarchical fields. This context value is similar to Formula example:
|
|
|
Shows more user-friendly field values for hierarchical fields. This value is similar to #display but applies to hierarchical fields Formula example:
|
Editing Context Values
In this example, you can change the context value of the type field. By default, the type field displays names, but if you change the context value, it displays the ID instead.
This example is applicable for any record type that includes the type field. The following example is the transaction record type, available in the Transaction Detail dataset template.
To edit the context value in a formula
-
Click Formulas above the Records list on the Dataset Builder.
-
In the Fields list, click New Formula.

The Formula Field window appears.
-
Enter a Formula Field Name.
For example, enter Type (ID).
-
Choose an Output Type for the formula field values.
For the purposes of this procedure, select String.
-
Double-click fields from the Fields subtab to add them to the FORMULA text box.
For the purposes of this procedure, double-click Type.
The formula will appear in the Formula field. In this example,
{type#display}. -
In the Formula field, replace what's after the # sign with the value you want.
For this example, remove
#displayand enter#raw. -
To validate the formula, click Validate.
Note:If there are errors with the formula, click the error icon (warning) to view the details.
-
Click Apply to add the formula field to the dataset.
The field appears in the Field lists on the Dataset Builder when you click Formulas. If you add it to the Data Grid, you can use it in any workbook visualization based on that dataset. In those visualizations, the type field shows the ID of the values.
Adding Formula Fields to a Workbook Visualization
In this example, you add a formula field to a workbook and then place it on a table, pivot, or chart of the workbook.
To add formula fields to a workbook visualization:
-
Create a valid formula field on the Dataset Builder.
-
Add the field to the Data Grid so that it is included in any workbook visualizations based on the dataset.
-
On the Table, Pivot, or Chart tabs of the workbook, drag the field from the Dataset Panel to a section of the Layout panel.