Adding Columns Through Mobile Configuration
For standard mobile processes, you can add standard or custom columns through mobile configuration. Note that these columns are not carried over in case you decide to create a custom mobile process from the standard one. If you want to add columns to a custom mobile process, see Adding Columns Through Mobile Customization.
For Data Table elements only, you can display a clickable URL in a custom table column. You can set it up to redirect to another page, an external site, or a file in your file cabinet. It does not consider clicking or tapping a column value as row selection.
You can set up a single, dynamic, or multiple URLs. For single dynamic URLs, you can create a RESTlet or saved search to retrieve your data. For multiple URLs, you can create a RESTlet to retrieve your lists of URLs.
To add columns through mobile configuration:
-
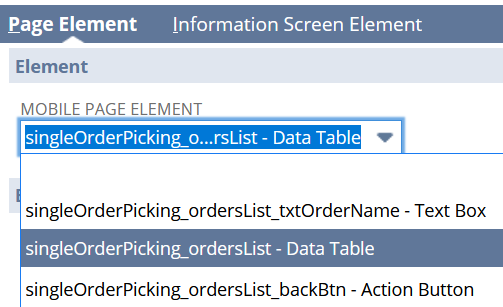
Access the configuration page for the supported table element.
For instructions, see Configuring Mobile Page Elements.
-
On the Mobile Configuration page, click the Page Element subtab, and then click the Custom Columns Configuration subtab.
This subtab appears for supported table element types only, which you can verify in the Mobile Page Element field.
For more information, see Adding Columns to Table Elements.
-
On the Custom Columns Configuration subtab, select an existing configuration, or click the plus icon to create one.
-
On the Mobile - Custom Column Setup popup window, set values in the following fields:
-
Name - Enter a unique name for the column group.
-
On Load Action - Select an existing action or click the plus icon to add a new one.
Based on your data source, create a Saved Search or Restlet type of action. For instructions, see Setting Up the On Load Action for New Columns or Setting Up Custom RESTlets.
To set up multiple or dynamic URLs in columns, you can assign your RESTlet to the mobile action. You can also assign a saved search for single dynamic URLs only.
-
Response Key - If you set up a RESTlet in the On Load Action, enter the key that contains the RESTlet's response. For RESTlets that retrieve multiple or dynamic URLs, do not set this field.
-
Click Save.
-
-
To add a column, do the following:
-
On the Custom Columns Configuration subtab, next to the field, click the open icon.
-
On the Custom Column Setup popup window, click Edit.
-
On the Columns subtab, click New Mobile - Custom Column.
-
On the Mobile - Custom Column page, set values in the following fields:
-
Name - Enter a unique name for the custom column.
-
Label - Enter or select a label for the column that appears on the mobile page.
-
Data Type - Select the type of data you want to display in the column.
For Data Table elements, you can select URL to display single, dynamic, or multiple URLs. Depending on your column requirements, you may also need to set up the following fields: On Load Action, Response Key, Target URL, or Display Label.
-
Response Key - Enter the response key that contains the values for the new column. To display multiple or dynamic URLs, enter the key from your RESTlet.
If you want to display the list of keys from a saved search, click Show Saved Search Columns. A popup window appears that contains the columns from the saved search that you set up for the On Load Action in step 4. You can copy the key that appears to the left of the colon.
-
Target URL - To set up single static URLs, enter the website address or link for a page or a file in your file cabinet.
If you set up this field along with dynamic or multiple URLs, the app does not follow your set up for single static URLs.
-
Display Label - For single static URLs, enter a label or readable text that you want to appear in each column cell instead of the actual URL. This label appears as a blue hyperlink only if you also provide a target URL.
For multiple URLs, enter the label that you want to tap to open a popup window that contains the list of URLs.
-
-
Click Save to close the Mobile - Custom Column page.
To add more columns, repeat from step c.
-
-
On the Mobile - Custom Column Setup popup window, define your merge criteria.
For instructions, see Defining Merge Criteria for New Columns.
-
To save data from your new table columns to a NetSuite record, see Saving Data from Additional Columns.
-
After you set up the columns and merge criteria, click Save.
At the top of the page, a message appears to inform you about the status of the update. To view the latest status, click the view the status link.
-
After you update the mobile app, you can display the additional columns on the mobile page. For instructions, see SCM Mobile Page Elements (Buttons, Fields, Tables).