Configuring Borders and Placement
You can add borders and alter the orientation of elements of your PDF forms.
To add a border to a form:
-
Go to Customization > Forms > Transaction Form PDF Layouts.
-
Click Customize or Edit next to the form you want to change.
-
In the Form Editor, click the element you want to add a border to.
-
Under the Additional Options heading, check the Show Border box.
-
Click Preview to see how this PDF layout will look when printed.
-
Click Save.
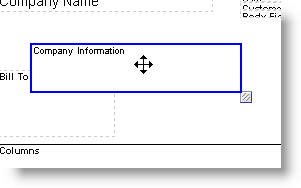
To change an element's orientation in the PDF layout, click and drag it to where you want it on the form or use the fields under the Element Position heading. For more information, see Customizing Transaction Form PDF Layouts.
