Editing the Layout of Custom Forms Prior to Deployment
After previewing a custom form, you will probably notice parts of the layout you want to modify. You will go through the Upgrade Checklist to make these modifications. If you do not see this link in the upper right of the custom transaction forms or custom entry forms list, it means your account does not include any custom forms that require upgrading.
As of 2012.2, all standard forms have been automatically upgraded to use form layout enhancements, so there is no need for administrators to deploy upgraded standard forms. Also, if your NetSuite account was established in 2010.2 or later, form layout enhancements are automatically applied to custom forms as well. The custom form deployment process described here is applicable only to NetSuite accounts established prior to 2010.2.
To edit the layout of undeployed custom forms:
-
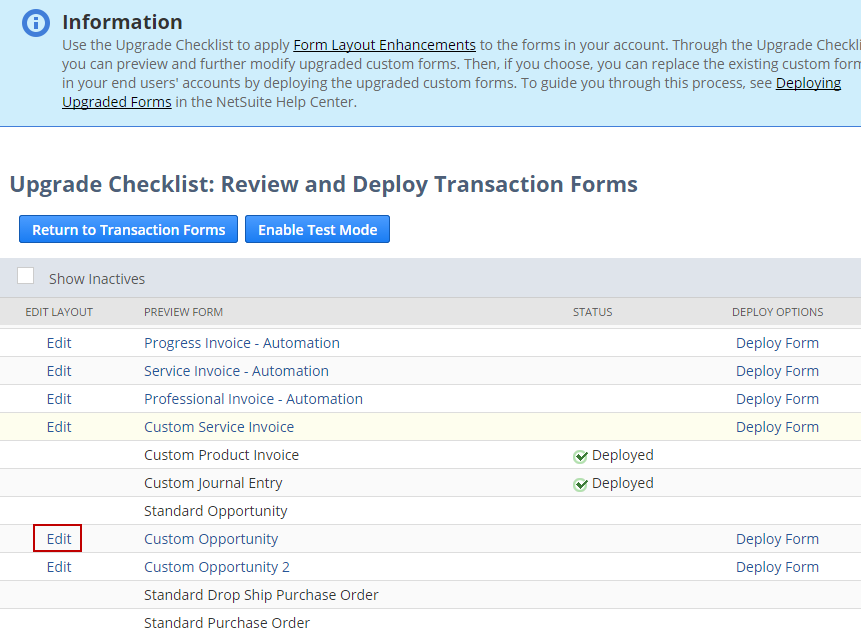
Go to the Upgrade Checklist:
-
Go to Customization > Forms > Transaction Forms [or Entry Forms] [or Entry Forms].
-
On the forms list page, in the message area at the top, click the Upgrade Checklist link. If you have already upgraded forms in your account, the link in the message area is called Return to Upgrade Checklist.
-
-
In the Edit Layout column, click Edit next to the custom form you have previewed and now want to modify.
-
Use the page that appears to make your additional layout changes.
Important:The custom form edit page you access through the Upgrade Checklist should be used to modify only the layout aspects of the form. Use this page to modify tabs, field groups, screen fields, and lists. Do not use this page to modify any other properties of the form! All other form properties related to roles, form default settings and permissions are inherited from the custom form currently in use. If you want to change any of these settings, you must do so by accessing the form through the custom forms list page (Customization > Forms > Transaction ( or Entry ) Forms).
-
After making your layout changes, click Save.
-
Return to the Upgrade Checklist:
-
Go to Customization > Forms > Transaction Forms [or Entry Forms] [or Entry Forms].
-
On the forms list page, in the message area at the top, click Upgrade Checklist. If you have already upgraded forms in your account, the link in the message area is called Return to Upgrade Checklist.
-
-
Preview the form. The layout changes you made in Step 3 will reflect in the preview.
-
If you want to further modify the layout, repeat the Steps 2 to 6.
-
When you are satisfied with the layout, you can test the form to verify it works as expected. See Testing Undeployed Custom Forms for details.