AI Agent: Inventory Label and Document Printing Assistant
In busy warehouse and logistics operations, printing labels and documents is often a time-sensitive task that spans multiple systems, transactions, and ad-hoc requests. For example, a warehouse supervisor needs to quickly print item labels for all products stored in a specific subinventory to support a reorganization effort, or print labels for every serial number in a specific receipt because the labels went missing. At the same time, a carrier sends an email asking for a replacement packing slip after the original was damaged in transit. The Inventory Label and Document Printing Assistant AI agent streamlines these scenarios by enabling users to quickly identify, generate, and print the required labels and documents with minimal effort.
Labels
The agent supports generating these label types:
- Item Labels: Items by receipt, shipment, on hand, associated subinventory, or locator
- Serial Labels: Serials by receipt, shipment, on hand in a subinventory, or locator
- Lot Labels: Lots by receipt, shipment, on hand in a subinventory, or locator
- Location Labels: Subinventories and locators by organization, subinventory, or zone
- Receipt Delivery Labels: Deliveries for a receipt
- LPN Labels: LPNs by receipt, shipment, on hand in a subinventory, or locator
- LPN Content Labels: LPN contents by receipt, shipment, on hand in a subinventory, or locator
These parameters can be used in label requests:
- Receipt
- Shipment
- Organization
- Associated (used when retrieving item associations for subinventories and locators)
- On hand
- Subinventory
- Locator
- Zone
- Printer
- Email to
Here are some sample prompts:
- Generate item labels for all items associated with subinventory Stores in organization Vision Operations.
- Send location labels for all subinventories and locators in organization M1 to XXXX@XXXX.com
- Print item labels for all items in receipt 1234, organization M1 on printer XXXX.
Reports
The agent also supports generating reports defined in the following BI Publisher location:
/Shared Folders/Supply Chain Management/Warehouse Operations
The supported reports include:
- Transfer Order Status Report
- Bill of Lading Report
- Commercial Invoice Report
- Mailing Label Report
- Packing Slip Report
- Receipt Traveler Report
- Pick Slip Report
- Cancel Transfer Order Report
- Consumption Advice Report
- Material Status Where Used Report
- Min-Max Planning Report
- Movement Request Pick Slip Report
- Pending Inventory Activities Report
- Cycle Count Listing Report
- Physical Inventory Missing Tag Listing Report
- Physical Inventory Tag Listing Report
Unlike labels, reports don't use a fixed set of parameters. The agent retrieves the parameter definitions from the scheduled process and BI Publisher report definition associated with the requested report and maps the values provided in the natural language request to the available report parameters.
For example, the Transfer Order Status Report can include parameters such as Transaction Origin Type, Requester, Preparer, Source Organization, Destination Organization and Item. You can include any combination of these parameters when requesting report generation.
Here are some sample prompts:
- Generate Transfer Order Status Report for Item INV-100, Source Organization V1, Destination Organization M1, Transaction Origin Inventory.
- Email Packing Slip for Shipment 2513630 from Organization Vision Operation to XXXX@XXXX.com
Custom Reports
The agent also supports custom reports defined in the following BI Publisher location:
/Shared Folders/Custom/Supply Chain Management/Warehouse Operations
This feature increases operational efficiency and flexibility by reducing manual steps, improving responsiveness, and ensuring critical information is always accessible when needed.
Steps to enable and configure
To enable permission groups for roles, take these steps:
- In the Setup and Maintenance work area, search for the Manage Administrator Profile Values task using the search link in the Tasks panel tab.
- Search for the Enable Security Console External Application Integration (ORA_ASE_SAS_INTEGRATION_ENABLED) profile option and set the Site profile level to Yes.
You can use AI Agent Studio to use or copy a preconfigured agent template to create agents for your business processes. To automatically add a suffix to all artifacts in your agent team, you can use the Copy Template instead of Use Template button. When you copy a template, you're directly taken to the agent team canvas where you can edit the agent team settings, agents, tools, and topics. The Use Template option takes you through a step-by-step process for configuring each artifact in the agent team.
Agent Template: Inventory Label and Document Printing Assistant
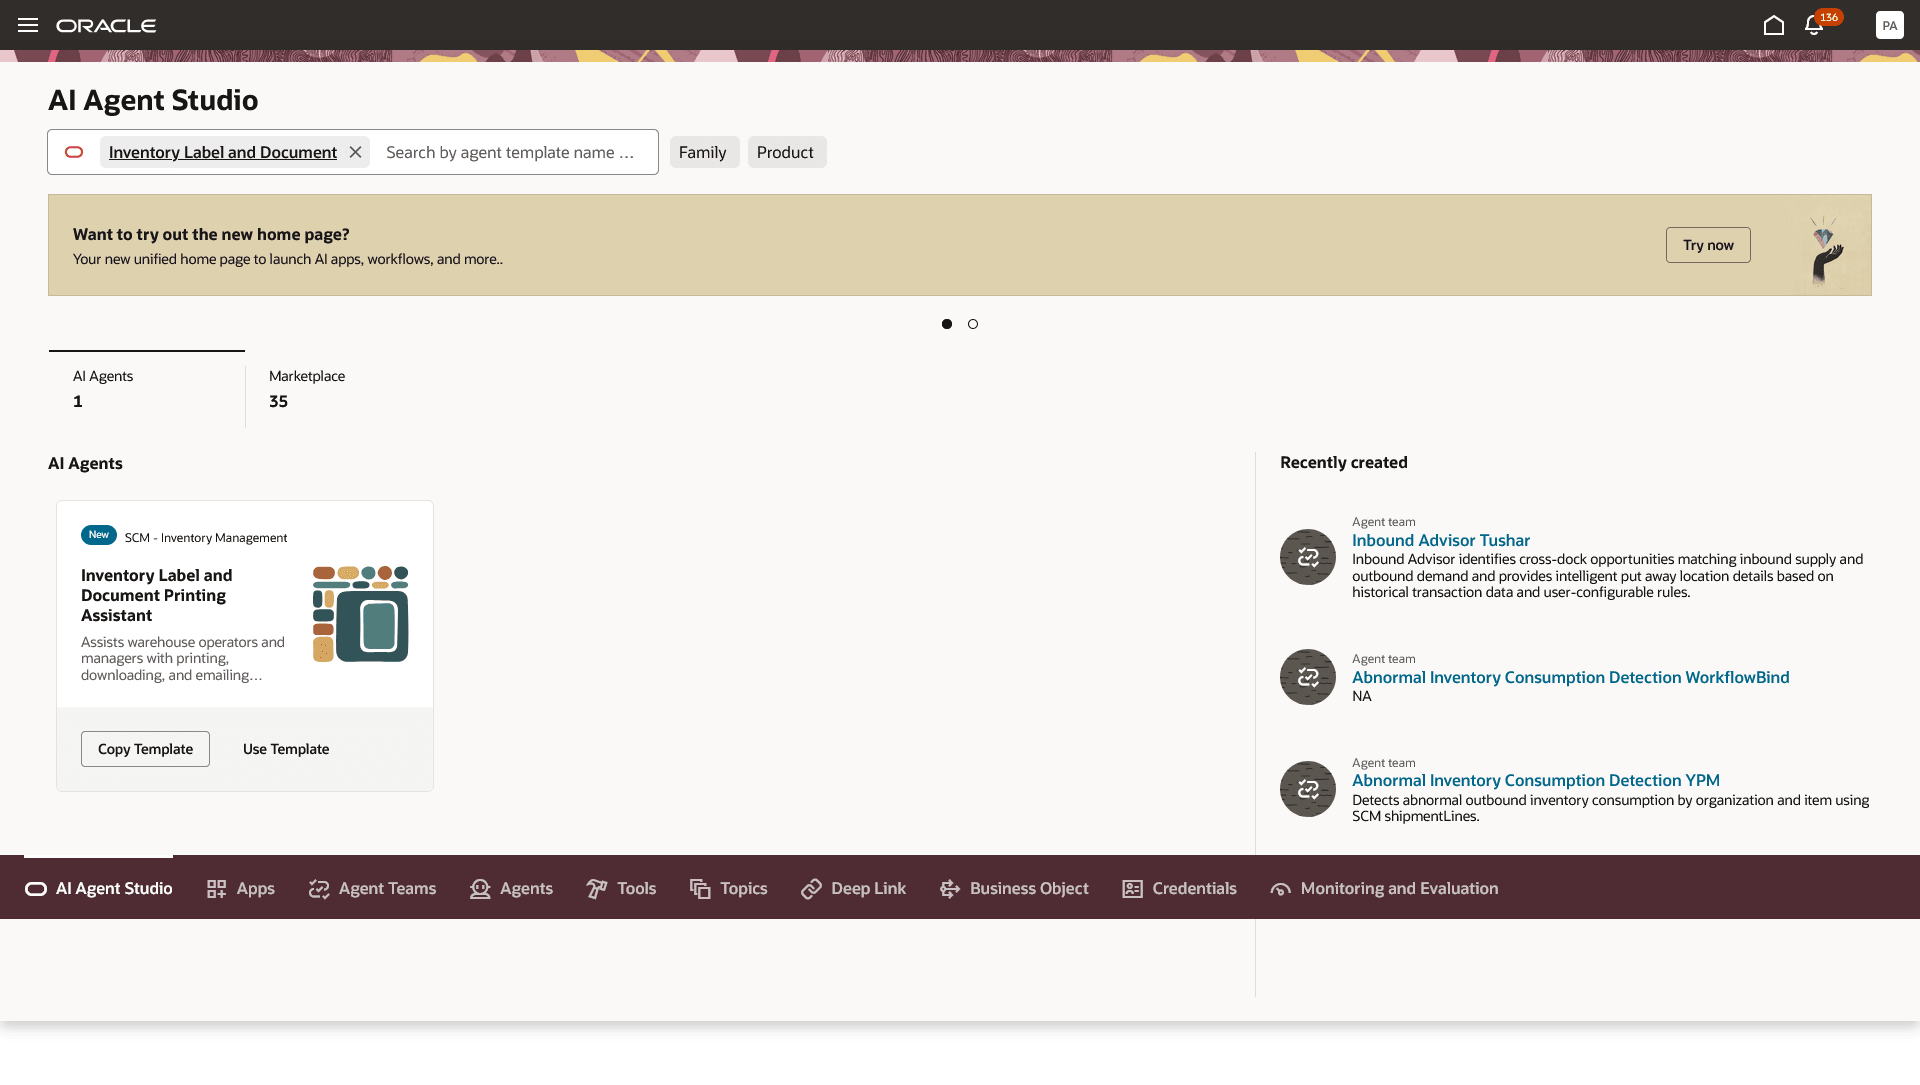
Inventory Label and Document Printing Assistant Template
Once the workflow agent is created, click the three dots on the Set Variables node (the first node) and select Edit. Configure the Email Server and From Email settings required for BI Publisher to send reports through email.
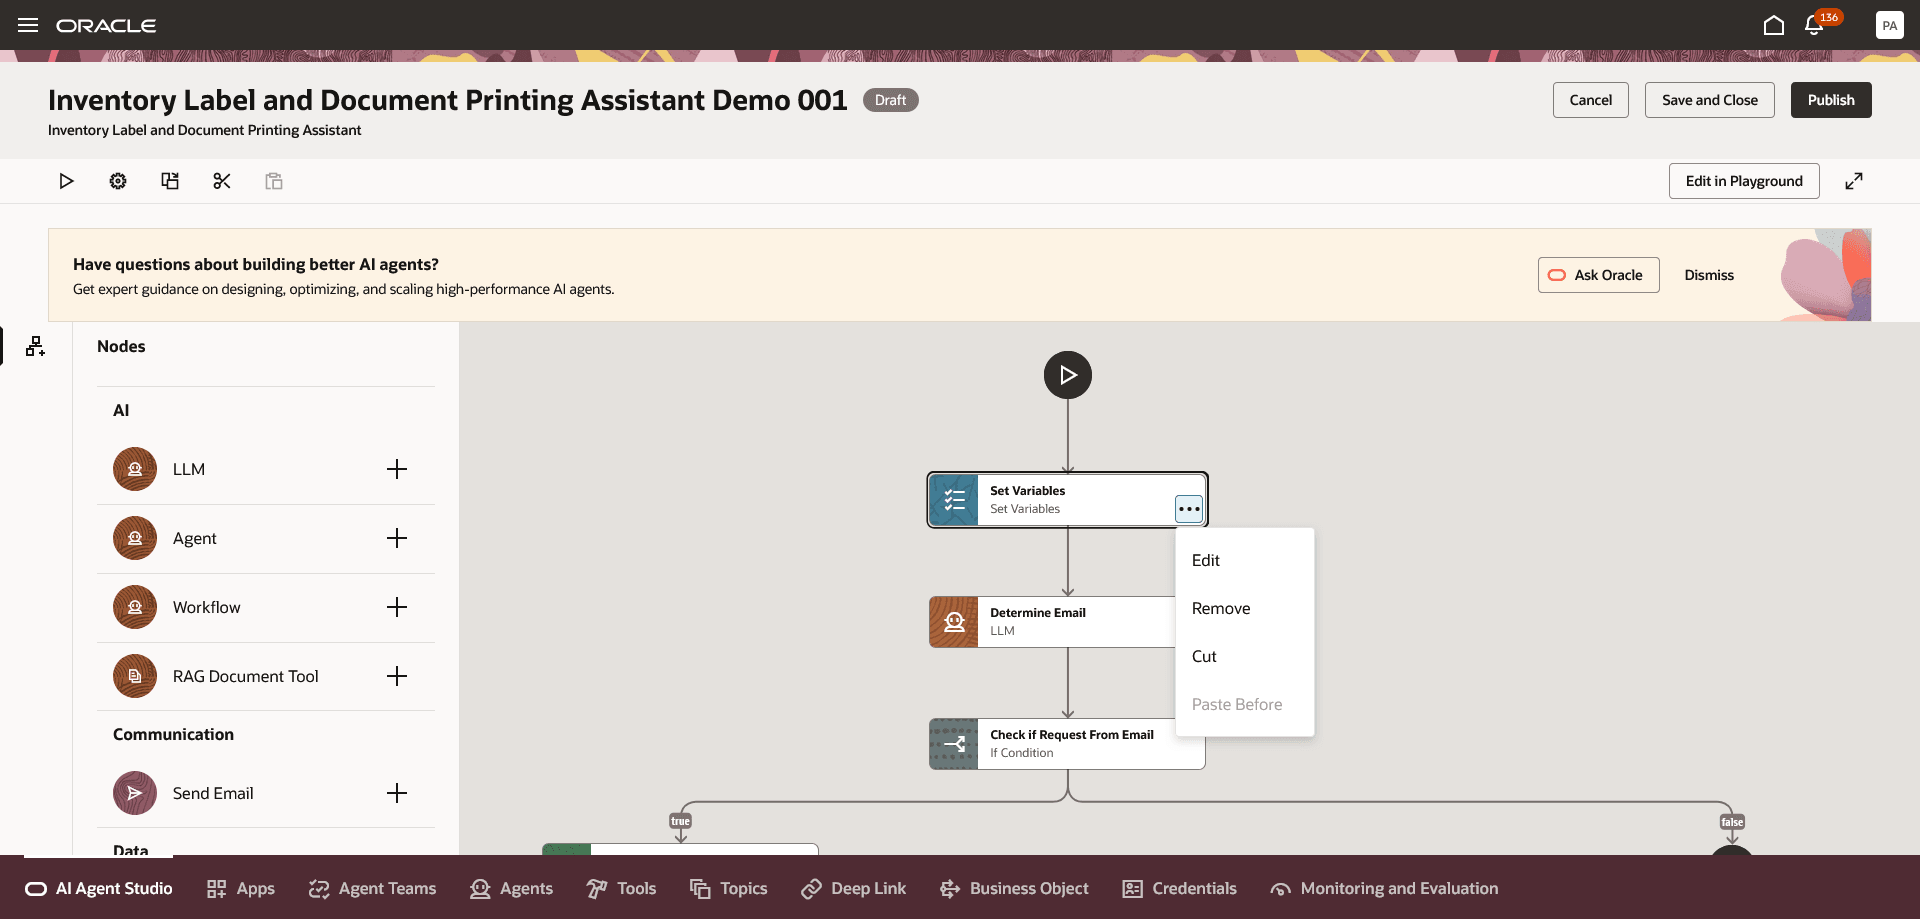
Inventory Label and Document Printing Assistant Set Variable
Follow these steps to invoke the agent through email:
Create an Email Account
- On the AI Agent Studio landing page, click the Credentials tab.
- Select the Email Accounts tab.
- Click Add Account.
- In the Create drawer, select your email provider. As of 26B, Microsoft and Google accounts are supported.
- Select the Inbound option and provide the following details:
- Account Name: Name of the email account.
- Email Address: Email address from which print requests will be picked up by the AI agent.
- Email Folder: Folder from which the AI agent will retrieve print requests.
- Polling Interval: Frequency at which the AI agent checks for new emails to process print requests.
- Description: Description of the account.
- Tenant ID, Client ID, Client Secret: Email account credentials.
- Click Create to create the inbound account.
Configure the Agent Trigger
Navigate back to your agent.
- Click the Settings icon.
- Select the Triggers tab.
- In the Email section, click Add.
- Select the email account you created.
- Click Update.
Configure the Approver Email Address
- Click the three dots on the Set Variables node (the first node) and select Edit.
- Configure the approver email address for scenarios where requests to print labels or documents are submitted by external users. External users are identified by checking whether the sender’s email address is associated with a worker record in the system.
For information on using AI Agent Studio, see How do I use AI Agent Studio?
Tips and considerations
- After publishing the agent, you can add it to a page by including it in that page’s Guided Journey. To do this, create an Agent task of type Workflow Agent and add it to the Guided Journey.
- This is a workflow agent, so it doesn't hold a conversation with the user or retain information from previous requests. Each request is processed independently.
- A single request can include only one label type. However, multiple reports can be requested within the same request.
- When requested to generate a report or label, the agent returns a download link for the output.
- The agent supports both outbound printing and email delivery. For printing, configure the printers in BI Publisher. For email delivery, configure the email server in BI Publisher and specify it in the agent’s Set Variables node.
- The agent can also be triggered by inbound email. Refer to the Steps to Enable section for the required setup. If the request is sent from an email address that isn't associated with a worker in the system, the agent initiates an approval process and sends the approval request to the approver email configured in the Set Variables node.
- To help the agent extract key parameters from user input and correctly map them to the appropriate report parameters, ensure the scheduled process parameter name, report parameter name, and display name are consistently named when building custom reports.
- If a report parameter name or display label ends with ID or Code, the agent automatically translates the user-entered value into the corresponding ID or lookup code before passing it to the report. For example, if the display label for a report parameter is Organization ID and the user requests item labels for the Vision Operations organization, the agent automatically converts the organization name to its corresponding organization ID.
Key resources
Access requirements
To access the Oracle AI Agent Studio for Fusion Applications and manage SCM AI agents, users must be assigned a configured job role that contains these duty roles:
- SCM Intelligent Agent Management Duty (ORA_RCS_SCM_AI_AGENT_MANAGEMENT_DUTY)
- SCM Intelligent Agent Management Duty (ORA_RCS_SCM_AI_AGENT_MANAGEMENT_DUTY_HCM)
- Fai Genai Agent SCM Administrator Duty (ORA_DR_FAI_GENERATIVE_AI_AGENT_SCM_ADMINISTRATOR_DUTY)
To interact with AI agents in product pages, users must be assigned a configured job role that contains this duty role:
- Fai Genai Agent Runtime Duty (ORA_DR_FAI_GENERATIVE_AI_AGENT_RUNTIME_DUTY)
To allow users to interact with agents, you must also enable permission groups in the Security Console on those users' configured job roles that contain the Fai Genai Agent Runtime Duty role. You can enable permission groups when you manage the basic information of your configured job roles.
See Access Requirements for AI Agent Studio (for administrators) and How can I give users access to AI agents (for end-users) for more information.
To interact with the Inventory Label and Document Printing Assistant agent, users must be assigned a configured job role that contains this duty role:
- Inventory Label and Document Printing Assistant (ORA_INV_INVENTORY_PRINTING_ASSISTANT_DUTY)
Users’ configured job roles must also contain privileges that allow access to the pages where AI agents are enabled.