4 Getting Started with the Application
To develop a Java application that connects to the Oracle Database, you must ensure that certain components are installed as required.
This chapter covers the following topics:
4.1 What You Need to Install
To develop the sample application, you need to install the following products and components:
-
Oracle Database
-
J2SE or JDK
-
Apache Maven
-
IntelliJ
-
Apache Tomcat
4.1.1 Oracle Database
To develop the Java web application, you need a working installation of Oracle Database along with the HR schema. There are two ways you can install the Oracle Database.
Option 1. Oracle Autonomous Database
The Oracle Database Cloud Services offer access to Oracle Cloud Free Tier which provides services of two Autonomous Databases for an unlimited time. Oracle Autonomous Database is an all-in-one cloud database solution for data marts, data lakes, operational reporting, and batch data processing. Oracle uses machine learning to completely automate all routine database tasks—ensuring higher performance, reliability, security, and operational efficiency. You can get access to a working Autonomous Database in just a few minutes. After signing up, you will have access to your choice of Autonomous Transaction Processing or Autonomous Data Warehouse databases.
We will be using Autonomous Transaction Processing to run the HR Application.
Note:
Refer to Provisioning an ATP Database instance video for instructions.Option 2: Oracle Database Express Edition (XE) Available on OTN
As an alternate option, you can install Oracle Database Express Edition (XE) on premise.
Note:
The Quick Start guide provides instructions on how to download and install the Oracle Database Express Edition (XE) on your machine.4.1.2 Install the HR schema
The HR web application uses the tables and data from the HR sample schema provided by Oracle. You need to install the HR schema in your database.
Once you provision your Autonomous Database or install Oracle Databse XE, see Installing HR Schema for detailed instructions to install the sample schema.
4.1.3 J2SE or JDK
To create and compile Java applications, you need the full Java 2 Platform, Standard Edition, Software Development Kit (J2SE SDK), formerly known as the Java Development Kit (JDK).
- Download and install the Java SE. Refer http://www.oracle.com/technetwork/java/javase/downloads/index.html.
- Set the
PATHenvironment variable for JDK. Refer JDK Installation Instructions for Windows for detailed instructions.
4.1.4 JDBC Drivers
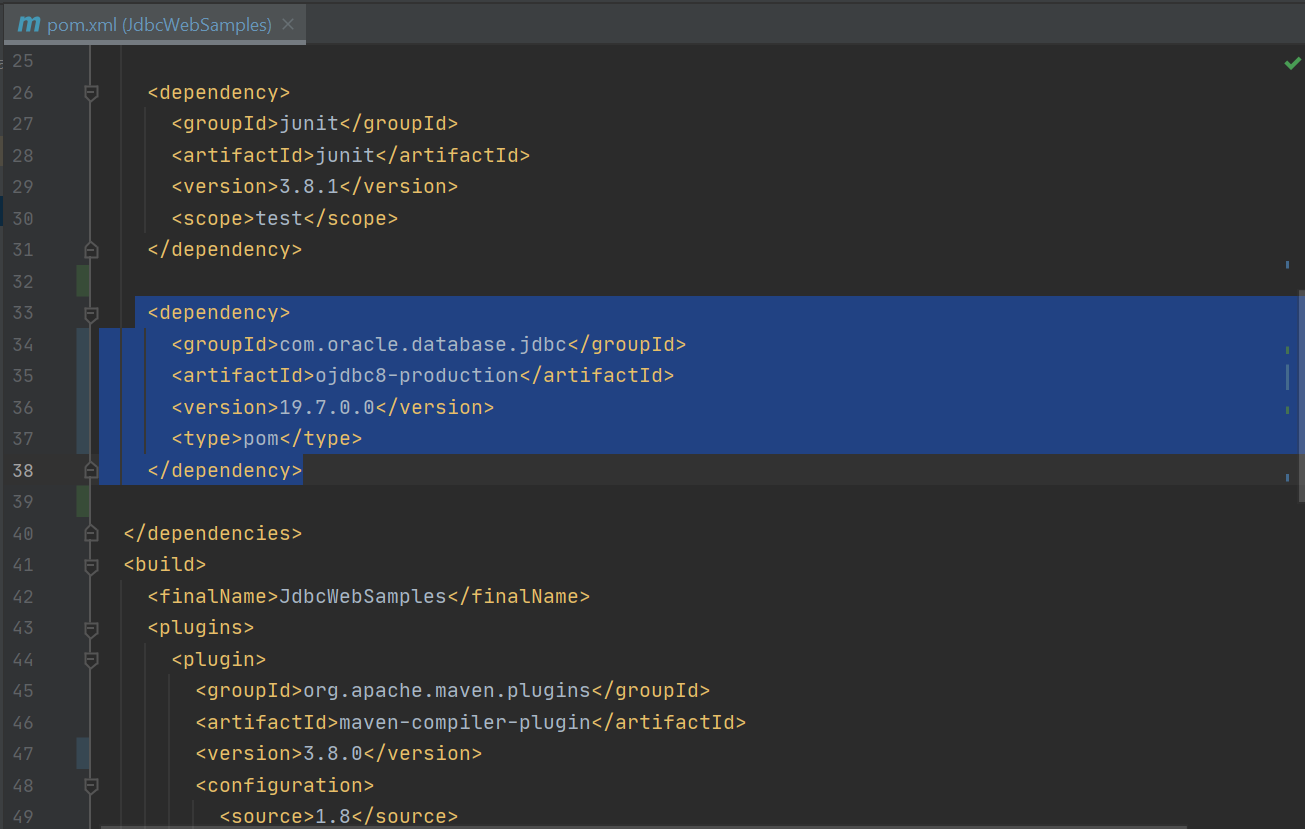
You need to download certain JDBC drivers for running the HR application.
pom.xml
file:
<dependencies>
  <dependency>
    <groupId>com.oracle.database.jdbc<groupId>
    <artifactId>ojdbc8-production</artifactId>
    <version>19.7.0.0</version>
    <type>pom</type>
  </dependency>
</dependencies>
The ojdbc8-production pulls all the required JDBC jars from the Maven
Central Repository. For more information, see the Maven Central Guide.
4.1.5 Integrated Development Environment
Note:
To download and install IntelliJ Idea, see https://www.jetbrains.com/idea/.4.1.6 Web Server
The sample application developed in this guide uses JavaServer Pages (JSP) technology to display information and accept input from users. To deploy these pages, you need a Web server with a servlet and JSP container.
This guide uses the Apache Tomcat server for deploying the JSP pages.
For more information on how to download and install Apache Tomcat, refer to http://tomcat.apache.org/.
4.2 Verifying the Oracle Database Installation
Oracle Database installation is platform-specific. You must verify that the installation was successful before you proceed to create the sample application.
Verify the Oracle Database XE Installation
- Verify the Oracle Database XE installation by connecting to the database.
- From the command prompt, connect to
sqlplus.>sqlplus system/<password>@xepdb1 SQL*Plus: Release 18.0.0.0.0 - Production on Wed Sep 9 16:01:34 2020 Version 18.4.0.0.0 Copyright (c) 1982, 2018, Oracle. All rights reserved. Connected to: Oracle Database 18c Express Edition Release 18.0.0.0.0 - Production Version 18.4.0.0.0 SQL> - As an optional step, you can run a sample Java application with Oracle Database using JDBC. See Quick Start with JDBC.
Verify connecting to Oracle ATP Instance
Once you provision an ATP instance, verify the connection as follows:
- Download the Client Credentials. Login to your database instance and click on the DB Connection tab. Select Instance Wallet for Wallet type and click Download Wallet. Unzip the file to a secure directory on your local machine.
- Follow instructions provided in the Java Connectivity with Autonomous Database to connect using JDBC and UCP code samples.
4.3 Github Repository Details
The source files for the HR Web Application is available on GitHub.
Table 4-1 Github Repository Details
| Name and Location | Details |
|---|---|
| HRWebApp | This repository contains the complete code samples of the application. |
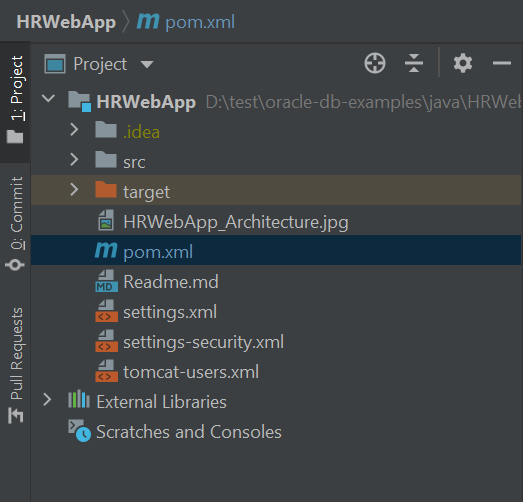
4.4 Import the Application in IntelliJ
Import the application in IntelliJ as follows:
- Open IntelliJ and select Open or Import.
- Navigate to the location where the HRWebApp is downloaded. Select
HRWebApp and click OK.
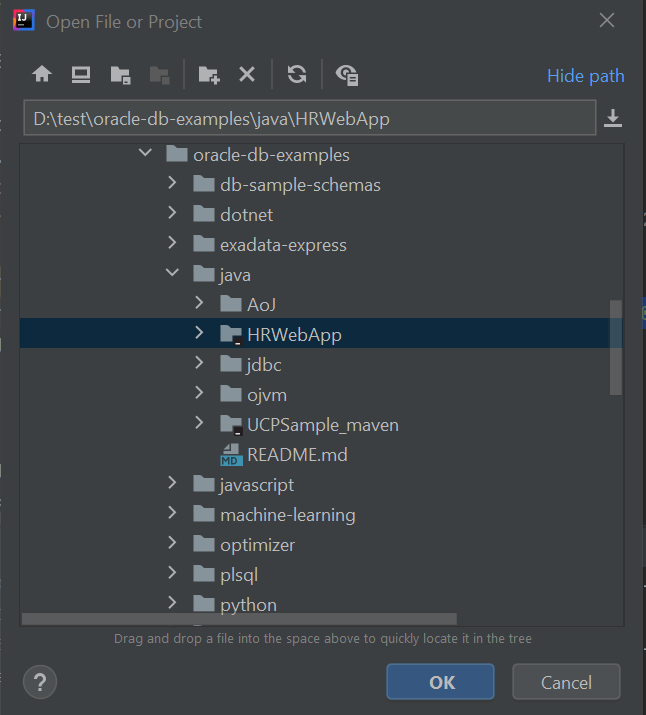
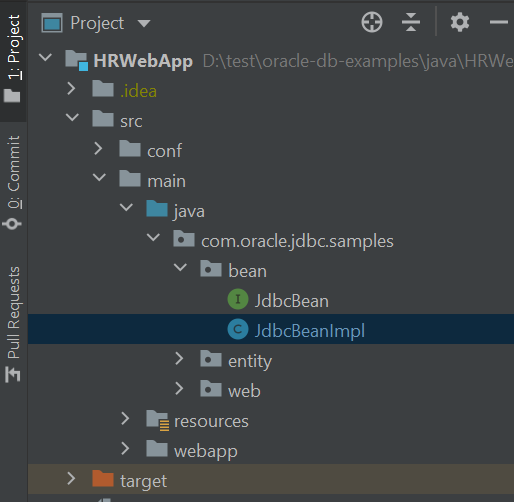
- A project with all the files required to build the HR Web application is displayed.
4.5 Compile the Application in IntelliJ
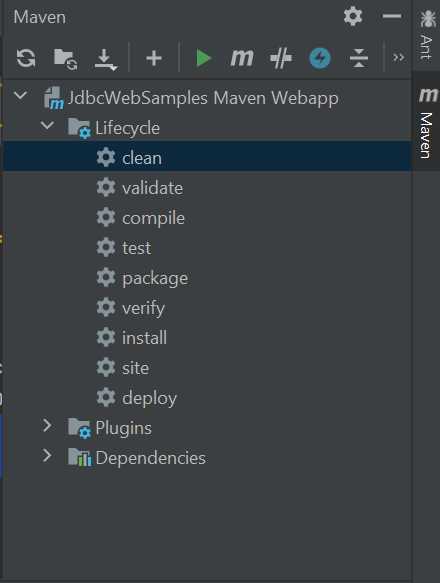
The HR Web Application easily compiles using Maven in IntelliJ.
4.6 Run the HR Web Application
The HR Web application is run using the Tomcat server.
- Navigate to the HRWebApp folder on your local machine. Under the
target folder, locate
JdbcWebSamples.warfile. - Place
JdbcWebSamples.warfile underTOMCAT_HOME/webapps/. - Navigate to the HRWebApp folder on your local machine. Locate
tomcat-users.xmlfile. - Place
tomcat-users.xmlfile underTOMCAT_HOME/conf/. - Start the tomcat server.
- Once the tomcat is started, access the HR web application from a
browser using the URL
http://localhost:8080/JdbcWebSamples/.
- Login to the application with either hradmin or
hrstaff user.
Note:
- For more information about the hradmin and hrstaff users, see Overview of the HR Web Application and Create Login and Logout Functionality.
- Refer tomcat-users.xml file for the username and password information required to login to the HR Web Application.
- HR Web Application has several functionalities. List All displays the employees' details such as Employee_id, First_name, Last_Name, Email, Phone_number, Job_id, Salary etc. The details are retrieved from the Employees table and displayed on a web page. See the screenshot below that shows List All functionality.
- Similarly, verify the remaining functionalities such as Search by ID, Update Employee Record and Increment Salary by giving appropriate inputs.
