8.2 Managing MLE Modules
A JavaScript module is a unit of MLE's language code stored in the database as a schema object. You can create, edit and delete JavaScript modules.
Topics:
8.2.1 Creating an MLE Module
A JavaScript module can be created in two ways:
- By entering Javascript code into the editor
- By opening the file already available on your local computer
Creating a JavaScript Module by Entering Code in the Editor
To create an MLE module:
-
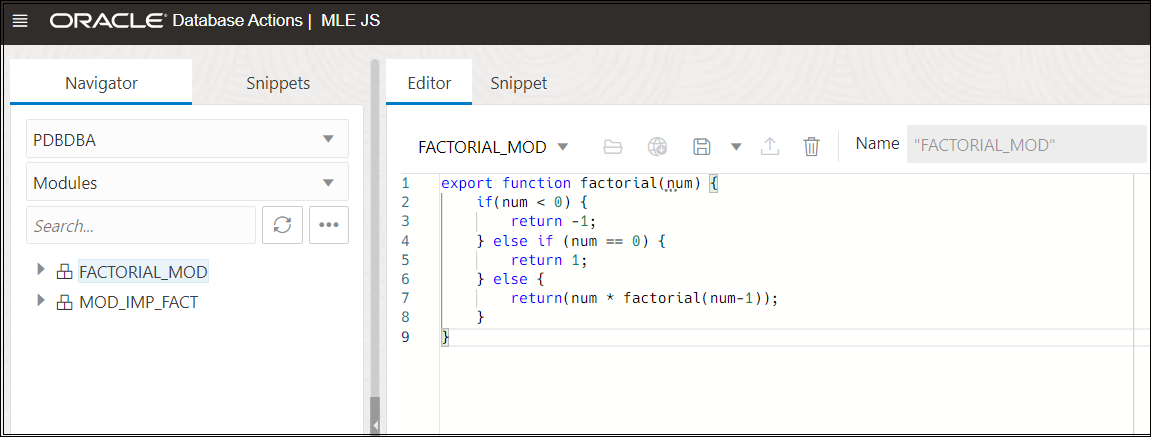
In the right editor pane, select the Editor tab (if not already selected) and enter the JavaScript code.
-
In the Name field, enter a name for the module.
-
Select the appropriate environment from the drop-down list.
This is needed when importing or exporting modules already saved to the database and imported in the selected environment.
-
Click Save to save in database, file system or both database and file system.
Creating a JavaScript Module by Opening the File
To create an MLE module:
- In the right pane, select the Editor tab, click Open File and browse for the file you want. The file contents are displayed in the editor.
- In the Name field, enter a name for the module.
- Click Save.
8.2.2 About Context Menu Options for MLE Modules
In the left Navigator pane, right-click the MLE module name to access the following options:
- Edit: Select to edit the attributes of the MLE module.
- Drop: Select to remove the MLE module from the database.
- Dependencies Diagram: Shows module dependencies in the form of a diagram. The diagram also includes the interlinking of all modules dependent on the specified module. These dependencies are based on the imports and exports in each used module. The details of the exported and imported functions can be seen on the diagram.
- Create Call Specification: Opens the Create MLE Call Spec panel. Enables you to create a call specification for the MLE module.
- Compare (File to Module, Module to File): Compares the module version saved in the database (or file system) to the version saved in the file system (or database). When the module is saved in both database and file system (indicated by a round blue overlay icon), use this option to compare the two versions. The differences are highlighted enabling you to quickly identify the changes. Click Overwrite to implement the changes needed to synchronize both the database and file system versions of the module.
- Show Code: Displays the JavaScript code for the module in a separate panel.
- Show Metadata
-
User Data: Creates and edits user metadata that can be stored along with the module. The metadata must be in valid JSON syntax.
- Code Metadata: When a module is saved,
the metadata related to imports and exports is stored in the database. This
metadata is used:
-
in tracking dependencies on dependency diagrams.
-
for code completion functionality such as code peek.
-
for creating an MLE environment.
-
for creating a call specification based on the module.
Only ES6 modules are supported. There is no support for CommonJS, AMD and UMD modules.
-
- Code: Shows the module code.
-
- Generate JSDoc: Generates the Markdown file based on exports
from the module. Data types for function parameters are included if the following
exist:
- JSDoc about function parameters in the code.
- Call specification defined for the exported function.

