3 Managing NPAC Relations
This chapter discusses the data that the LSMS and Number Portability Administration Center (NPAC) have in common.
Resynchronizing LSMS and NPAC Data
This chapter discusses data that the LSMS and NPAC have in common.
Figure 3-1 LSMS NPAC Menu

The LSMS database continually receives realtime updates from the regional NPAC databases. If the network connection between the LSMS and the associated NPAC is broken for a brief period of time, the LSMS initiates an automatic reconciliation procedure to make sure that its subscription and network information are current. For more information, refer to the Alarms and Maintenance Guide.
Perform these tasks by using the procedures described in the following sections to verify that the LSMS and the NPAC are using the same data:
- Resynchronize an individual TN
- Resynchronize a range of TNs
- Resynchronize for a defined period of time
Note:
Resynchronization for a defined period of time will not resynchronize data for TNs that were modified after the defined period of time. A resynchronization for a time period that ends with the present time, or an import of a full bulk data download, may be necessary to acquire all data. - Resynchronize an individual NPB
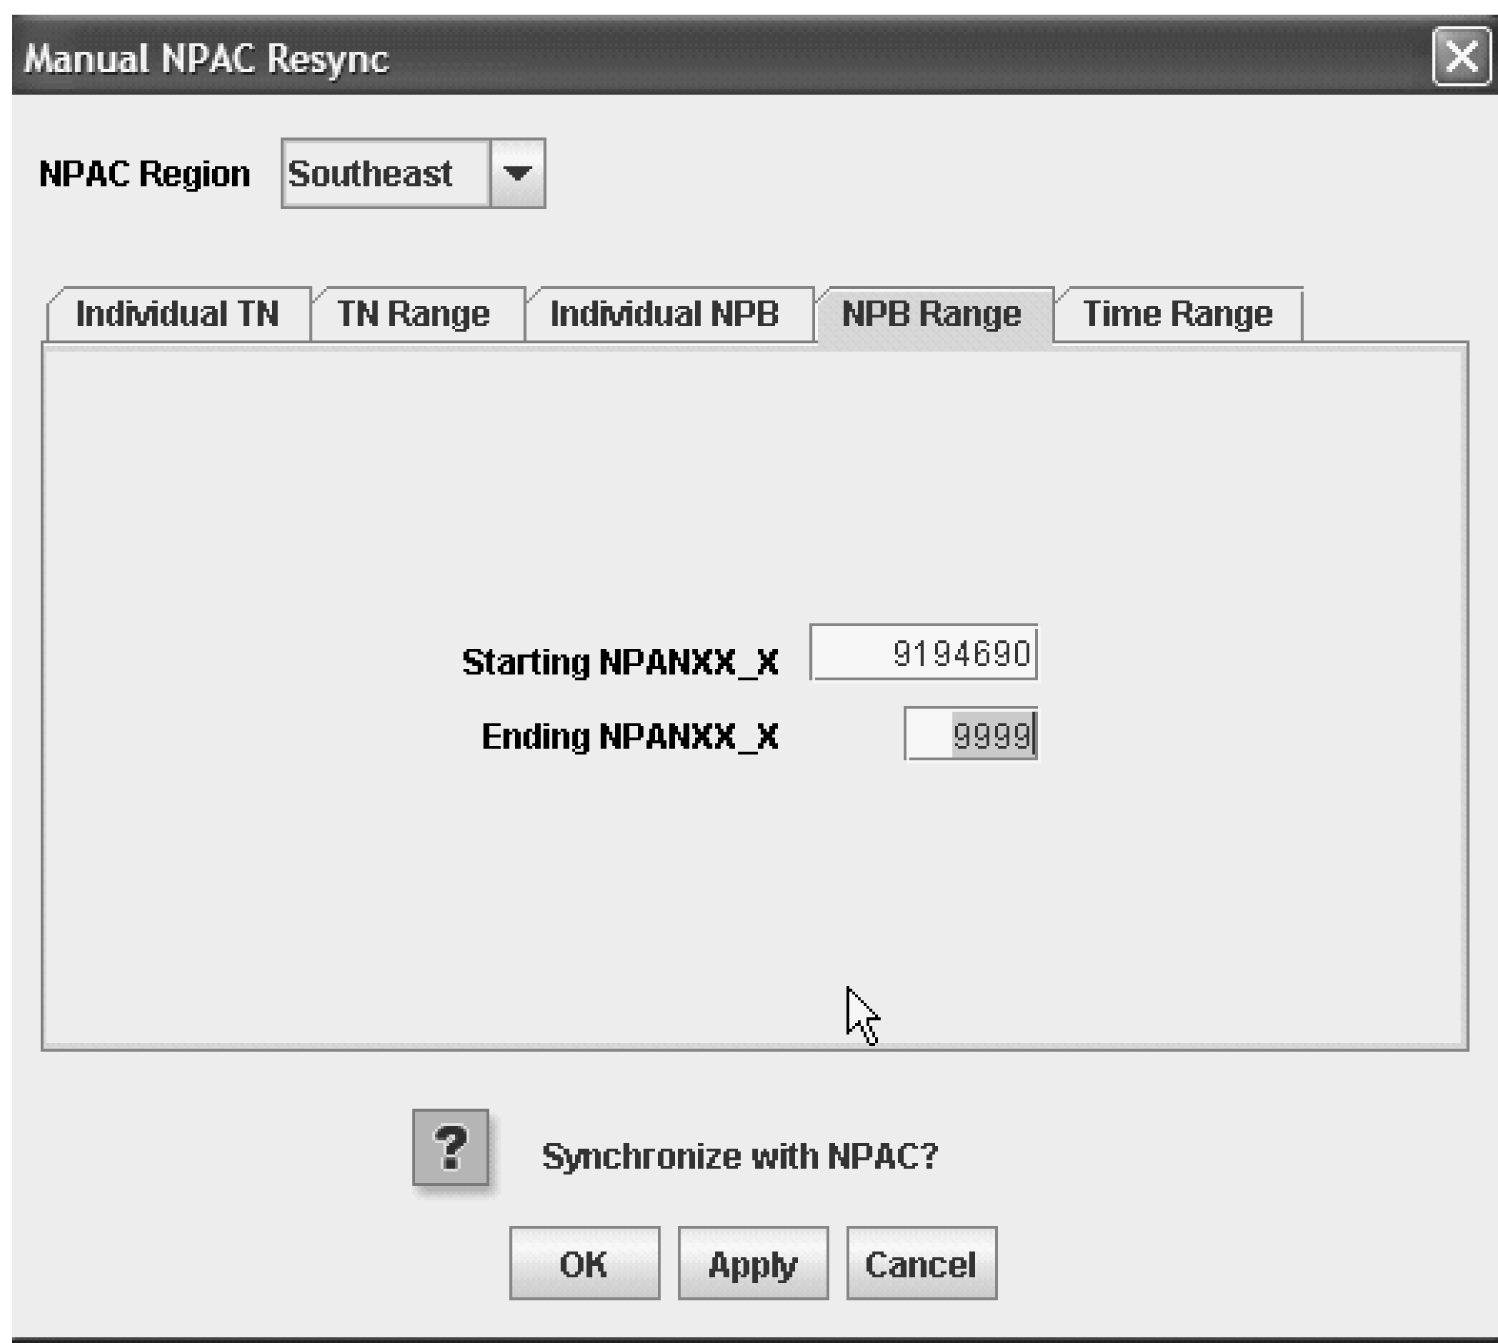
- Resynchronize a range of NPBs
You can complete each task using the LSMS GUI as described in the following sections.
Resynchronizing an Individual TN Using the GUI
To download subscription information from the NPAC relating to an individual TN using the GUI:
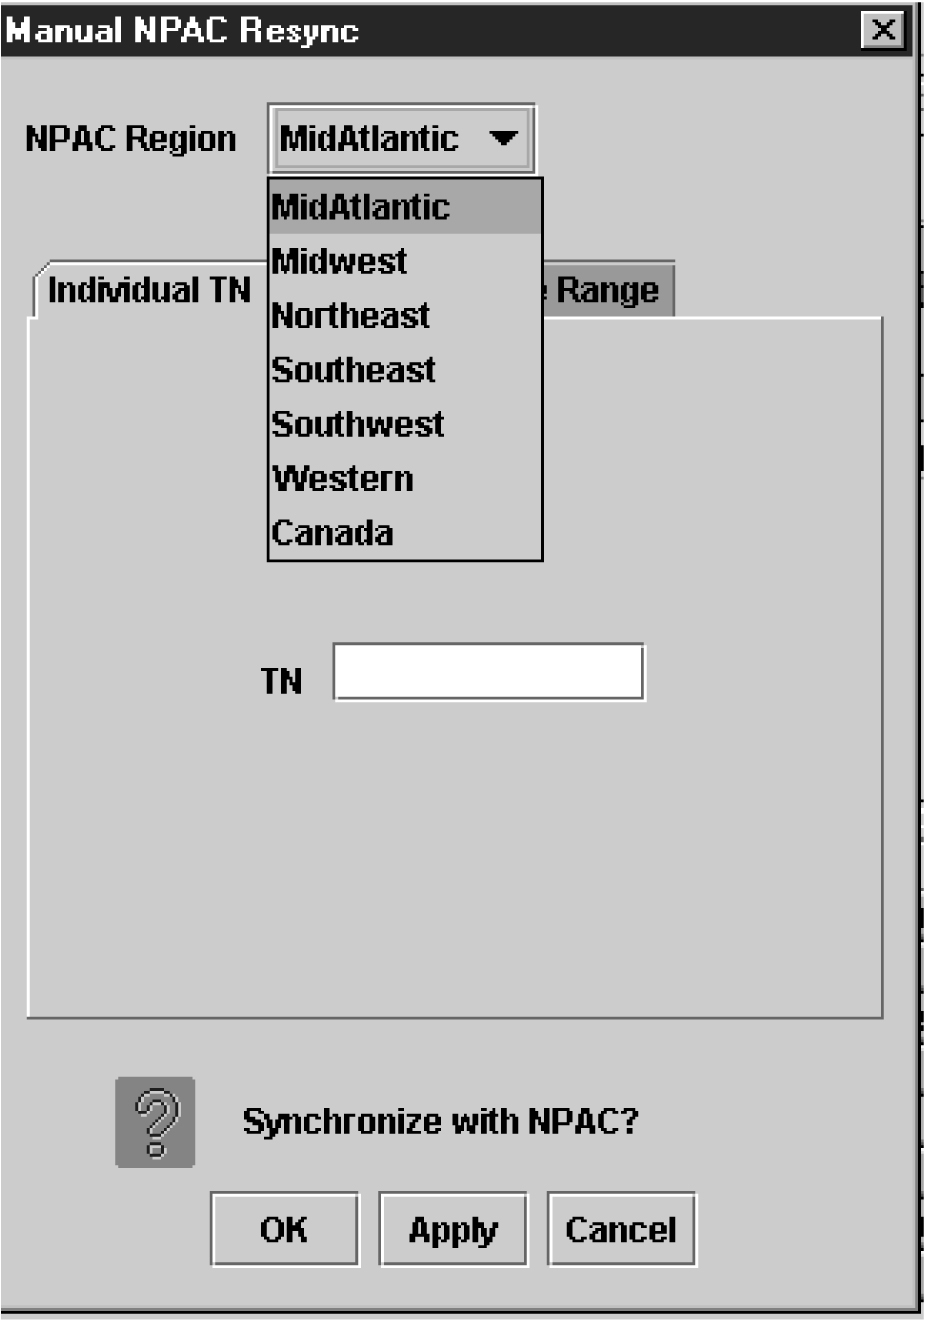
- Select the desired NPAC region from the pull-down menu.
Figure 3-2 NPAC Region Pull-Down Menu
Resynchronizing a Range of TNs Using the GUI
To download subscription information from the NPAC relating to a range of TNs using the GUI:
- Select the TN Range tab at the top of the window. The Manual NPAC Resync – Range TN window displays.
Figure 3-3 Manual NPAC Resync – Range of TNs Window

Resynchronizing for a Defined Period of Time Using the GUI
To download subscription information and network data from the NPAC for a defined period of time using the GUI:
Note:
Time Stamp values are entered in local time. LSMS automatically converts local time to Z (Zulu), which is also called GMT (Greenwich Mean Time). For more information, see Appendix A, "Local Time Calculation and World Time Zone Data."Note:
Resynchronization for a defined period of time will not resynchronize data for TNs that were modified after the defined period of time. A resynchronization for a time period that ends with the present time, or an import of a full bulk data download, may be necessary to acquire all data.Resynchronizing an Individual NPB Using the GUI
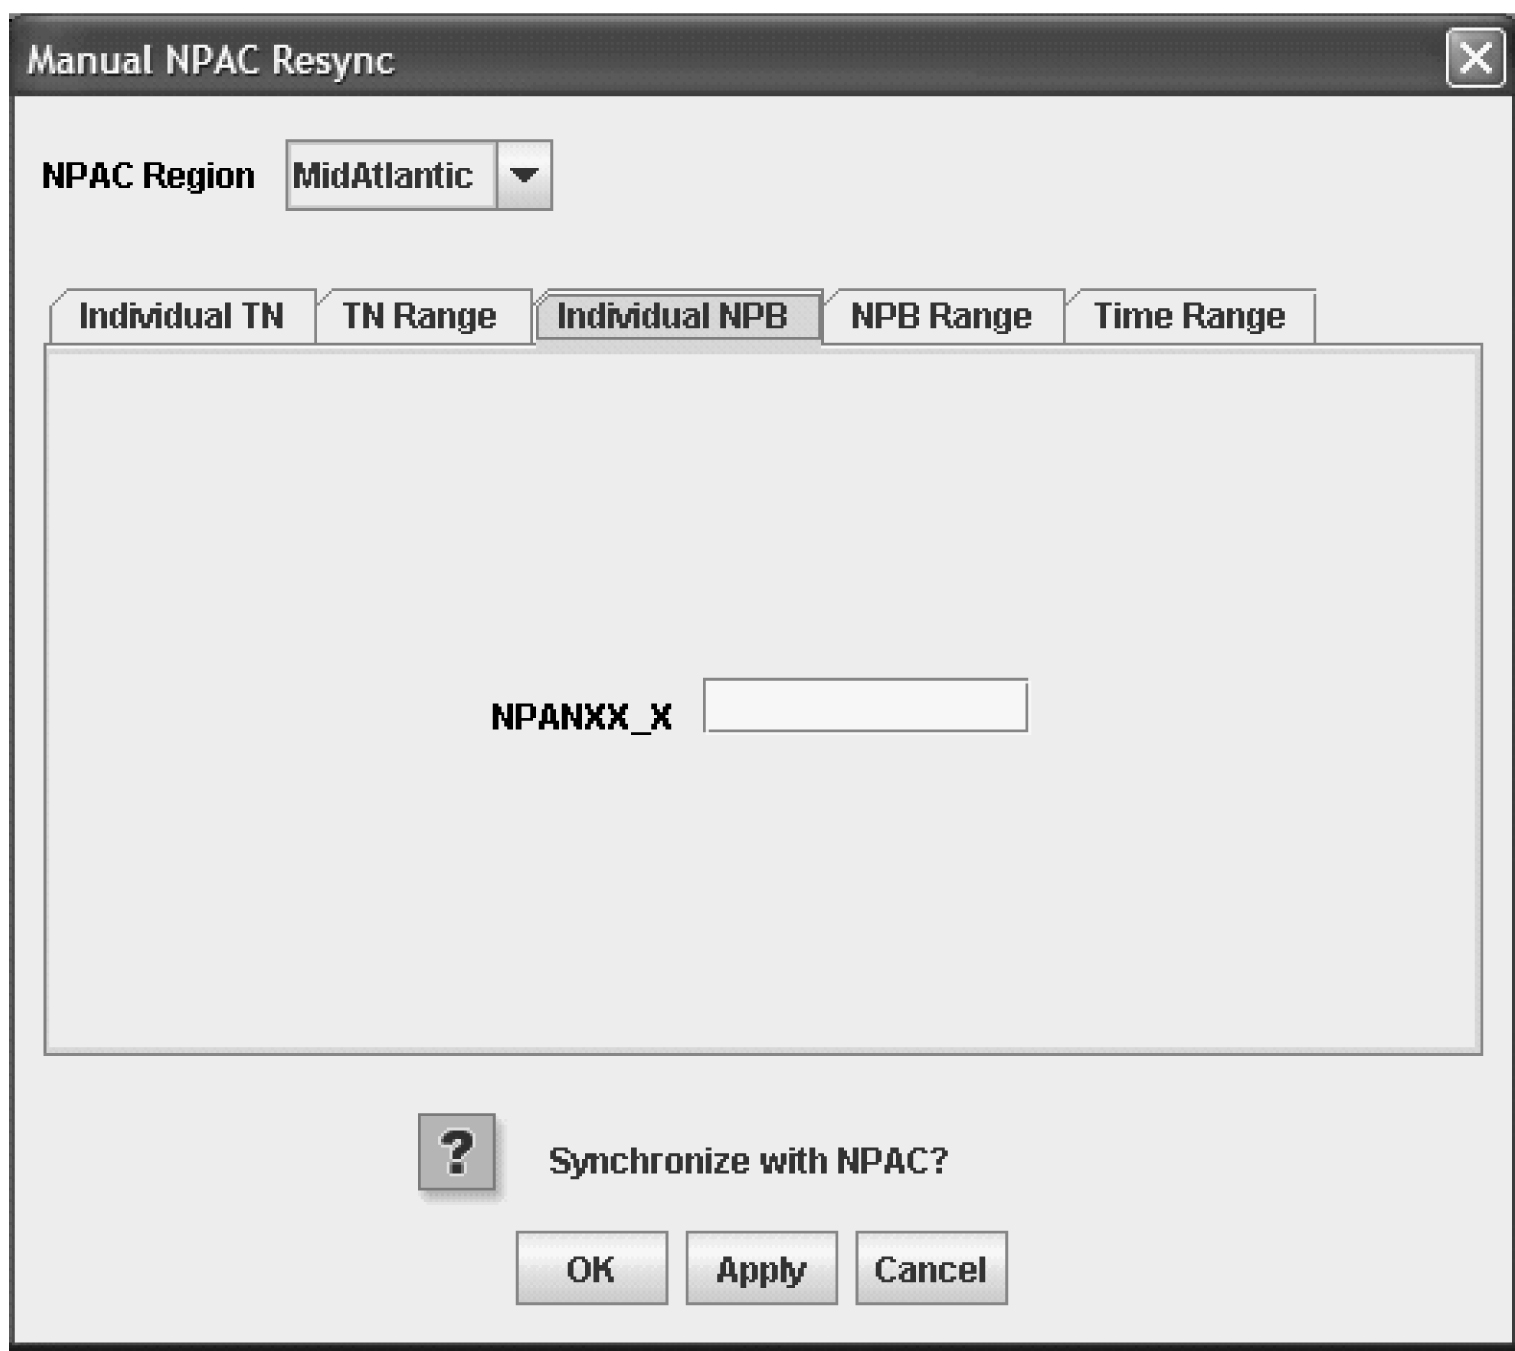
To download subscription information from the NPAC relating to an individual NPB using the GUI:
- From the LSMS Console window, select . The Manual NPAC Resync window displays.
Figure 3-4 Manual NPAC Resync Window
- Select the desired NPAC region from the pull-down menu.
Figure 3-5 NPAC Region Pull-Down Menu

Viewing an NPAC Service Provider Network
To view information about the service provider network:
- From the LSMS Console window, select . The View Service Provider Network window displays.
Figure 3-7 View Service Provider Network Window

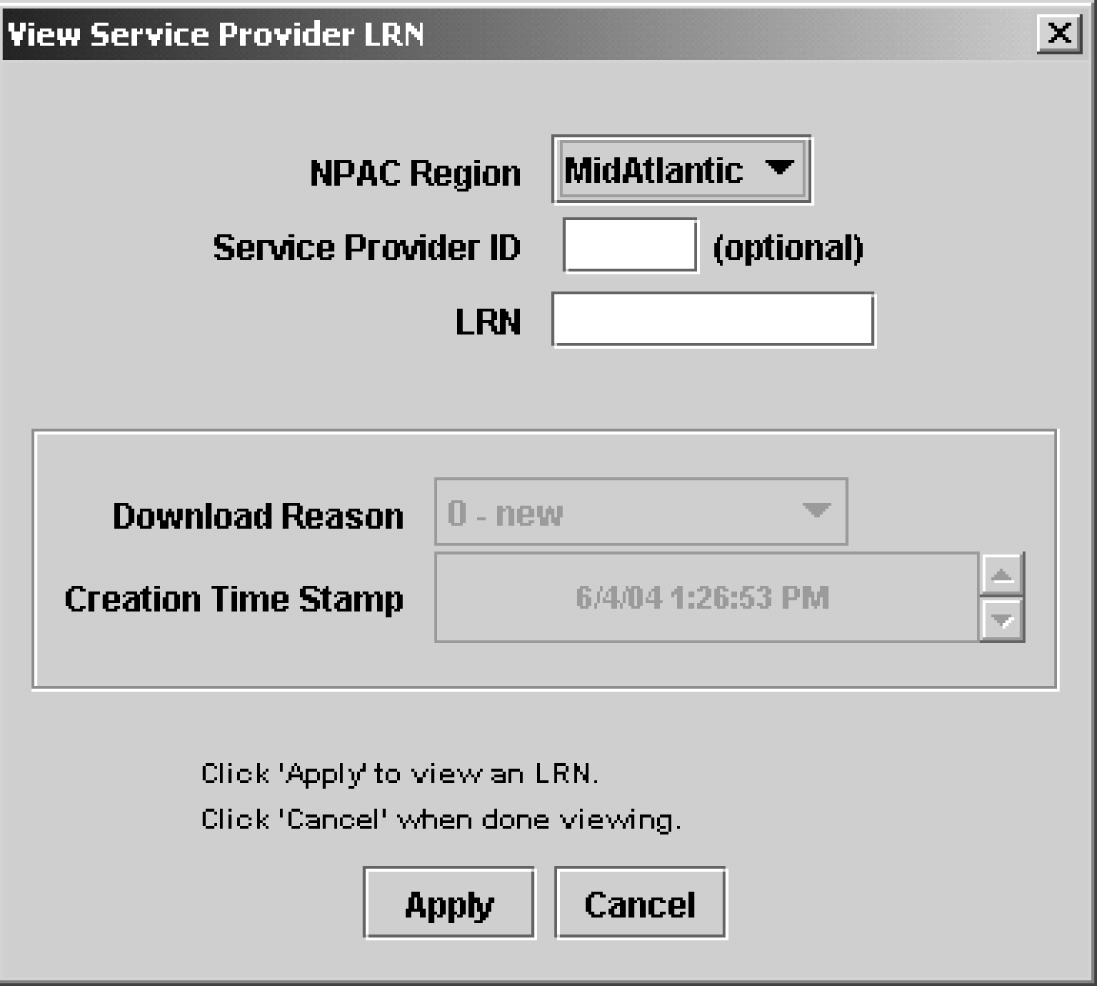
Managing NPAC Service Provider Local Routing Number (LRN)
The following procedures explain how to add, view, and delete an NPAC Service Provider LRN.
Adding an NPAC Service Provider LRN
To send a request to the NPAC to add an NPAC service provider LRN:
- From the LSMS Console window, select . The Create Service Provider LRN window displays.
Figure 3-8 Create Service Provider LRN Window

Managing NPAC Service Provider NPA-NXX
The following procedures explain how to add, view, and delete an NPAC Service Provider NPA-NXX.
Adding an NPAC Service Provider NPA-NXX
To send a request to the NPAC to add a service provider NPA-NXX:
- From the LSMS Console window, select . The Create Service Provider NPA-NXX window appears.
Figure 3-10 Create Service Provider NPA-NXX Window

