32.2 Edit Application Role

Using this option System Administrator can edit or update the details of an existing role transaction mapping.

To modify role transaction mapping:

  1. Navigate to one of the above paths.
    The Role Transaction Mapping screen appears.
  2. Repeat step 1 to 4 of Search Application Role section.
  3. Click edit icon against the Map Transactions.
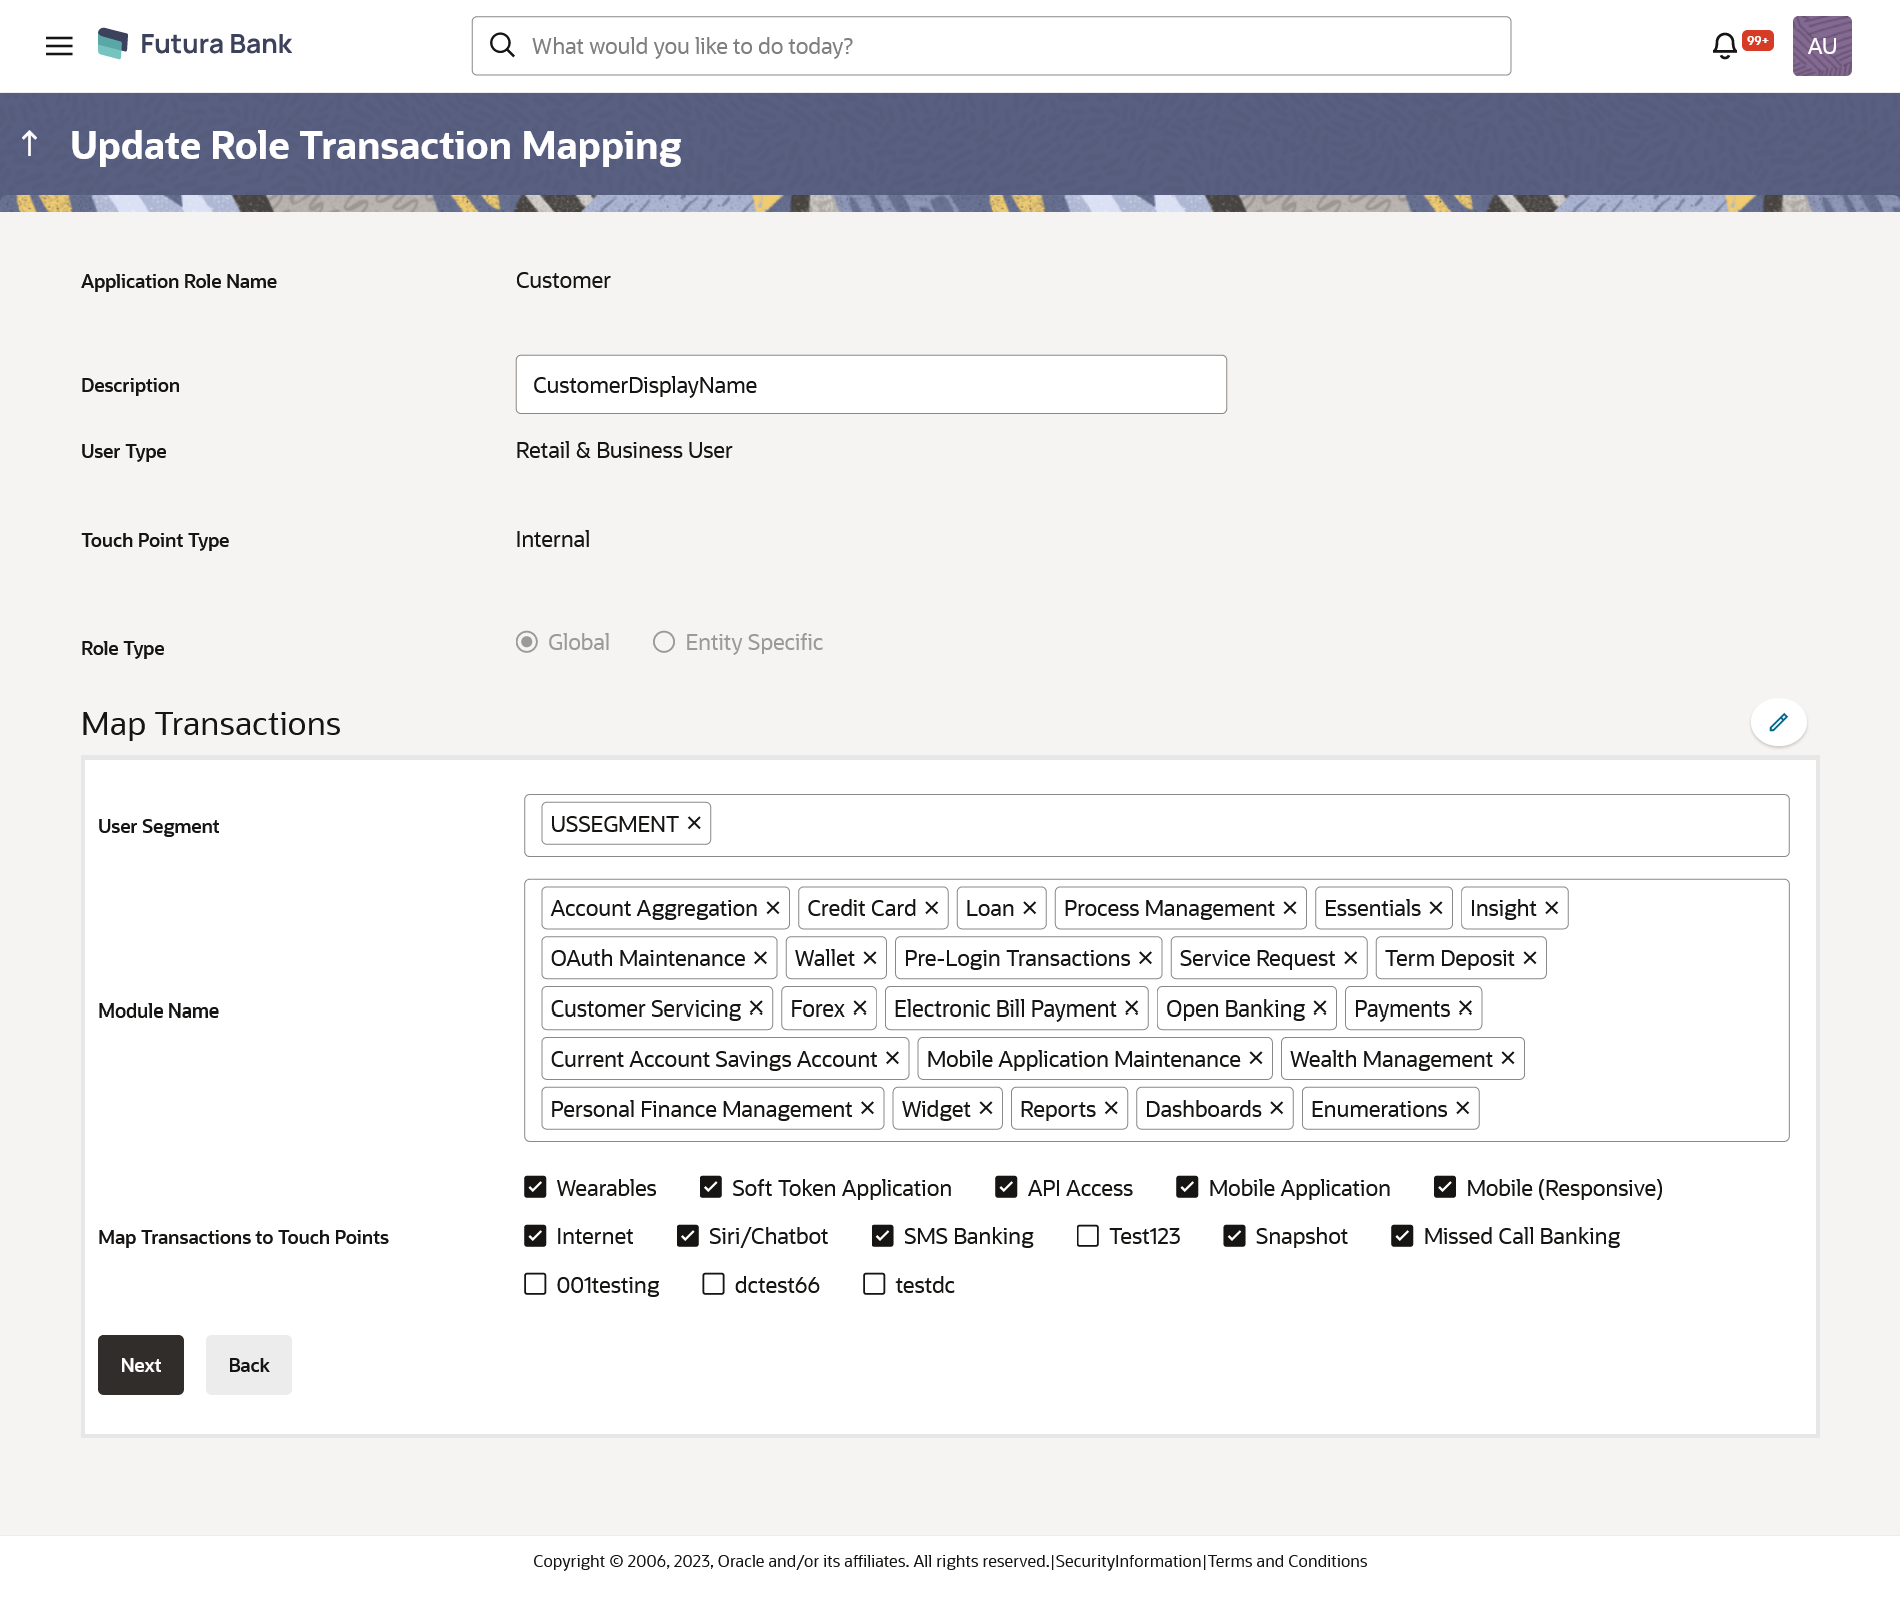
    Screen in editable mode appears.

    Figure 32-4 Role Transaction Mapping - Edit


    Note:

    Application Role Name, User Type, and Touch Point Type fields cannot be edited.
  4. Update the role description if required.
  5. Add/ remove the user segment as per requirement.
  6. Select/ deselect module names for which the transaction mapping is to be done.
  7. Check/uncheck the touch points for which the transaction mapping is to be done.
  8. Click Next to link/ delink transactions.
    OR

    Click Back to go back to previous screen.

    Note:

    If the administrator deselects a module from Module name field, transaction mapping done for all the transactions under that module will get removed for that module. Similarly if the administrator unchecks and existing touch point, transaction mapping done for all modules for that touch point will get removed for that Touch Point.


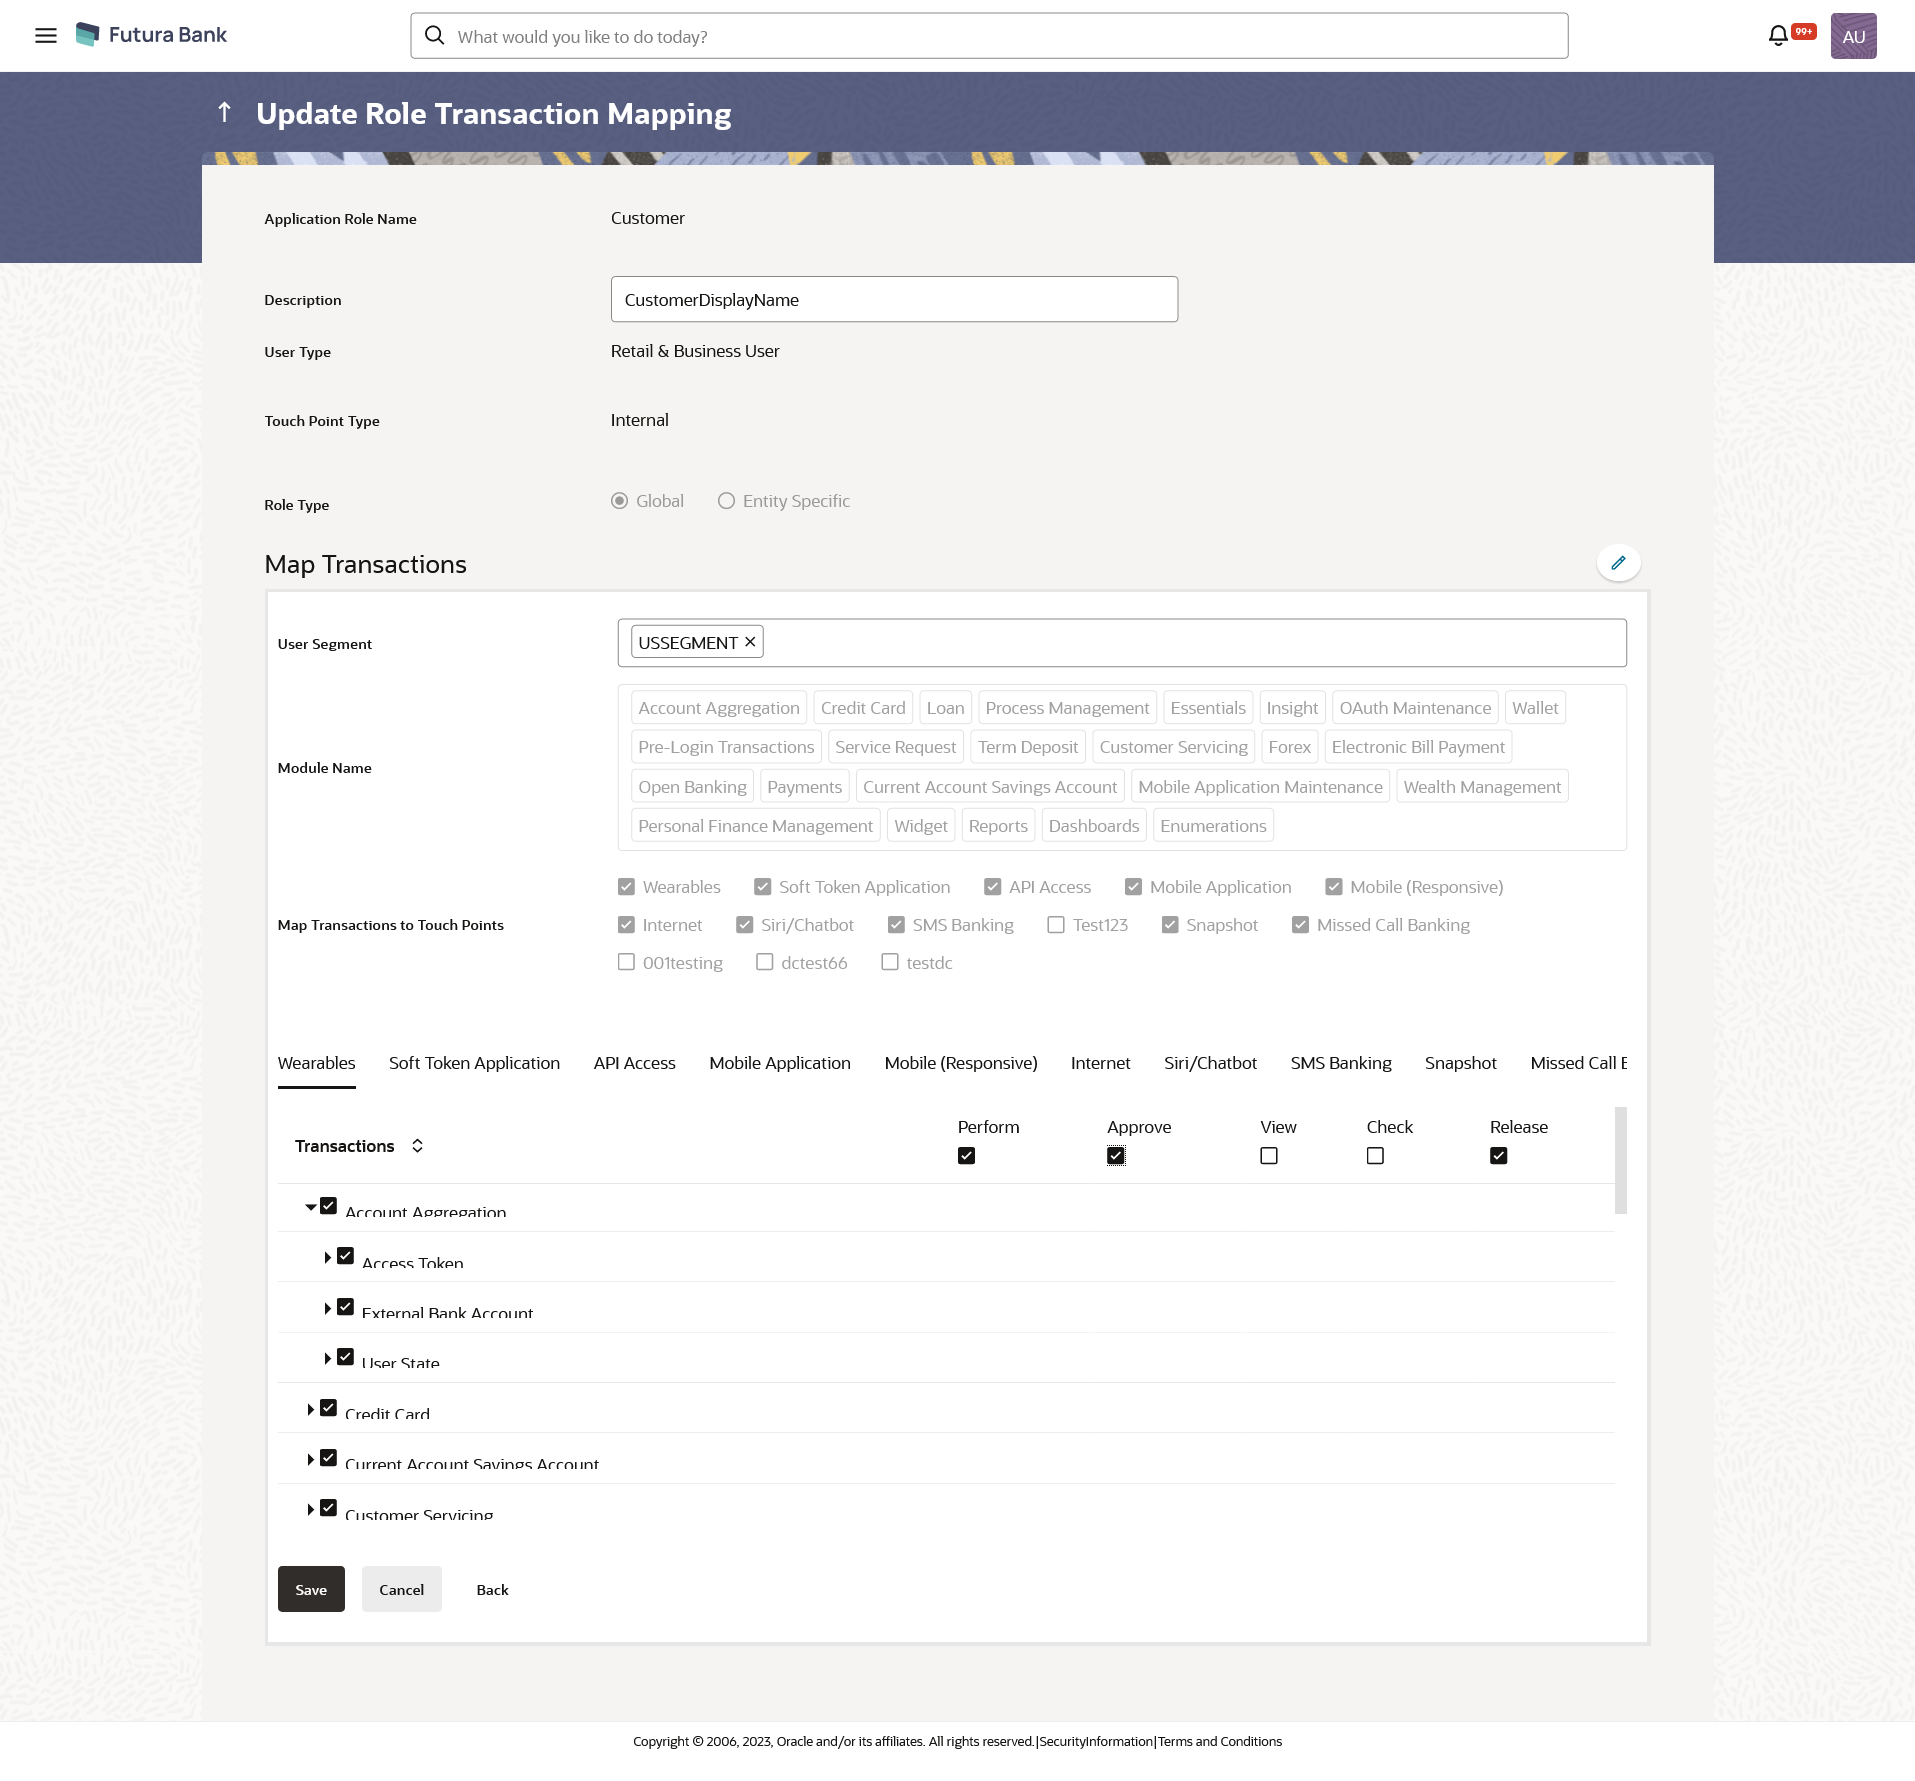
  9. Modify the transactions mapping for different touch points.
    Click viewdetails icon against the particular category to view and update the transaction mapping.
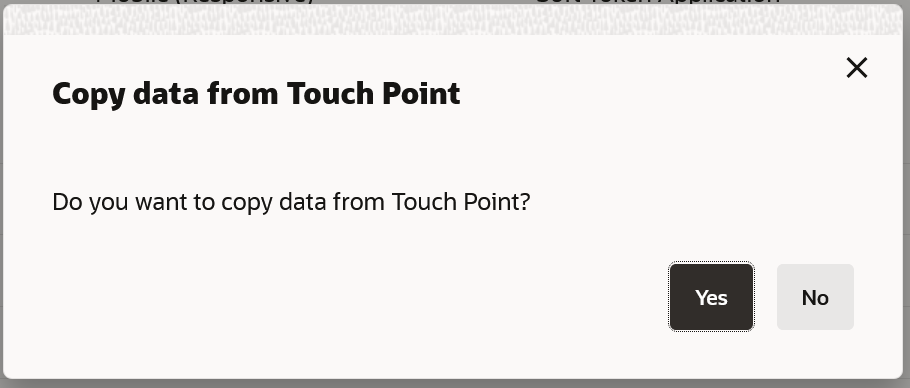
  10. Click on the next touch point tab, a pop up window appears for asking Copy data from touch point.

    Figure 32-5 Copy data from touch point Confirmation popup window


    1. Click Yes to select the touch point from which the data has to be copied.
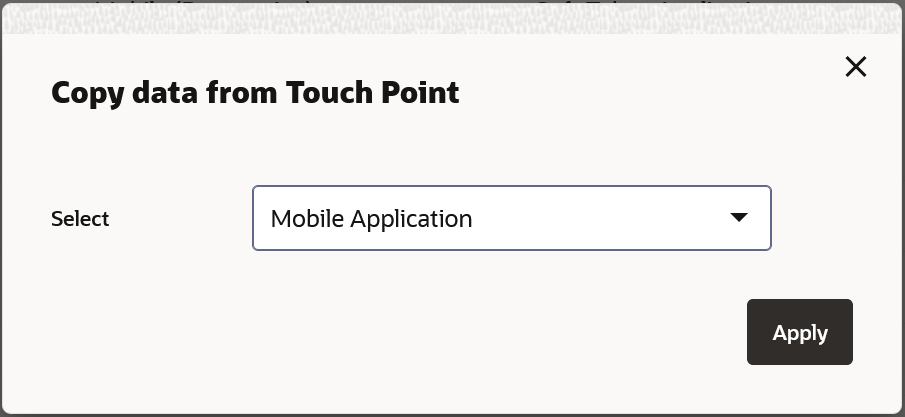
    2. Copy transaction mapping details of touch point to another popup window.

    Figure 32-6 Copy data from touch point Confirmation popup window


    1. From the Select list, select the touch point from the list.
    2. Click Apply.

      OR

      Click No. to do the mapping operationally.

  11. Modify the transactions mapping for current touch points if required.
  12. Click Save to save the updates.
    OR

    Click Cancel to cancel the transaction.

    OR

    Click Back to navigate to the previous screen.

  13. The screen with success message appears.
    Click OK to close the message screen.