- Retail Loans Origination User Guide
- Retail Loans Account Origination Process
- Application Entry Stage
- Stake Holder Details
2.2.6 Stake Holder Details
This topic provides the systematic instructions to capture the stake holder details related information for the application.
The Stake Holder Details data segment allows to capture the Stake Holder details for the business. This data segment is applicable only if the Customer Type is selected as Small and Medium Business (SMB).
To add stake holder details:
- Click Next in previous data segemnt to proceed with the next data segment, after successfully capturing the data.
- Select + Add Stakeholder to add the Stake holders for
the business.The Stake Holder Details screen displays.
Figure 2-8 Stake Holder Details
- Specify the details in the relevant data fields. For more information on fields, refer
to the field description table below.
Table 2-13 Stakeholder - Field Description
Field Description Stake Holder Type Select the Stakeholder type from the dropdown list.
Available options are
- Owners
- Authorized Signatories
- Guarantors
- Suppliers
Existing Customer Select the toggle to indicate if the customer is an existing customer or not. CIF Number Click Search icon and select the CIF number.
This field appears only if the Existing Customer toggle is enabled.
Once the CIF number is selected, the system identify whether the entered CIF number matches the Office of Foreign Assets Control (OFAC) list. If response is positive then error appears stating Invalid Customer Status. The account opening process is not initiated with that customer
Ownership Percentage Specify the ownership percentage.
This field is appears only if the Owner option is selected from the Stake Holder Type field.
Associated Since Select the date from when the Stake Holder is associated with the business. Authorized Signatories For the existing customers, the Signature details will be in read-only mode.
For the new customers, the user will be able to add, edit and delete the Signature details.
Signatures Click

icon to upload the signatures for the new customer.Click Add button to add the signatures.
Click Cancel button to discard the added details.
On Submit, signature will be handed off to Oracle Banking Party.
Upload Signature Drag and drop the signature file or click on Select or drop files here to browse and upload the signature from the local system.
PNG & JPEG file formats are supported.
This field appears only for the new Customers.
Uploaded Signature Displays the uploaded signature.
This field appears only for the new Customers.
Remarks Specify the remarks related to the signature.
This field appears only for the new Customers.
Signature ID Displays the Signature ID for the added signature. Signature Displays the added signature. Remarks Displays the remarks for the added signature. Action Click

to edit the added signaturesClick

to delete the added signatures.This field is enabled only for new customers.
Guarantors Click 
to add guarantor details.Line of Business Select the line of business for the guarantor/supplier.
Available options are:
- Facility
- Supply Chain Finance
- Trade
- Lending
- Cash Management
- Liquidity Management
- Virtual Account Management
- Accounts
Scope Specify the scope of the guarantor in the business. Guarantee Start date - Expiry date Select the guarantee start and expiry date. Guarantee amount Specify the guarantee amount for the business. Description Specify the description for the guarantor. Suppliers Click 
to add supplier’s details.Line of Business Select the line of business for the guarantor/supplier.
Available options are:
- Facility
- Supply Chain Finance
- Trade
- Lending
- Cash Management
- Liquidity Management
- Virtual Account Management
- Accounts
Item Name Specify the item name of the supplier. Quantity Specify the quantity of the item. Supply Frequency Specify the supply frequency. Start Date – End Date Select the start and end date for the supplier. - To onboard the New Customers, disable the Existing Customer toggle. By Default,
the Existing Customer is enabled.
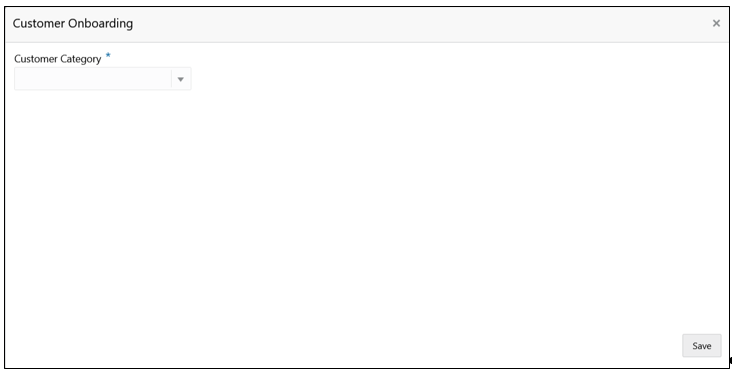
The Customer Onboarding screen is displayed.
- Select the appropriate option from the Customer Category list.
- If you select Individual option to onboard individual type of customer, refer field description table and procedure from 3.1.1.1 For Individual Customer Type of Customer Information data segment.
- If you select Small and Medium Business option to onboard small and medium business type of customer, refer field description table and procedure from 3.1.1.2 For Small and Medium Business Customer Type of Customer Information data segment.
- Click Next to navigate to the next data segment, after successfully capturing
the data. The system will validate all mandatory data segments and data fields. If
mandatory details are not provided, the system displays an error message for the user to
take action. User will not be able to proceed to the next data segment, without capturing
the mandatory data.
On submission of Application Entry stage, Stakeholder Onboarding request gets initiated for the new customers.
The request for New Stakeholder Onboarding is addressed by the underlying API call, which also generates the New Party reference number, thereby circumventing the usual process of generating a Unique Process reference number / Task.
Parent topic: Application Entry Stage
