2.1.3.3 Relationships - Guarantors

Guarantors Relationship segment allows user to capture guarantors of the small and medium business.

To add a relationship with existing customer/non-customer:

  1. On the Insta SMB Onboarding screen, click and expand Relationships segment.
  2. On the Relationships segment, click Edit button on the Guarantors widget.
    The Authorized Signatory screen is displayed.
  3. Click
    Add icon

    icon to add a household relationship.
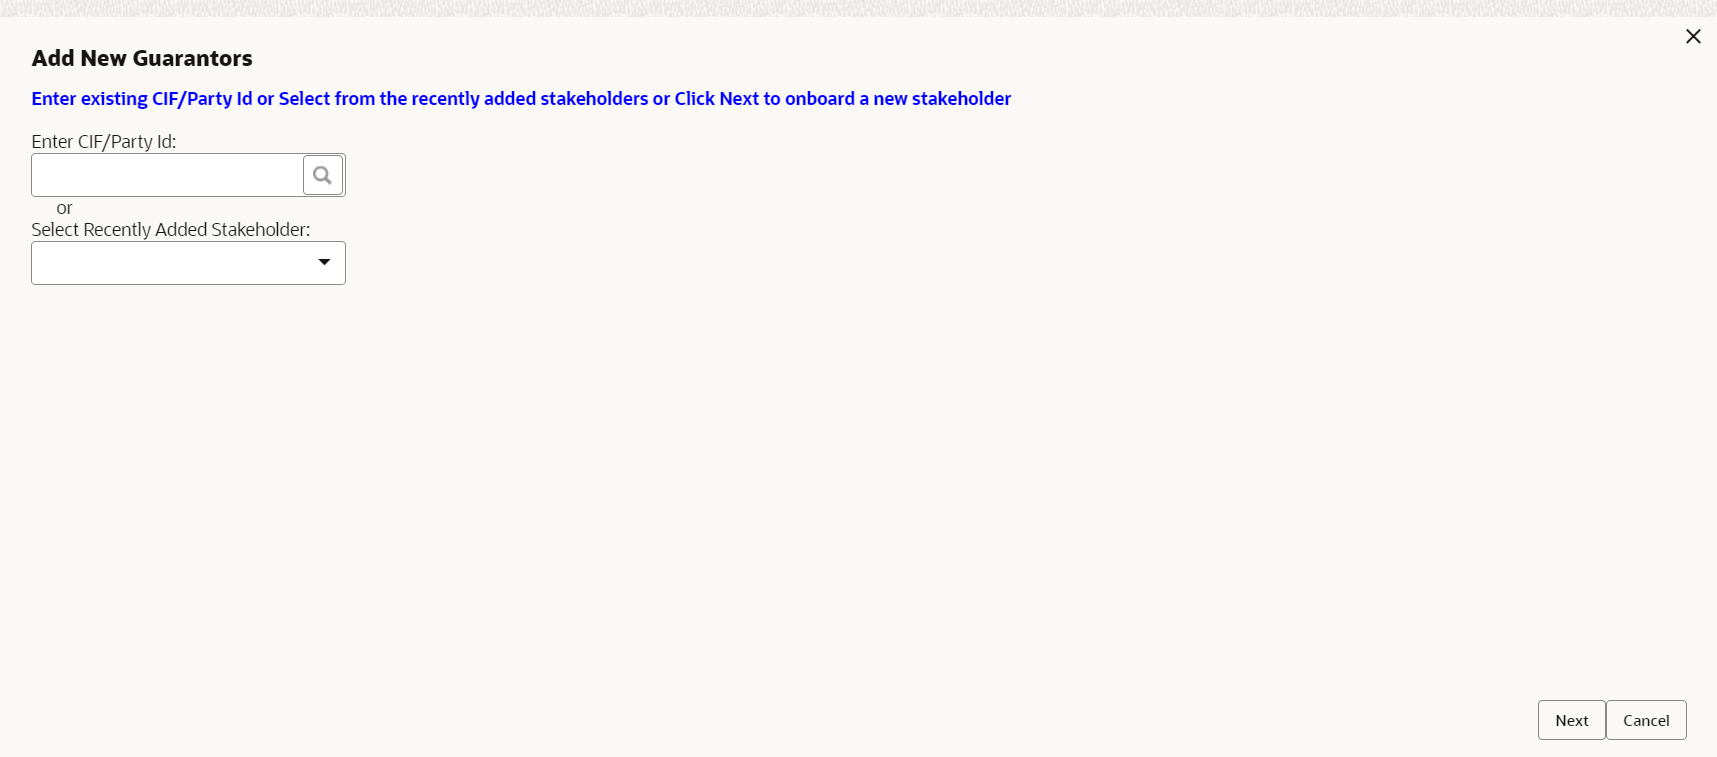
    The Add New Guarantors screen is displayed.
  4. Enter CIF ID/Party ID to add a relationship with existing customer/non-customer or click Next to create a non-customer and add as a relationship.

    Note:

    If CIF/Party ID is not known for an existing customer/non-customer, click Search icon to launch Search Party screen. Select CIF/Party ID from the list of values based on the search criteria.
    • Party ID
    • First Name
    • Middle Name
    • Last Name
    • Data of Birth
    • Unique ID
    • Mobile Number
    • Email

Existing Customer/Non-Customer

  1. On click of Next button in the Add Guarantors screen, the system displays the screen to add relationship specific attribute.
  2. On the Add Guarantors screen, add the relation specific attribute.

    Note:

    For entity maintenance, refer to the Oracle Banking Party Configurations User Guide.

New Non-Customer

  1. On click of Next button in the Add New Guarantors screen, the system displays the screen to create a new non-customer.
    The Add New Guarantors screen is displayed.
  2. On the Add New Guarantors screen, click and expand Basic Info & Citizenship segment.
  3. Specify the details on the Basic Info & Citizenship segment. For more information on fields, refer to the Table 1-8 table.
  4. On the Add New Guarantors screen, click and expand ID Details segment.
  5. Specify the details on the ID Details segment. For more information on fields, refer to the Table 1-9 table.
  6. On the Add New Guarantors screen, click and expand Address segment.
  7. Specify the details on the Address segment. For more information on fields, refer to the Table 1-5 table.
  8. Click Next to capture the KYC details of a non-customer. For more information, refer to the KYC Check section.
  9. Add relationship specific attributes.