- Analytical Application Infrastructure User Guide
- Data Management Framework
- Post Load Changes
- Specifying Transformation Definition Details
- Insert/Update Transformation
Insert/Update Transformation
Insert/Update Transformation facilitates you to define transformation
parameters; create expression with source, destination, and join/filter conditions; add
transformation logic and query the SQL Rule generated.
To insert or update a transformation:
- Select Insert Transformation or Update Transformation from the Type drop-down list in the PLC Type pane.
- Enter the details in the Source Shuttle pane as tabulated:
Figure 8-26 Source Shuttle pane

Table 8-8 Source Shuttle pane Field and its Description
Field Description Fields marked in red asterisk (*) are mandatory. Source Click Source Entity Selection. The Source Entities window is displayed. - Select the entities from the Available Values and click the Forward Arrow icon.
- Search for a specific entity by entering the keywords and clicking the Search icon. You can also deselect an entity by selecting from the Selected Values and clicking the Backward Arrow icon.
- Click the Double Forward Arrow icon to select all entities or click the Double Backward Arrow icon to remove all the selected entities.
- Click OK.
Join/Filter Click to define the join or filter condition for the source entities. The Expression Builder window is displayed. For more information, see Expression Builder.
Destination Select the destination entity from the drop-down list. - From the Transformation Logic pane, perform the following tasks to add the
transformation logic:
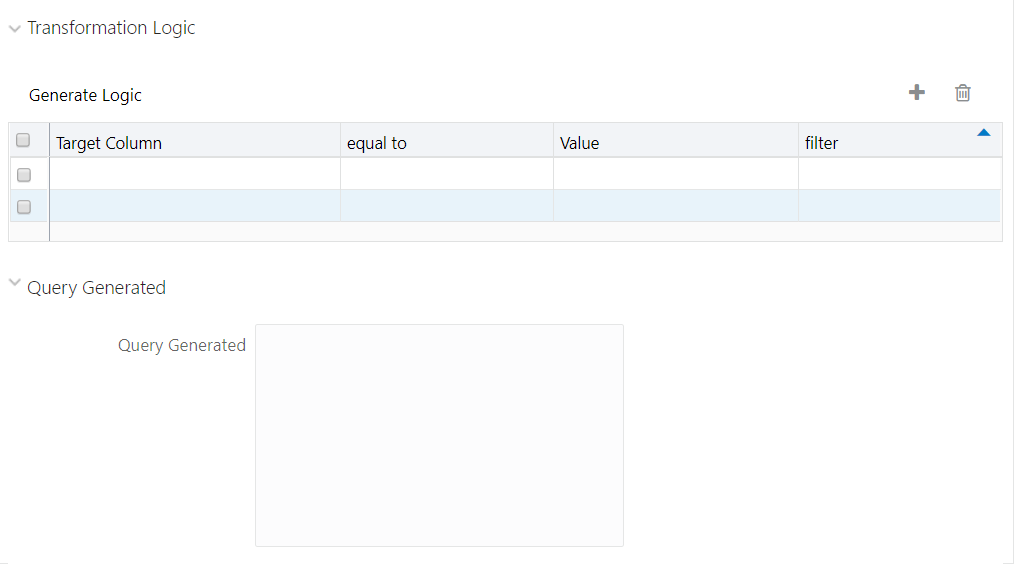
Figure 8-27 Transformation Logic pane

- Click the Add icon and a new row is added.
- Double-click the Target Column cell and enter the target column name.
- Double-click the equal to cell and select =.
- Double-click the Value cell and enter the value to define the transformation logic.
- Double-click the filter cell and enter the filter criteria if you want to apply filter for the transformation logic.
- Click Generate Logic to generate the transformation logic and view the SQL query in the Query Generated grid.
Note:
The Generate Logic button is enabled only if your user group is mapped to the User Role DTADV. - Click Check Syntax (adjacent to the Save button) to check the syntax of the query generated.
- Click Save to save the definition.The Post Load Changes definition is added to the Post Load Changes Summary window.