Security Groups Assignment
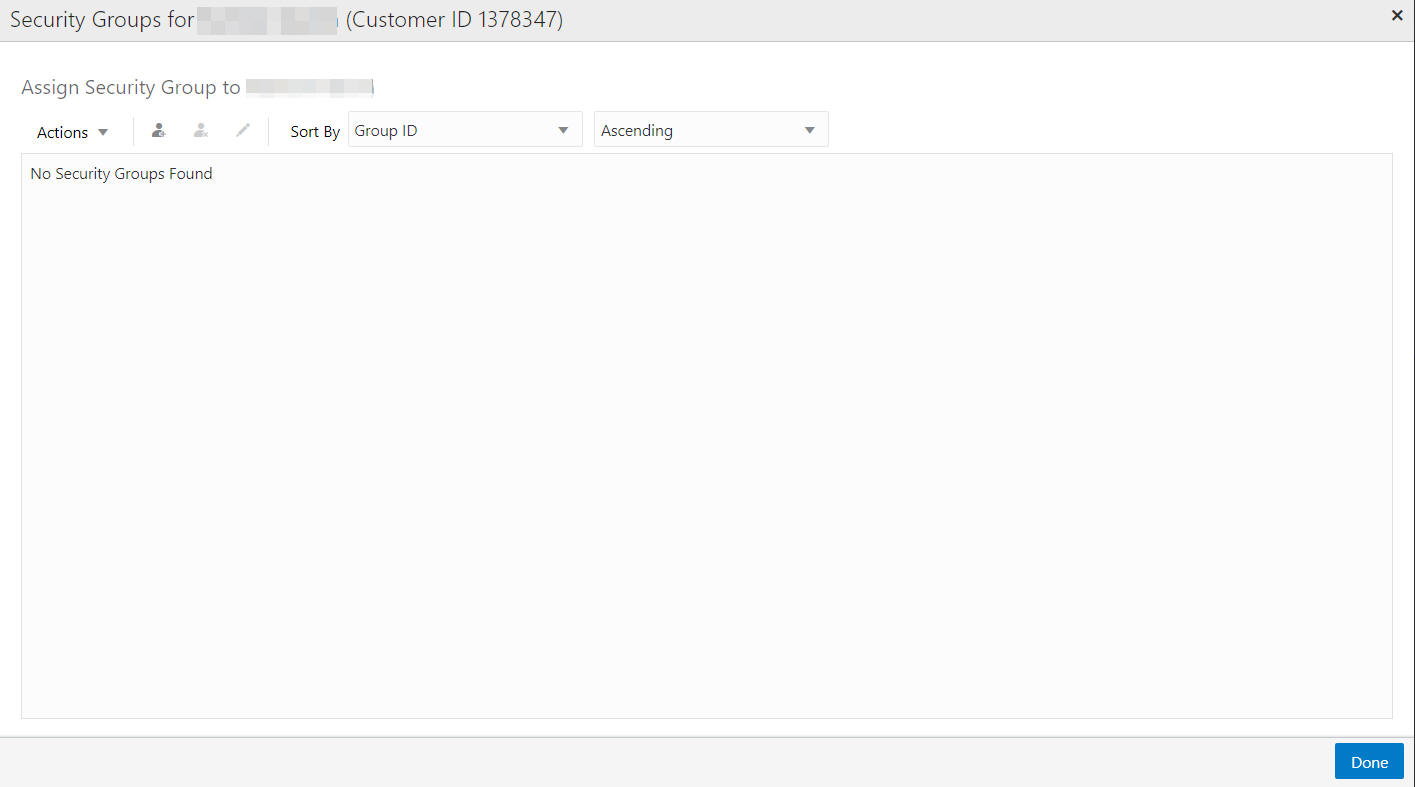
You the ability to assign or unassign a Security Group to a customer, so that customer details will be protected based on the privileges for the assigned security group. Choose the Security Groups Assignment option on the Actions menu in the Customer Dashboard for access to the Security Groups page.
Figure 4-75 Security Groups

Security Groups can be sorted ascending or descending using the following options:
-
Group ID (default)
-
Group Name
Assign Security Group
To assign a Security Group do the following:
-
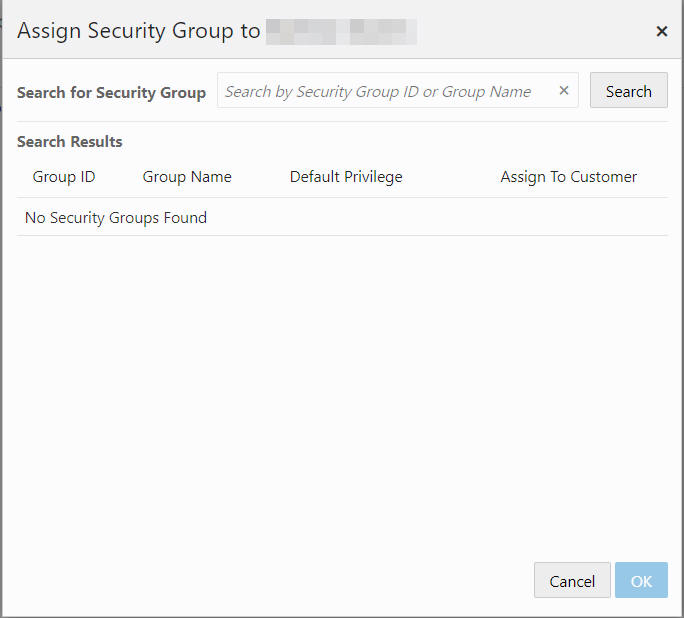
Click the Assign icon or the click the Action menu and click Assign. The Assign Security Group to Customer displays.
Figure 4-76 Assign Security Group

-
Enter the Security Group ID or Group Name.
-
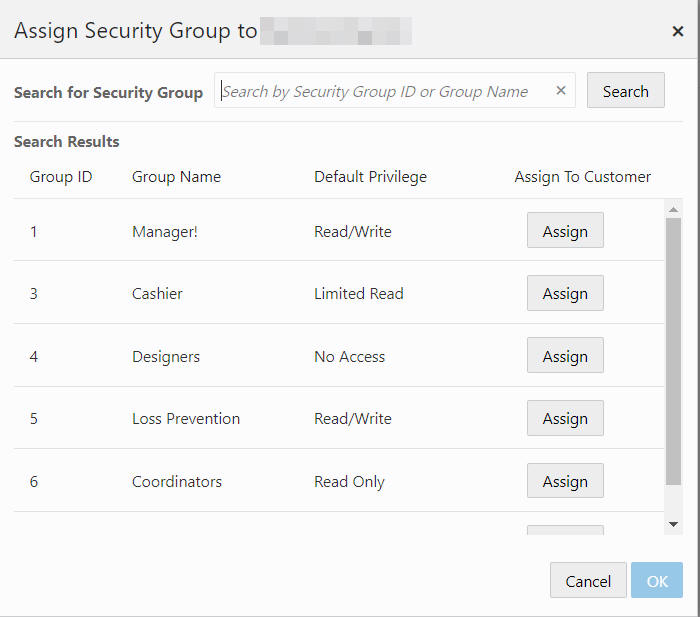
Click Search. The search results display.
Figure 4-77 Assign Security Group To Window

-
Click Assign to assign to customer, or click Unassign to remove the assignment.
-
Click OK to save the assignments or click Cancel to close the window without saving. A notification appears indicating a successful update.
Figure 4-78 Notification

Edit Security Group
To edit a Security Group do the following:
-
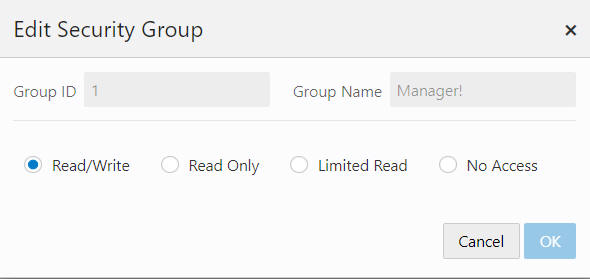
Click the Assign icon or the click the Action menu and click Edit. The Edit Security Group window displays.
Figure 4-79 Edit Security Group

-
Select a Privilege Type.
-
Read/Write - Users in the security group can read and update all data for customers who have had the security group applied.
-
Read Only - Users in the security group can read all data for customers who have had the security group applied, but cannot make updates.
-
Limited Read - Users in the security group can read some data for customers who have had the security group applied, but cannot read sensitive customer information (such as address, telephone numbers, and email addresses) and cannot make updates.
-
No Access - A user in the security group will not even see that the customer exists in the system.
-
-
Click OK to save the privileges or click Cancel to close the window without saving. A notification appears indicating a successful update.
Figure 4-80 Notification
