Viewing a Promotion
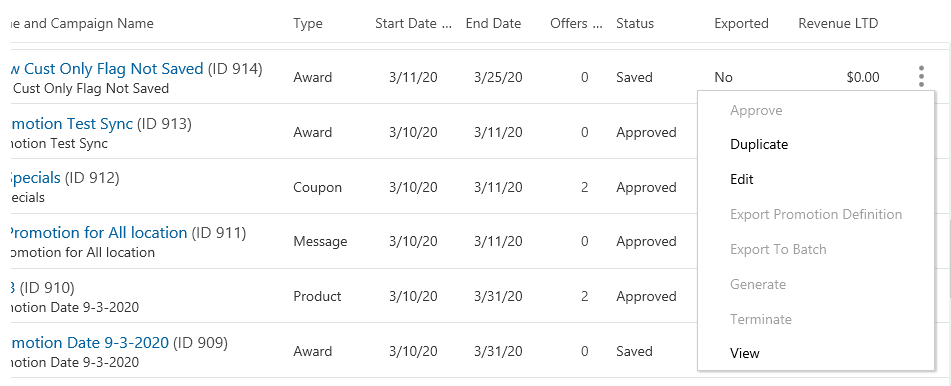
There are three places that a user can find the View option in order to view a Promotion:
Figure 5-8 Overflow Menu

-
Select View under the Action Menu (also known as the Overflow Menu) icon for each individual Promotion on the Promotion Advanced Search window.
-
Select View in the Overflow Menu on each individual Promotion on the Promotion List window (which displays in the Promotion Home menu).
-
Select View in the Overflow Menu for the individual Promotion on the Promotion Scorecard.
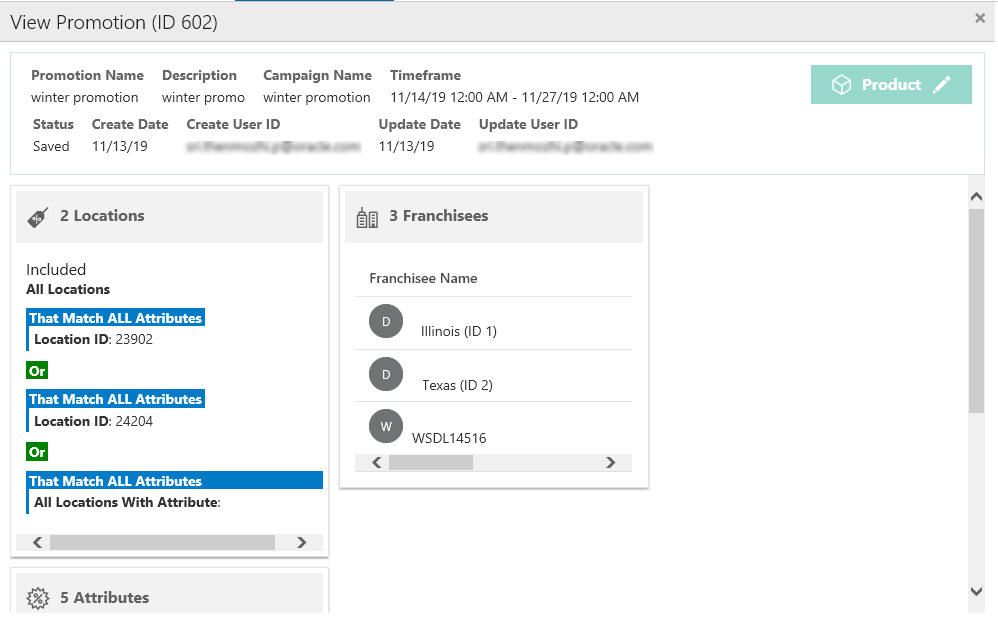
The View Promotion window displays:
Figure 5-9 VIew Promotion

The information displayed will depend upon the configuration for a Promotion.
-
Display Bar
-
Promotion Name
-
POS Name
-
Description
-
Campaign Name
-
Timeframe
-
Promotion Type
-
Status
-
Create Date
-
Create User ID
-
Update Date
-
Update User ID
-
-
Cards - In the Review panel, the individual sections are called "Cards", which display details added to some of the tabs during Promotion setup. Some of those cards may be:
-
Locations
-
Attributes
-
Franchisees
-
Offers
-
Audience
-
Budget
-
Loyalty Program Levels and Loyalty Cards
-
Note:
At any time click the Pencil icon to go into the edit mode, see Editing a Promotion for more information. You can also click the X icon to close the promotion.
Viewing Promotions - Marketing Engagements
Once a Marketing Event is created, it needs to be activated. The following message appears on Marketing Engagements to assist the user setting the event. The message reads: To trigger this event, use the Promotion ID, Offer ID and postEngagementAction service. Refer to the Web Services Guide for more information.
Figure 5-10 Trigger Event Information
