15 Setup Default Parameters
This chapter allows you to set default values for key metrics needed for the setup of the supply chain network and of the replenishment parameters. Some of the metrics are already prepopulated with default values. You can keep them or you can change them to what is more appropriate for your business. The default values are meant to get you started with the setup of the application. However, the values for the metrics are meant to be refined using the business rule engine. For instance, planning calendars may be different for fast fashion items than more basic items. The same can hold for lifecycle phases. Replenishment parameter settings can also be different by merchandise, but also by location. For instance, urban locations may be replenished more often than rural locations due to population density.
Working with the Setup Default Parameters workspace is optional.
Setup Default Parameters Workspace, Steps, and Views
The following table lists the workspaces, steps, and views for the Setup Default Parameters task.
Note:
The measures in these views are documented in the Supply Chain Network and Replenishment Parameters chapters.
Table 15-1 Setup Default Parameters Workspace, Steps, and Views
| Workspace | Step | Tab | Views |
|---|---|---|---|
|
Overview |
|||
|
The Network Parameters View includes measures that are documented in the Bill of Distributions View and the Lifecycle Calendars View. |
|||
|
The Planning Calendar Exception View includes measures that are documented in the Daily Exceptions View |
|||
Setup Default Parameters Workspace
To build the Setup Default Parameters workspace, perform these steps:
-
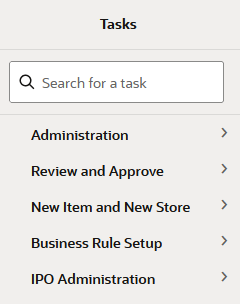
From the left sidebar menu, click Task Module to view the available tasks.
Figure 15-1 Task Module

-
Click the IPO Administration activity and then click Lifecycle Allocation and Replenishment to access the available workspaces.
-
Click Setup Default Parameters. The Setup Default Parameters wizard opens.
-
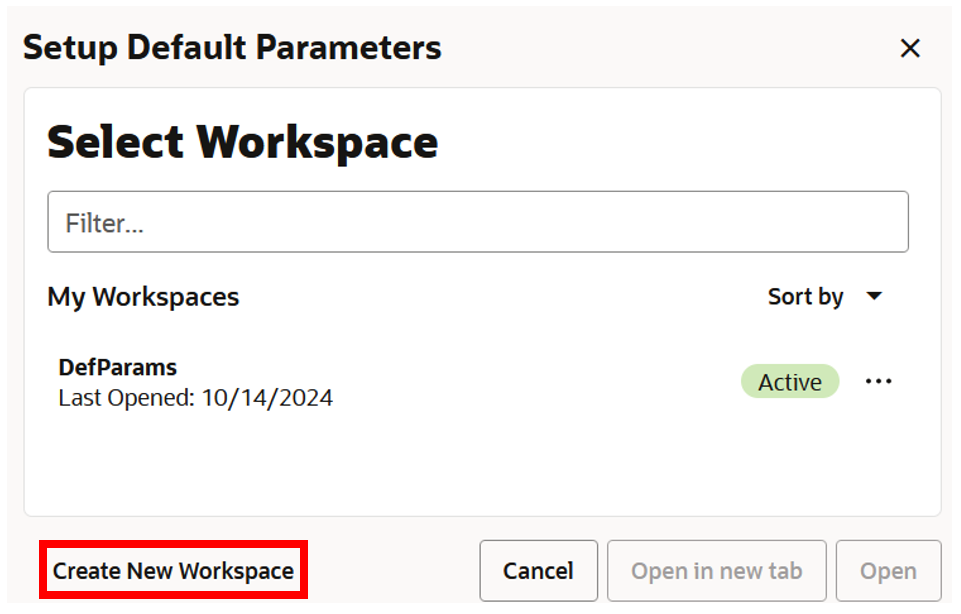
You can open an existing workspace, but to create a new workspace, click Create New Workspace.
Figure 15-2 Create New Workspace

-
Enter a name for your new workspace in the label text box and click OK.
-
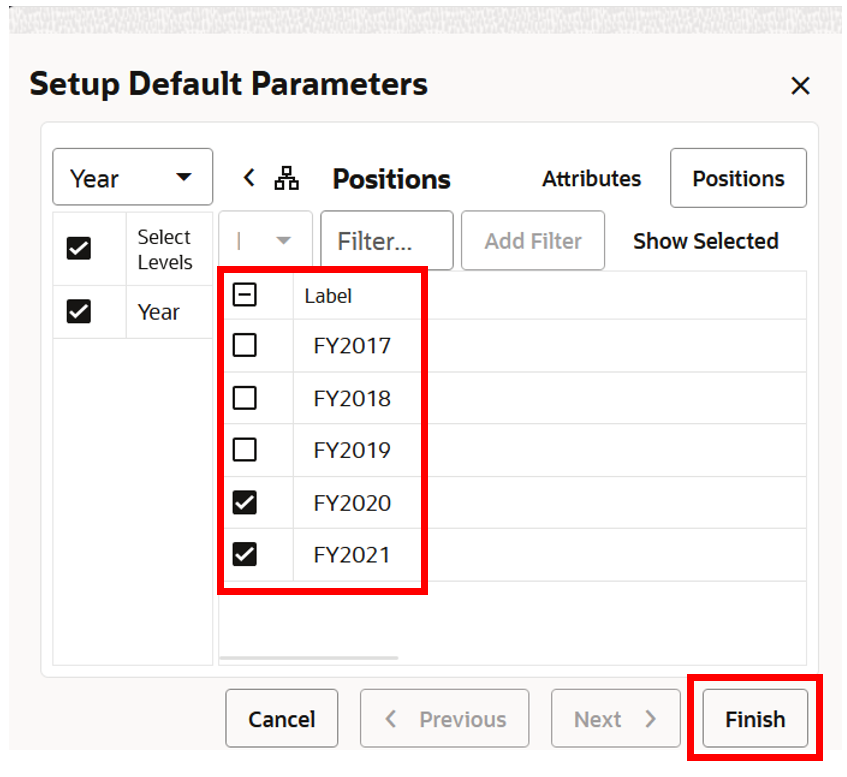
The Workspace wizard opens. Select the time periods you want to work with and click Finish.
Figure 15-3 Workspace Wizard: Select Time Periods

-
The wizard notifies you that your workspace is being prepared. Successful workspaces are available from the Dashboard.
Setup Default Parameters Step
This step contains these views:
-
The Network Parameters View includes measures that are documented in the Bill of Distributions View and the Lifecycle Calendars View.
-
The Planning Calendar Exception View includes measures that are documented in the Daily Exceptions View
Note:
The measures in these views are documented in the Supply Chain Network and Replenishment Parameters chapters.