Printing Shelf Labels
-
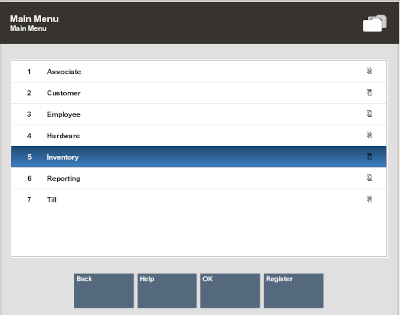
After logging in to the Back Office (see Accessing the Back Office), select the Inventory option from the Main Menu and press Enter.
Figure 22-1 Back Office Main Menu - Inventory Option
Note:
Instead of scrolling up or down the menu list to select an option, you can immediately access any option on the menu by pressing the number or letter associated with it on the keyboard (3=Employee, 5=Inventory, C= Customer, and so on).
-
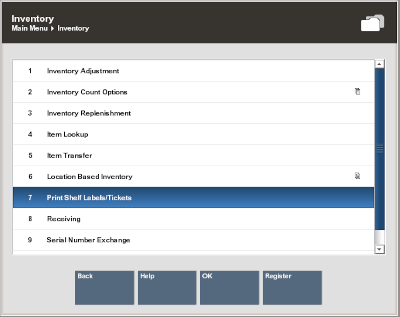
At the Inventory menu, select the Print Shelf Labels/Tickets option and press Enter.
Figure 22-2 Inventory Menu
-
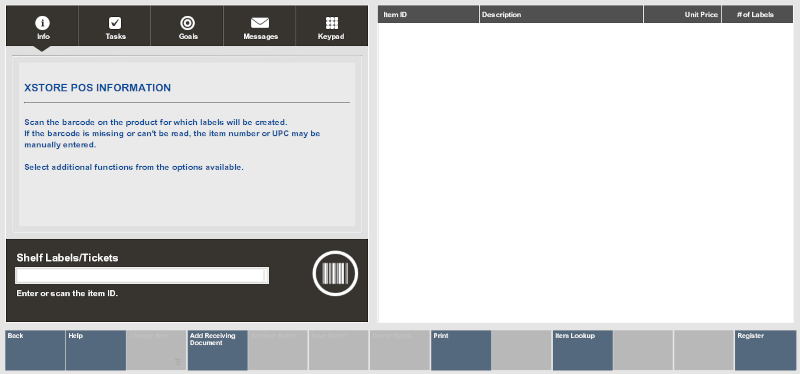
When prompted scan the barcode or manually enter the item Id and press Enter.
Figure 22-3 Item ID Prompt
Note:
If you are using ZPL II communication with a label printer, the Retrieve Batch option is available if you previously defined and saved a named print batch. See To Retrieve a Batch - ZPL II Only.
When prompted for the number of labels you want to print for this item, type the quantity and press Enter.
Figure 22-4 Label Quantity Prompt

Note:
By default, the system displays the number of items in your on hand inventory.
-
The next steps depend upon your label printer setup:
-
If you are not using ZPL II communication with a label printer, continue with step 5 below.
-
If you are using ZPL II communication with a label printer, skip to ZPL II Label Printers.
-
-
Oracle Retail Xstore Point of Service adds each Item Id and number of labels to the View Port area of the screen. The item description and unit price are also shown.
Figure 22-5 View Port Displays Items Added for Labels

Additional Options:
Note:
-
Change Item - To remove an item from the list, change the label quantity, or change the item label price, see To Change an Item.
-
Item Llookup - To search for an item to add to the list, see To Look Up an Item.
-
Add Receiving Document - To add items from a receiving document, see To Add a Receiving Document.
-
-
When you have entered and/or edited all the items and label quantities, select the Process option to continue with label setup.
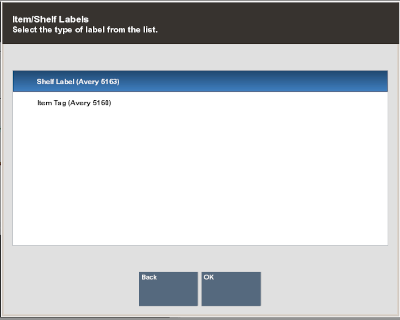
Oracle Retail Xstore Point of Service prompts you to select the type of label from the list. Select the label type and press Enter to continue.
Figure 22-6 Item/Shelf Labels - Select Type
-
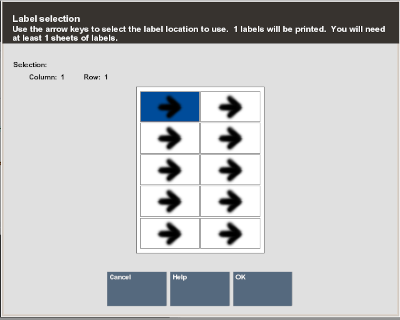
Oracle Retail Xstore Point of Service shows the number of label sheets you need and prompts you to select the location for the first printed label. Select the location for the first label and press Enter.
Note:
The column/row you selected is shown in the Selection area on the form. In Figure 22-7, Column: 1, Row: 1:
Figure 22-7 Label Location Prompt
Note:
Label location selection allows you to use partial sheets of labels to ensure that expensive labels are not wasted.
-
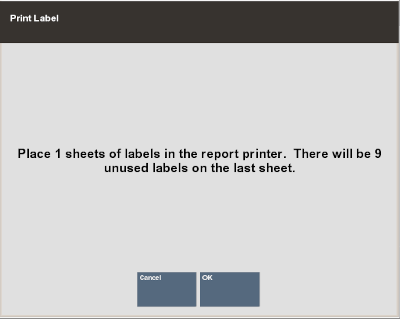
When prompted, press Enter to acknowledge the message informing you of the number of label sheets required.
Figure 22-8 Print Label Prompt
-
Oracle Retail Xstore Point of Service flashes a message Calculating label layout and prints the labels.
Figure 22-9 Sample Labels

Note:
If you exit from the Item/Shelf Labels screen without printing the labels, Oracle Retail Xstore Point of Service displays a warning message that all current label settings will be lost. Select Yes to return to return to the Inventory Menu or select No to continue working with labels.