Reprint Receipts and Documents
The reprint options provide a way to recover when there is a printer error or the printer jams. They allow you to reprint a receipt or a rebate offer for the customer.
Figure 3-40 Login Screen - Receipt Reprint Options Menu Button
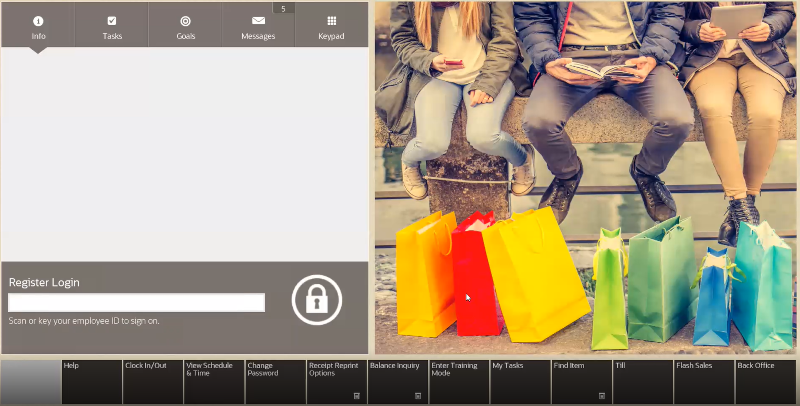
Reprint the Last Receipt
To reprint the last receipt created by the register:
-
Go to the register login screen.
-
Click Receipt Reprint Options.
Figure 3-41 Receipt Reprint Options Menu

-
Click Reprint Last Receipt.
Oracle Retail Xstore Point of Service prompts whether to reprint the last receipt.
-
Click Y to reprint the last receipt.
Note:
The receipt is clearly labeled as a reprinted receipt.
Reprint a Document
To reprint a document (such as a rebate offer):
-
Go to the register login screen.
-
Click Reprint Document. See Figure 3-41.
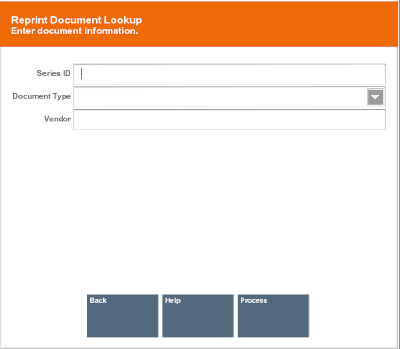
The Reprint Document Lookup window opens.
Figure 3-42 Reprint Document Lookup Form
-
Enter the search information for the document:
-
Series ID - Enter the ID for the document series.
-
Document Type - Select the type of document.
-
Vendor - Enter the name of the vendor who produced the document.
-
-
Click Process
Oracle Retail Xstore Point of Service displays a list of documents matching the search criteria.
-
Click the correct document.
-
Press Enter.
Oracle Retail Xstore Point of Service reprints the document on the report printer.
Note:
If the document is not in PDF format, it may also print on the receipt printer.
Print a Rebate Receipt
Rebate receipts may be offered to customers so that they can retain the original receipt for a purchase, and mail in the rebate receipt as proof of purchase.
-
Go to the register login screen.
-
Click Rebate Receipt.
The system prompts for transaction information.
-
Enter the transaction information by doing one of the following:
-
Scan the barcode on the original sale receipt.
-
Enter the barcode information and press Enter.
The rebate receipt prints on the receipt printer.
Note:
The receipt is clearly labeled as a rebate authorization receipt. This receipt cannot be used for merchandise returns.
-
Print a Gift Receipt
During a transaction, items may be selected for a gift receipt before a tender is selected, or between adding tenders. Gift receipts can also be issued immediately after a completed sale transaction, or from the Electronic Journal for eligible items in a transaction. Eligible items include regular sale items, special order pickup items, and layaway pickup items.
Select Gift Certificate Items in a Sale
While a sale transaction is being performed, you may use the following steps to select items to be issued gift certificates:
-
Click Gift Receipt during a sale transaction.
Figure 3-43 Sale Menu - Gift Receipt Button
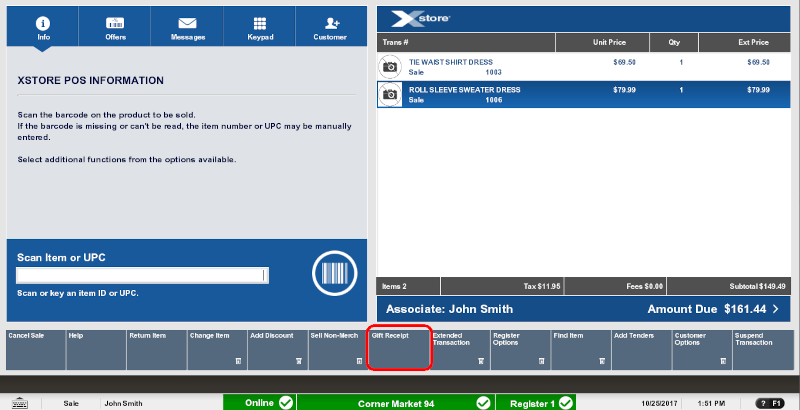
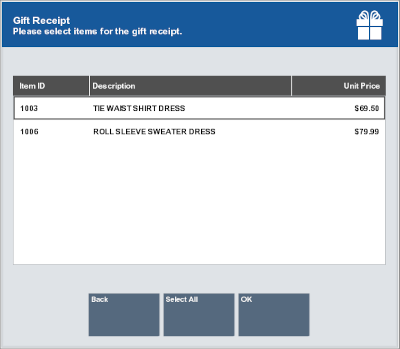
Oracle Retail Xstore Point of Service displays a list of items eligible for gift receipts.
Figure 3-44 List of Items Eligible for a Gift Receipt
-
Select the gift certificate items by doing one of the following:
-
Click each item.
-
Use the up and down arrows to move to the correct item, then press the Spacebar to highlight it.
Note:
Click Select All to select all items in the list.
-
-
Click OK.
The gift certificate items are labeled in the View Port with a gift icon. Gift certificates will be printed at the end of the transaction.
Figure 3-45 Gift Icon

-
At the end of the transaction, if you are prompted whether to group gift certificate items, see Group Gift Receipt Items.
-
At the end of the transaction, you may be prompted whether to print a gift certificate for each item:
-
Click Yes to print a gift certificate for each item.
-
Click No to print one gift certificate for all items.
-
Group Gift Receipt Items
After tendering the sale, if there are multiple items that have been labeled as requiring a gift receipt, you may be prompted whether to group items on separate gift receipts. For example, you can group 2 items on one receipt, and 3 items on another receipt.
Figure 3-46 Multiple Gift Items - Group Receipts Prompt
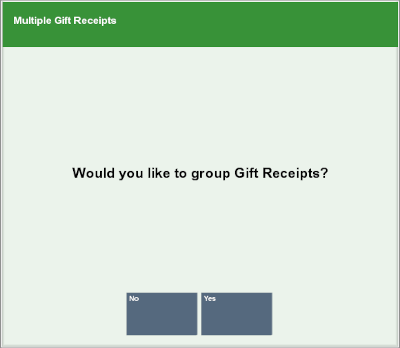
To group items on gift receipts:
-
If you are prompted whether to group gift receipts, select an option:
-
Click Yes to group gift receipt items.
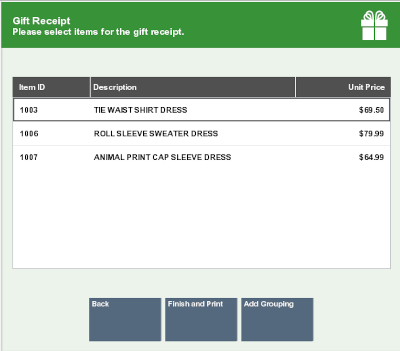
A gift receipt grouping window opens.
-
Click No to continue the transaction without creating gift receipt groups.
Figure 3-47 Items for Gift Receipts
-
-
Select the items to group on one gift receipt by doing one of the following:
-
Click each item.
-
Use the up and down arrows to select an item, then press Spacebar to highlight it.
-
-
Click Add Grouping.
The selected items are grouped into one gift receipt and removed from the list.
-
Click Finish and Print to print the gift receipts and complete the transaction.
Create Gift Receipts After a Sale
To create gift receipts for a previously completed transaction:
-
Click Receipt Reprint Options at the register login screen. See Figure 3-40.
-
Select a receipt reprint option:
-
Click Reissue Gift Receipt reprint only the gift receipts.
-
Click Reprint Last Receipt to reprint gift receipts and the transaction sale receipt.
A Transaction Lookup prompt opens.
Figure 3-48 Transaction Lookup Prompt

-
-
Enter the transaction barcode by doing one of the following:
-
Scan the barcode on the transaction receipt.
-
Enter barcode information and press Enter.
Oracle Retail Xstore Point of Service displays a list of items eligible for a gift receipt.
-
-
Select the gift receipt items using the appropriate procedure:
-
Oracle Retail Xstore Point of Service prints the receipts.