42 Receiving
Inventory receiving can be performed through Xstore POS. Through a mobile device, you can create a receiving document, open a receiving document, scan in items, and scan items directly into Xstore's inventory.
Start Receiving
The receiving process is started through the Inventory option of Global Navigation.
-
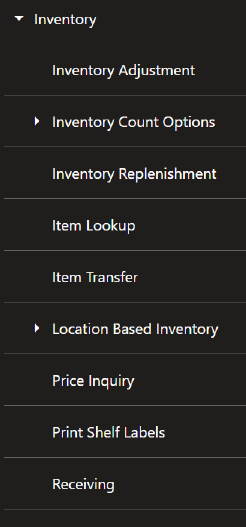
Select Inventory in Global Navigation.
Figure 42-1 Inventory Menu
-
Select Receiving from the Inventory menu. An Attention Documents window opens if there are any documents that have had no activity in the previous 30 days, or the Receiving Document Lookup window opens.
Figure 42-2 Attention Documents
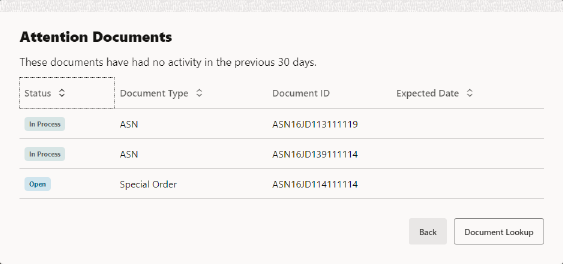
Figure 42-3 Receiving Document Lookup

Table 42-1 Receiving: Next Steps
Starting Point Next Step Attentions Documents Window: Select a Document
Go to Step 2 in Search for a Receiving Document .
Attention Documents Window: Search for a New Document
Select Document Lookup. Then continue to Search for a Receiving Document .
Receiving Document Lookup window: Search for a New Document
Go to Step 1 in Search for a Receiving Document .
Receiving Document Lookup window: New Receiving Document
Search for a Receiving Document
To search for and select a receiving document:
Figure 42-4 Receiving Document Search

-
Scan a receiving document ID to open the carton list for the document or enter the search criteria and select Search.
Figure 42-5 Receiving Document Search Results

-
Select the correct receiving document in the list.
The carton list opens.
Figure 42-6 Carton List
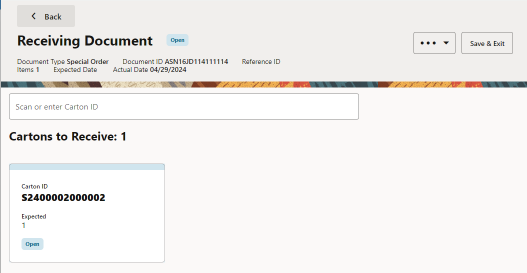
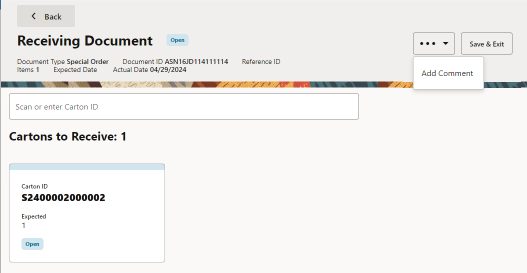
Figure 42-7 Carton List Overflow Menu
Continue with the appropriate procedure:
Create a New Receiving Document
To add a new receiving document:
Figure 42-8 Receiving Document Lookup

-
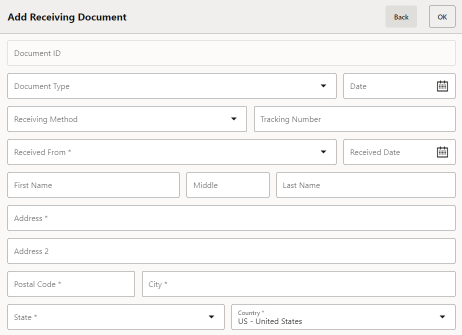
Select Add New. The Add Receiving drawer opens.
Figure 42-9 Add Receiving Document Entry Form
-
Enter the document information.
-
Select OK to save the changes, or select Back to close the drawer without saving..
The new receiving document opens.
Continue with Select or Add a Carton
After adding one or more cartons:
Select or Add a Carton
To select or add a carton for a receiving shipment:
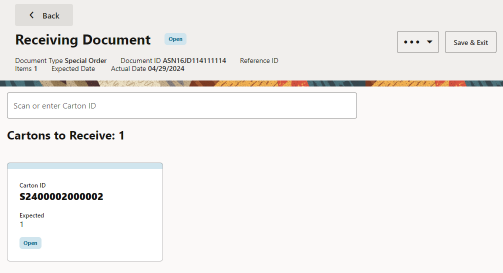
Figure 42-10 Select or Add a Carton
-
Scan a carton ID or enter a carton ID.
The Item Entry Screen opens.
Item Entry Screen
The item entry screen can be used for the following functions:
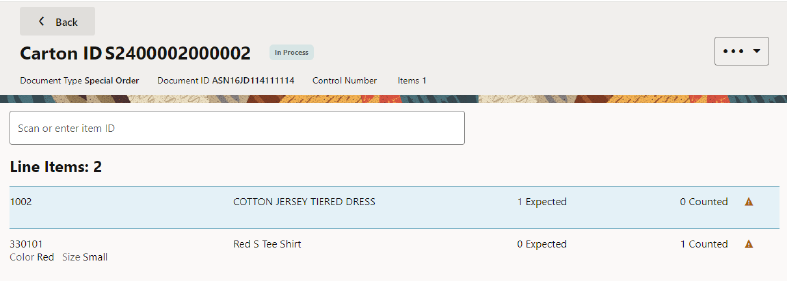
Figure 42-11 Item Entry Screen
-
Select Back to return to the carton selection screen.
-
Item entry field. See Enter Items.
-
Select the Overflow Menu for access to:
-
Receiving Items. Each item displays information about an item in the Receiving Document. Select an item for access to:
If you added a new carton, the Item Entry Screen will not have any items listed.
Enter Items
To enter items into a received shipment:
-
Scan an item or enter an Item ID.
If prompted for an item quantity:
-
Enter the item quantity.
-
Select OK.
Xstore POS returns to the item entry screen.
Repeat these steps for each item in the carton.
When you have finished entering the items in a carton, select Back to return to the carton entry screen.
Change Item Quantity
To change the number of an item in a carton:
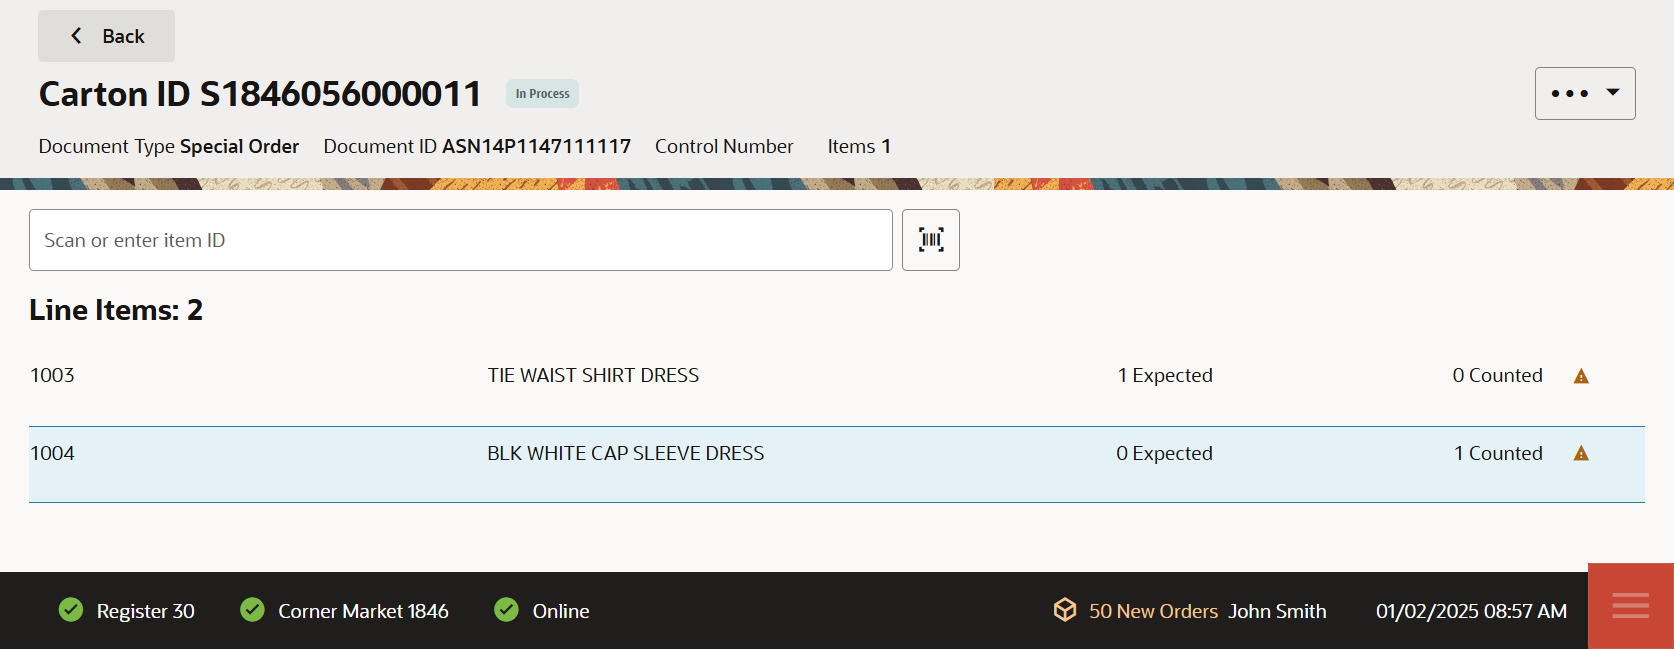
Figure 42-12 Item List
-
Select the item in the item list.
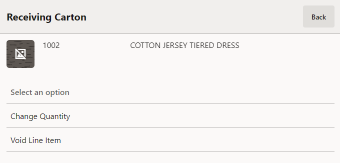
Figure 42-13 Change Quantity Option
-
Select Change Quantity.
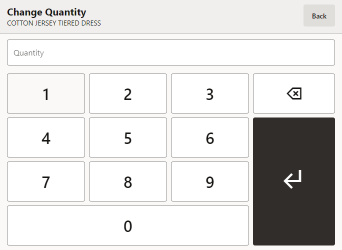
Figure 42-14 Change Quantity
-
Enter the new quantity.
-
Select Return.
The item quantity is changed and Xstore POS returns to the item entry screen.
Void a Line Item
To remove a line item from a carton:
Figure 42-15 Item List

-
Select the item in the item list.
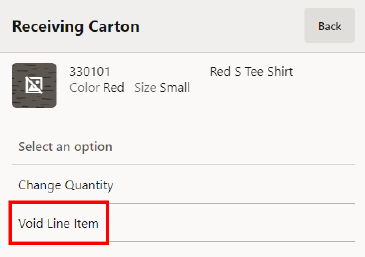
Figure 42-16 Void Line Item
-
Select Void Line Item.
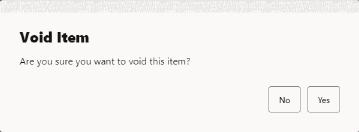
Figure 42-17 Void Item Confirmation
-
Select Yes to confirm the void, or select No to return to close without saving any changes.
The item is removed and Xstore POS returns to the item entry screen.
Change Item Cost
Note:
This option is only available if Stock Valuation is enabled in Xstore POS.
To change the cost of an item for Stock Valuation:
Figure 42-18 Item List

-
Select the item in the item list.
-
Select Change Cost.
-
Enter the new item cost.
-
Select OK.
The cost of the item is updated and Xstore POS returns to the item entry screen.
Receive Carton in Total
To receive all items within a carton:
Note:
The Receive Carton in Total option is only available on cartons with a status of OPEN, and for which no items have yet been received
-
Select the Overflow Menu in the Item Entry Screen.
-
Select Receive Carton in Total.
The received quantities of the items in the carton are set to the expected quantities, the carton is closed, and Xstore POS returns to the carton selection screen.
Add a Comment to a Carton
To add a comment to a carton:
-
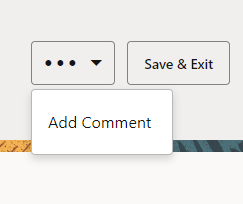
Select the Overflow Menu in the Receiving Document window.
Figure 42-19 Overflow Menu: Add Comment
-
Select Add Comment.
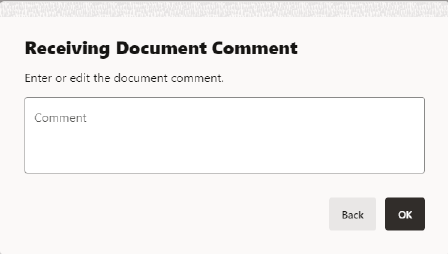
Figure 42-20 Add Comment
-
Enter the comment.
-
Select OK to save the comment, or select Back to close the comment without saving.
The comment is added and Xstore POS returns to the Item Entry Screen.
View Exceptions
To search for items with differences between their expected and received quantities:
-
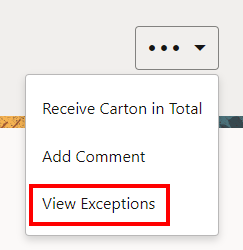
Select the Overflow Menu in the Item Entry Screen.
Figure 42-21 View Exceptions
-
Select View Exceptions.
Figure 42-22 Carton Exceptions List
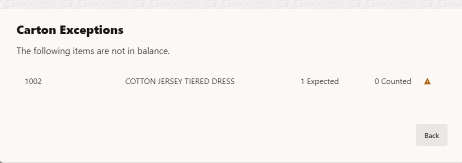
Xstore POS displays a list of the items in the carton with differences between their expected and received quantities.
When you are finished viewing the item exceptions select Back to return to the Item Entry Screen.
Add a Comment to a Document
To add a comment to a receiving document:
-
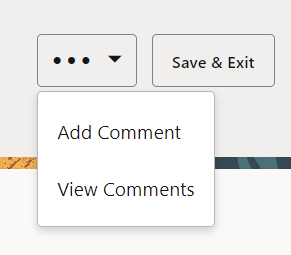
Select the Overflow Menu in the carton list.
Figure 42-23 Add Comment
-
Select Add Comment.
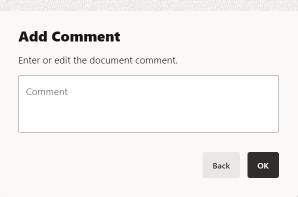
Figure 42-24 Receiving Document Note - Add Comment
-
Enter the comment.
-
Select OK.
The note is added and Xstore POS returns to the carton list.
Receive Document in Total
Note:
The ability to receive a document in total must be enabled for this option to be available in Xstore.
To receive all items within a document:
-
Select the Overflow Menu in the carton list.
-
Select Receive Document in Total.
-
Select Yes to close the document or select No to keep the document open.
The received quantities of all the items in all the cartons are set to the expected quantities and the cartons are all closed. Xstore POS returns to the carton selection screen.
Save Document
To save changes to a receiving document:
-
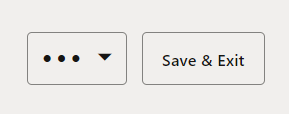
Select Save & Exit.
You must be in the carton list. If you are in the Item Entry Screen, select Back to return to the carton list.
Figure 42-25 Save & Exit
-
Select Save & Exit.
-
Select Yes to close the document or select No to keep the document open.
Xstore POS returns to the Document Search screen.