2 Documentation and Screen Conventions
The interface for Xstore POS is made up of common elements. These elements include text fields, numeric fields, buttons, links, lists, and menus used to select options, enter data, or open new screens.
Select an element to learn more about its use.
Text Field
A text field is used for keying in information. When a text field is selected, an on-screen keyboard opens which you can use to enter the requested information.
Figure 2-1 Text Field
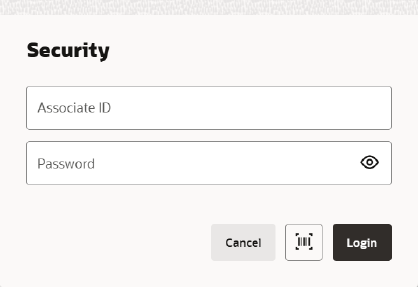
Figure 2-2 Text Field - Handheld
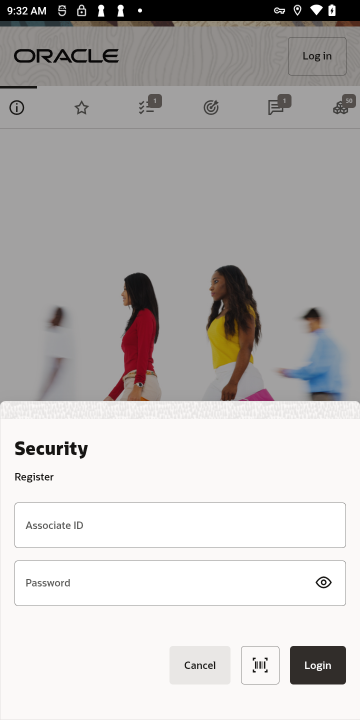
The appearance of the keyboard will depend upon the device on which you run Xstore POS. An on-screen keyboard is also displayed for alphanumeric entries such as login/passwords and postal codes.
Numeric Field
Whenever a numeric entry is required on the Xstore Desktop, Thin Client, or Tablet, a prompt displaying the field name is automatically shown. The prompt allows you to enter numbers as required.
Figure 2-3 Numeric Field
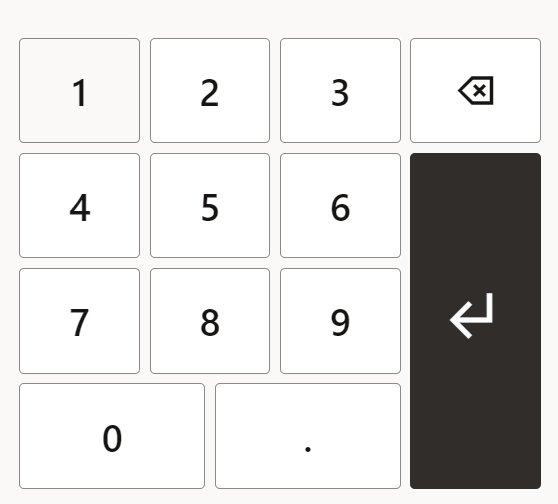
Figure 2-4 Numeric Field - Handheld
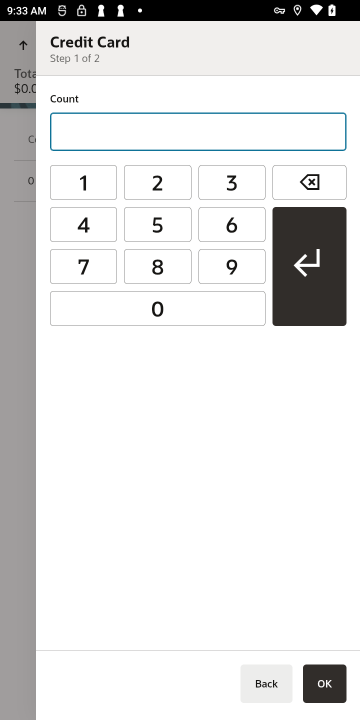
Upon completion of a numeric entry the prompt closes.
When a phone number entry field is selected, the phone number keypad displays automatically.
Passive Messages
Figure 2-5 Passive Messages

Passive messages display for a few seconds before automatically disappearing or can be closed by the user. The display time is configurable.
Global Navigation and Home Screen Menus
Figure 2-6 Global Navigation Menu Icon

The Global Navigation icon will not be present on all screens. When it is present, Global Navigation opens a menu showing appropriate actions you can make.
Select the respective option to access the appropriate functionality.
Figure 2-7 Home Screen Menu

Figure 2-8 Home Screen Menu Via the Shortcut Menu - Handheld
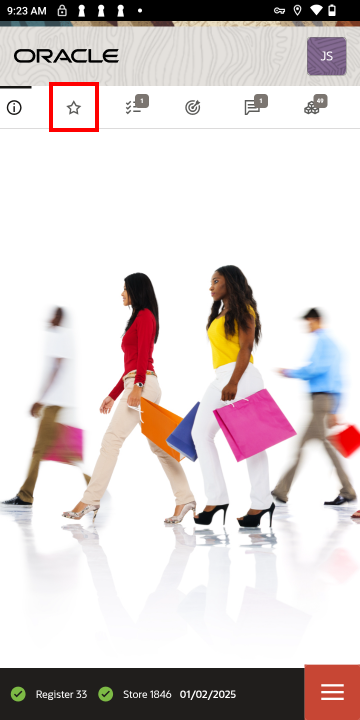
Table 2-1 Home Screen Menu Options
| Main Menu Option | Sub-Menu Option |
|---|---|
|
Start Sale |
|
|
Item Lookup |
|
|
Customer |
|
|
Orders |
|
|
Engagement Activity |
|
|
Price Inquiry |
|
|
Balance Inquiry |
Gift Card Balance |
|
Gift Certificate Balance |
|
|
Gift Receipt Inquiry |
|
|
Loyalty Balance |
|
|
Store Credit Balance |
|
|
Flash Sales |
|
|
Receipt Reprint Options |
Rebate Receipt |
|
Reissue Gift Receipt |
|
|
Reprint Document |
|
|
Reprint Last Receipt |
|
|
Clock In / Out |
|
|
Change Password |
|
|
Enter Training Mode |
Training Mode is available when logged out |
Tabs
Figure 2-9 Xstore Home Screen
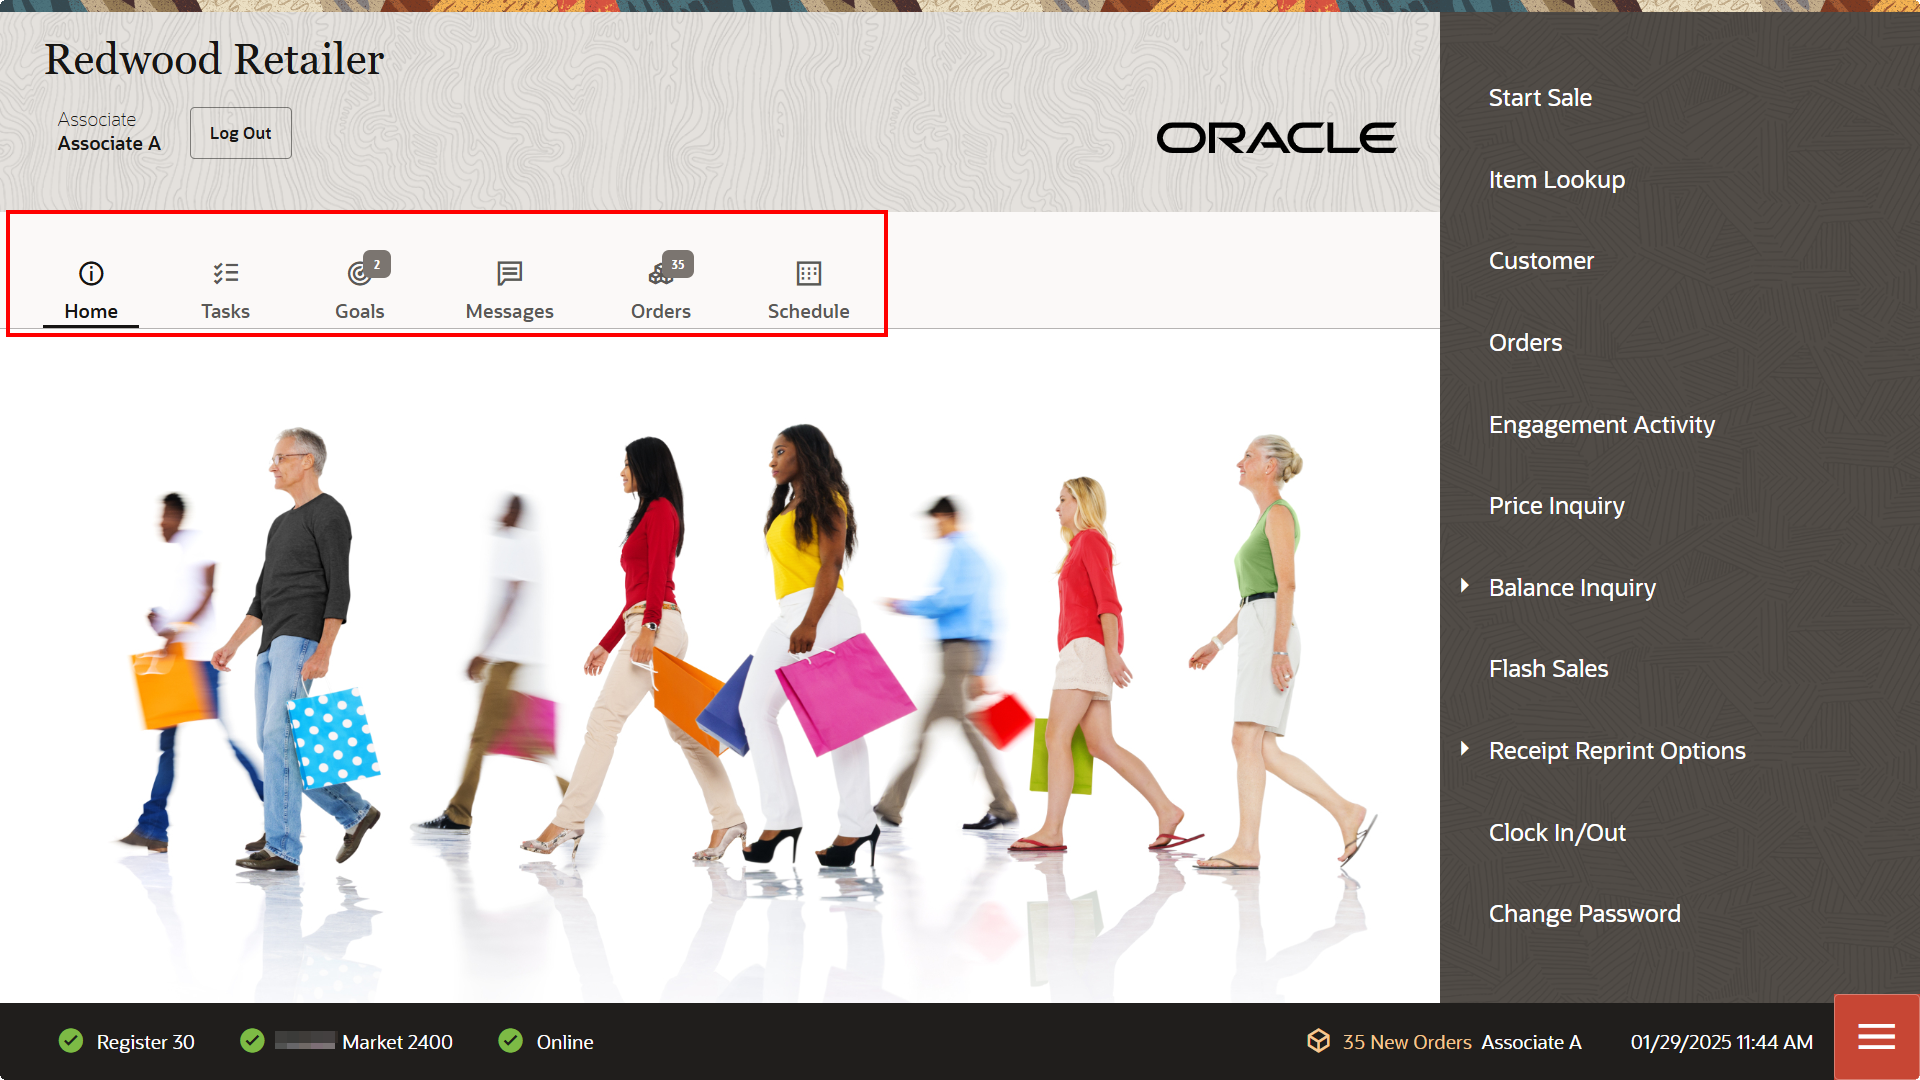
Figure 2-10 Xstore Home Screen - Handheld
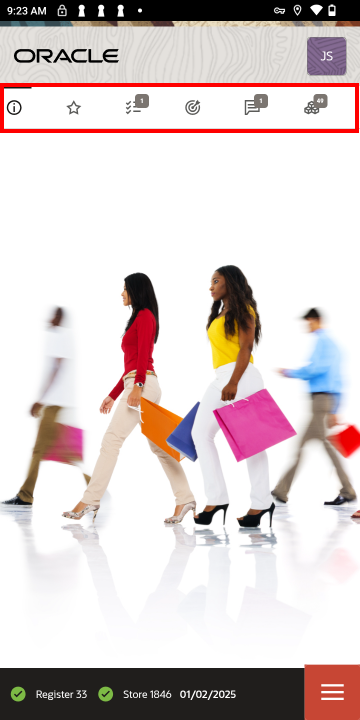
In a base implementation, Desktop, Thin Client, Tablet, and Handheld display the following options:
Home Tab
The Home tab may display product-specific information for an item-entry scenario, customer/item detail information for a layaway transaction, or instructions for recording a repair or alteration selection.
Only one message displays per item in the Home tab. This may be a text message, an image or a composite message (graphic and text). This may relate to the item directly or to recommend other products that relate to the item being purchased. A couple examples of this would be a customer purchasing a shirt that has a coordinating jacket and tie. These two items, the jacket and tie, could be set up to display on the Home Tab in Xstore for the associate to recommend to the customer. Another example would be the purchase of an item that would require another purchase, for instance a watch that does not come with a battery.
If DisplayMessageAsNotify setting is configured, then multiple item text messages pop up in Xstore during the sales process.
Tasks Tab
The Tasks tab displays open and in progress tasks with start date/time prior to the current date and end date/time equal to the current date or in the future. Tasks shown here are view only.
Figure 2-11 Tasks Tab
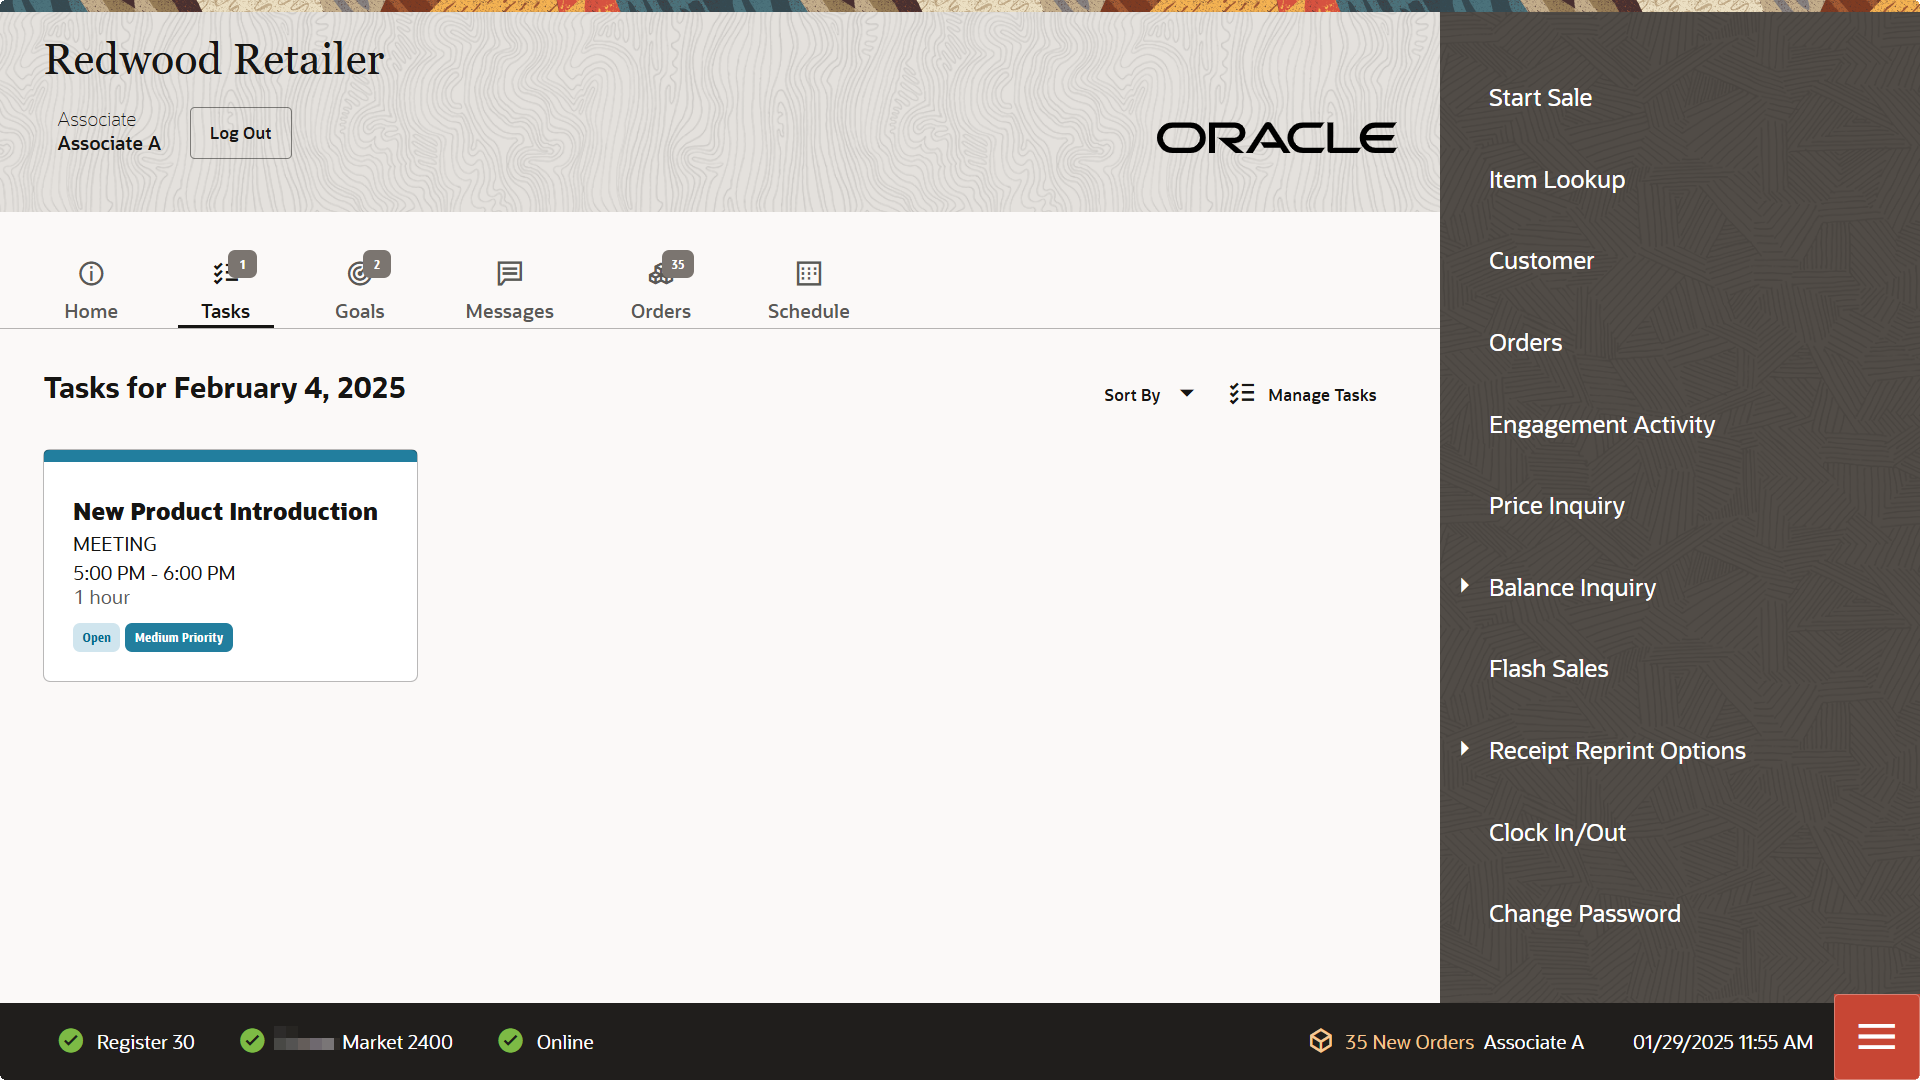
Figure 2-12 Tasks Tab - Handheld
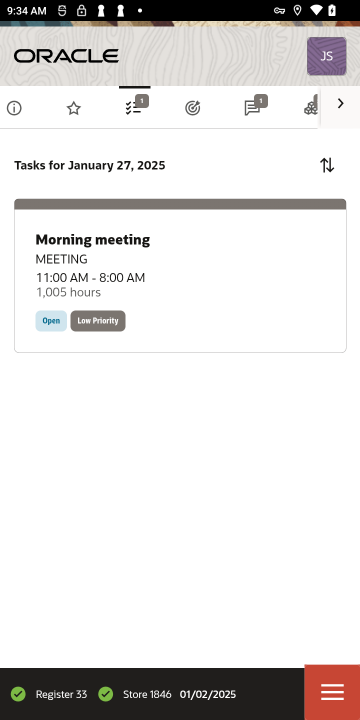
The following information is displayed for each task that day:
-
Task Description
-
Task Type
-
Start Time and End Time
-
Duration
-
Status
-
Priority
For more information about Tasks see Task Management.
Goals Tab
The Goals tab displays information from the corporate office about the goals set for your store for a specified date range. You are not required to log in to view store goals. These goals are visible to all employees.
The goals are listed in the following order:
-
Completed goals
-
Active goals
-
Future goals
The goals are displays in color, based on their status:
-
Green - Goals completed and met.
-
Red - Goals completed but not met.
-
Black - Active, current, and future goals.
Each goal has an effective date and an end date. The store goal is shown in the Goal column and the current amount achieved toward the goal is shown in the % To Date column.
Note:
Future goals display “N/A"' in the % To Date column until they become active.
Sales Goal to date progress is calculated using net sales. Progress toward store goals can also be found in the Store Goals report and on the Dashboard.
Messages Tab
You are not required to log in to view messages. These messages are visible to all employees. The information shown on the Messages tab may be from the corporate office, or from your store management. The tab displays the message count.
Messages require no action and may be store-specific (only displayed in your store, not corporate-wide) or register-specific (only displayed on a designated register).
Figure 2-13 Messages
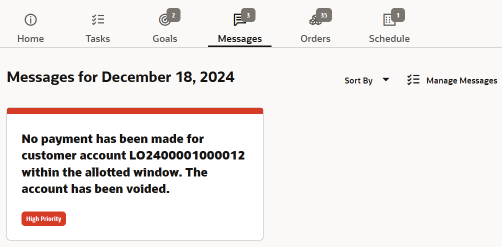
These messages are time-based and do not display after the expiration date has passed.
Note:
If the message contains a URL, click the link icon to open the URL.
Messages use badges to indicate priority:
-
High priority
-
Medium priority
-
Low Priority
Local Orders and Send Sale Transactions tendered with Pay By Link (Customer Not Present) that are awaiting payment are listed in this tab. The sales that are voided due to the PBL expiring are also listed.
In the event that an omnichannel order has not been picked up in a configurable number of days, a store message is generated. It can be configured to be on a specific register or all store registers to alert the associate that there are omnichannel orders that have not been collected. The message will remain until the order is either picked up or cancelled. See Failed to Pick Up Order for more information.
For more information about Messages, see Message Maintenance
Orders Tab
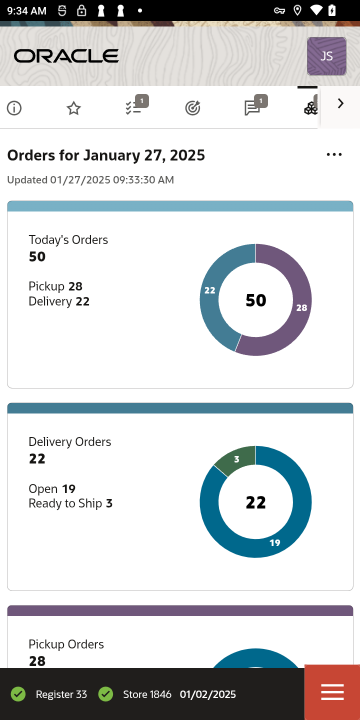
The Orders tab provides a list of orders at your store requiring action.
Select Manage Orders to proceed to Order Lookup.
Figure 2-14 Orders Tab
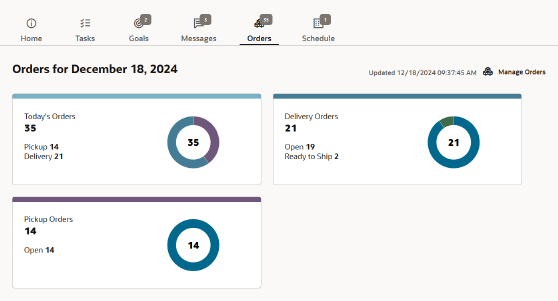
Figure 2-15 Orders Tab - Handheld
Orders Tab Details
Oracle Retail Order Broker Cloud Service is an optional module that can be interfaced with Xstore to provide information about inventory availability across all sales channels.
The tab displays the number of orders for the current day.
Figure 2-16 Orders Tab
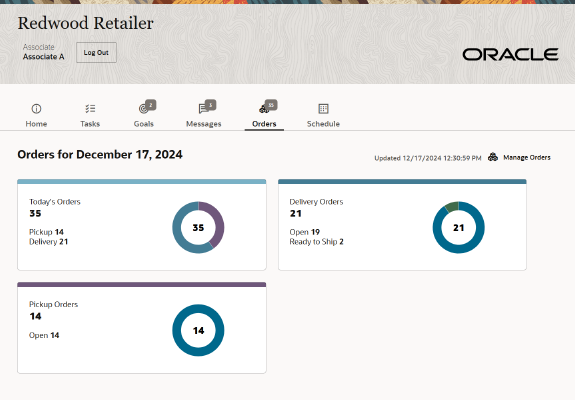
The Orders Tab is broken up into four sections – Today’s Orders, Delivery Orders, Pickup Orders, and Delivery Orders. It represents all Order Broker orders and does not include special orders, local inventory orders and so on.
-
Today’s Orders - the total number of orders and breaks them down by Pickup, Delivery, or Same Day.
-
Pickup Orders - displays the number of orders in these states:
-
Open - counts all orders that have been polled but not yet reviewed by the store.
-
Accepted - the total number of orders that have been accepted by the store.
-
Ready - displays the total number of orders ready for customer pickup. For example, if there are 2 orders and each order has 3 items and they are all ready for customer pick up, the number displayed by Ready will be 2.
-
Rejected - displays the number of orders where at least one item was Rejected on that day.
-
-
In the Delivery Orders section, the numbers represent those orders that require shipping.
-
Open - displays the number of orders that have not yet been reviewed by the store. The number represents the total number and not just the current day's number of open orders awaiting to be shipped.
-
Accepted - represents all orders that have been accepted by a store associate. Before an order is ready to be shipped, it's items must first be accepted in the store.
-
Ready - displays the number of orders that are ready to be shipped. The items in these orders have been picked and packaged for the next shipment out of the store.
-
Rejected - displays the number of orders where at least one item was rejected on that day.
-
Schedule Tab
The Schedule tab displays associate schedule information for the current work week.
Figure 2-17 Schedule Tab
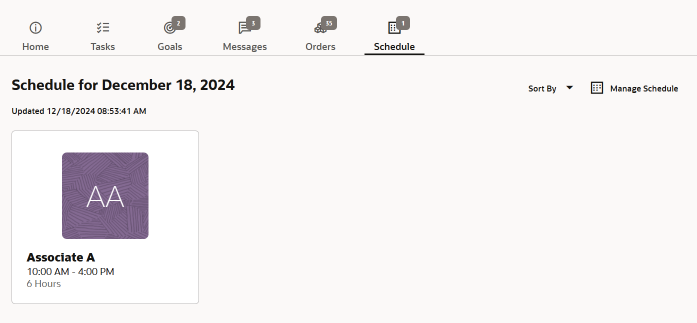
The cards display the Associate Name, Shift Start Time, End Time, Shift Duration, and Clocked In Status.
The displayed cards can be sorted using Sort By.
Figure 2-18 Sort By Options
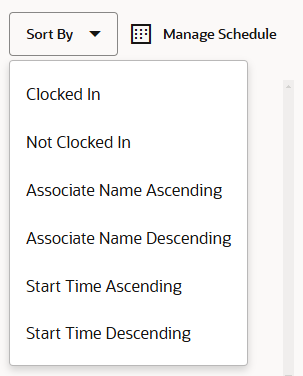
Select Manage Schedule to navigate to the existing Associate - Schedule Maintenance.
Status Bar
The status bar is shown on the bottom of the screen. It is divided into several parts, each displaying information about the system.
The status bar has the following organization:
Figure 2-19 Status Bar - Desktop

Figure 2-20 Status Bar - Tablet

Figure 2-21 Status Bar - Handheld

-
On the left, the register number and whether the register is open or closed.
-
If the register is open, the first indicator will be green and a check mark inside it.
-
If the register is closed, the first indicator will be red and a slash (\) inside it.
-
-
Next to it is the number, and whether the store is currently open or closed.
-
If the store is open, the first indicator will be green and a check mark next to it.
-
If the store is closed, the first indicator will be red and a slash (\) next to it.
-
-
Before the date on the right, the name of the logged-in user. If no user is currently logged in, nothing will be displayed in the middle.
-
On the right, Xstore POS displays the business date and time. If logged in selecting the Date/Time opens Clock Out.
-
There is an Orders count on the footer. If a transaction is in progress a transaction number is also displayed there.
-
The Data Source Status icon is displayed as well.
