Deployment: Using a Deployment Plan
Templates, known as Deployment Plans, can be set up in advance and then reused whenever needed. These Deployment Plans are used to distribute changes to stores for configuration and file uploads. See Creating a Deployment Plan.
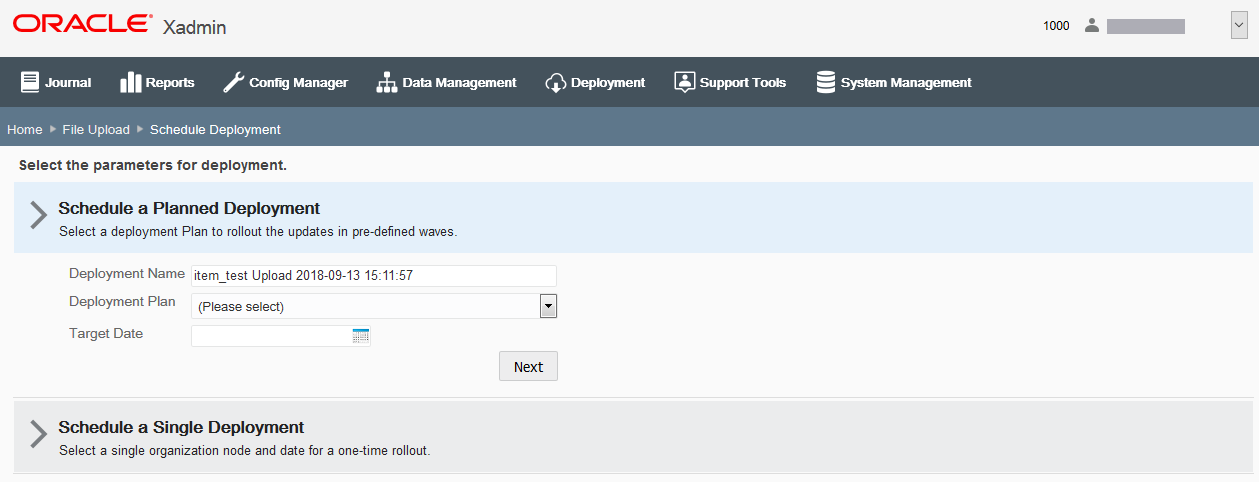
If you selected Schedule a Planned Deployment in File Upload: Deploying a File or Files, the Deployment Plan section of the screen expands to show the required fields.
Figure 7-8 Planned Deployment Fields

-
Complete the following fields.
Table 7-3 Planned Deployment Fields
Field Description Deployment Name
This field defaults to the file name and date it was uploaded. Accept this default or enter a name to identify this deployment.
Deployment Plan
Select the deployment plan from the list.
Target Date
Select the date the changes will be sent to the store.
-
Click Next.
Note:
All deployments using a Plan will start at the Daily Maintenance.
-
Review the deployment schedule and Email Notification list, then click Deploy.
Figure 7-9 Review Deployment Schedule Page

Note:
If you are not ready to deploy, use the breadcrumbs at the top of the page to navigate to a previous page.
-
When prompted, click Yes to confirm you want to schedule the deployment.
-
Click OK to close the Deployment Scheduler status bar window.
See also Viewing Deployments for more information about tracking the current status of all deployments.