Environment Discovery
In order for a target to be monitored, it must first be discovered and promoted. Discovery is the process of making a target instance known to OEM. Once this has been done, the target needs to be promoted from an unmanaged to a managed state. This process requires some prerequisite steps.
- All components of the environment should be up, namely, the web application, the web service and batch servers.
JMX should be configured on the target environment. To test this, use jconsole and connect to the JMX servers using the JMX URLs. You can search the WebLogic log for the Web and EJB JMX URLs. Examples:
service:jmx:rmi:///jndi/rmi://{host}:{ejbJmxPort}/oracle/ouaf/ejbAppConnector
service:jmx:rmi:///jndi/rmi://{host}:{webJmxPort}/oracle/ouaf/webAppConnector
The threadpoolworker logs would have the batch JMX URLs. For example,
service:jmx:rmi:///jndi/rmi://{host}:{batchJmxPort}/oracle/ouaf/batchConnectorIn FW 2.2, this would be
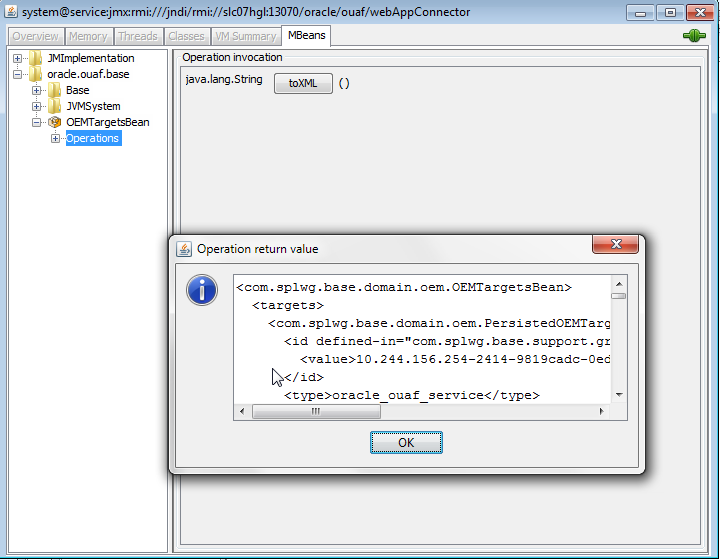
service:jmx:rmi:///jndi/rmi://{host}:{batchJmxPort}/spl/fw/jmxConnectorMake sure you can connect to the URLs and that the OEMTargetsBean is present, as illustrated in the following image:
Note: Here, the host should be fully qualified domain name.
Expand the OEMTargetsBean, click Operations, then click the toXML button. A window should popup and return the XML of the targets that will be discovered. Do this for each JMX connection.
- Target monitoring can be performed via JMX or REST API. You can prefer to use REST API option, if you have any firewall restrictions. Details, to enable "JMX over REST" feature, are available below.
Run configreEnv using FW menu options, choose option 57 and provide appropriate values for the displayed variables.
JMX_REST_SERVICE_FLAG: This flag in the Menu options is to enable the REST API. If this is false, then the communication happens using via JMX, the old way of the plugin communication.
JMX_REST_SERVICE_FLAG is true and JMX_HTTPSSL_FLAG false, the communication happens over the HTTP. JMX_REST_SERVICE_FLAG is true and JMX_HTTPSSL_FLAG true, the communication happens over the HTTPS.
More details are available in respective Utilities FW product documentation.
-
The WebLogic domain/Fusion middleware must be discovered. To do this, perform the following:
- The WebLogic admin server must be started. Verify that it is by logging into the WebLogic console.
Discover the WebLogic domain and Fusion middleware using guided discovery. On the grid console, go to . Select the following options on the page:
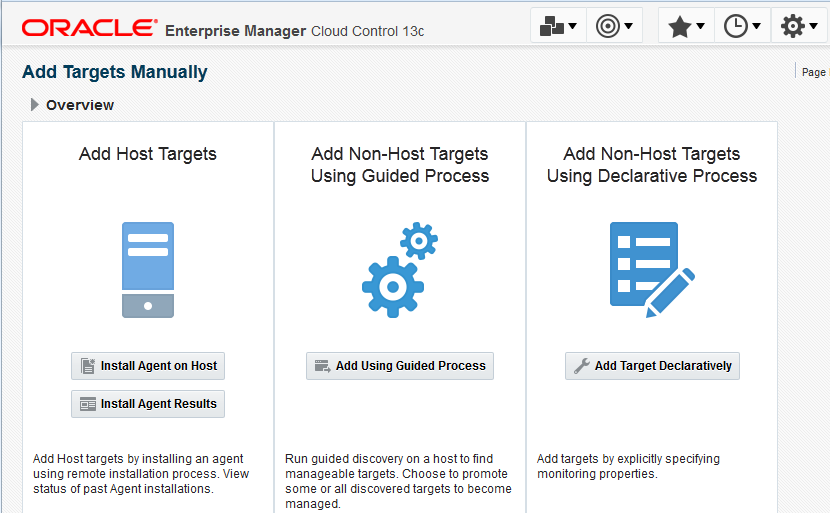
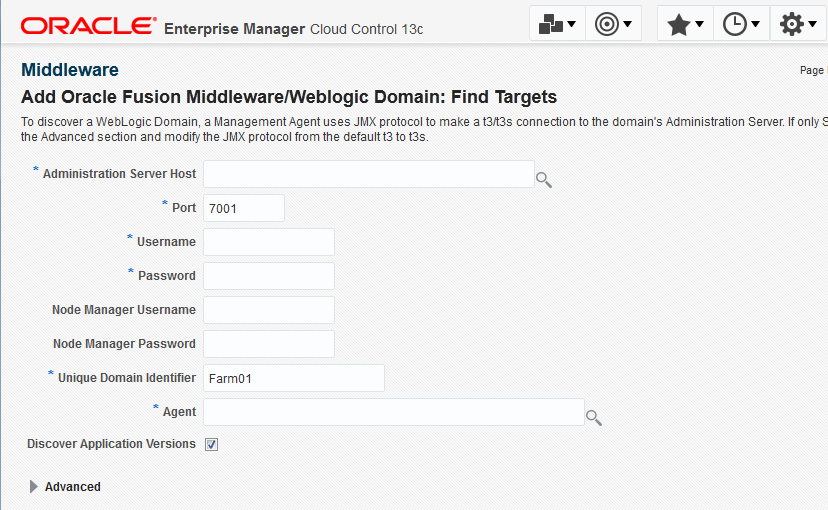
Click Add Using Guided Process, enter the entries for the WebLogic admin server, then continue until the WebLogic domain/Fusion middleware is discovered.
If WebLogic is configured with SSL, use the t3s protocol.
To discover OUAF target environments:
- Log in to Enterprise Manager.
- Choose .
Figure 1. Selecting Auto Discovery 
- On the Setup Discovery page, click the host where discovery is to be run, then click the Discovery Modules button.
Figure 2. Setup Discovery 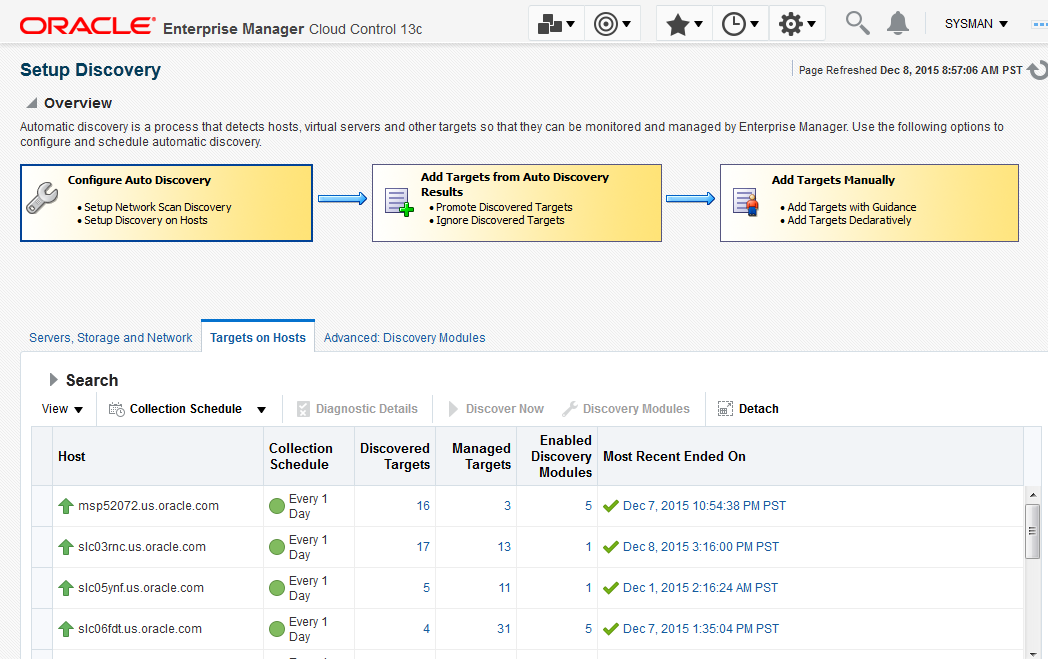
-
Ensure that the Enterprise Manager for Oracle Utilities module is on the
Discovery Module list.
Figure 3. Verifying the module 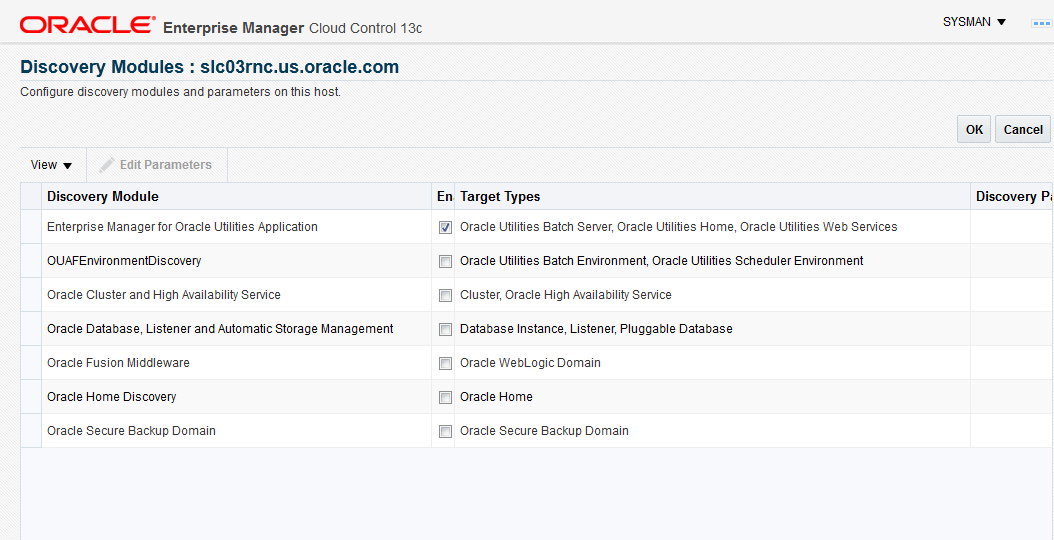
- Once back on the Setup Discovery page, select the host again to enable the buttons at the top. When the desired host is selected, click the Discover Now button.
Figure 4. Running the discovery 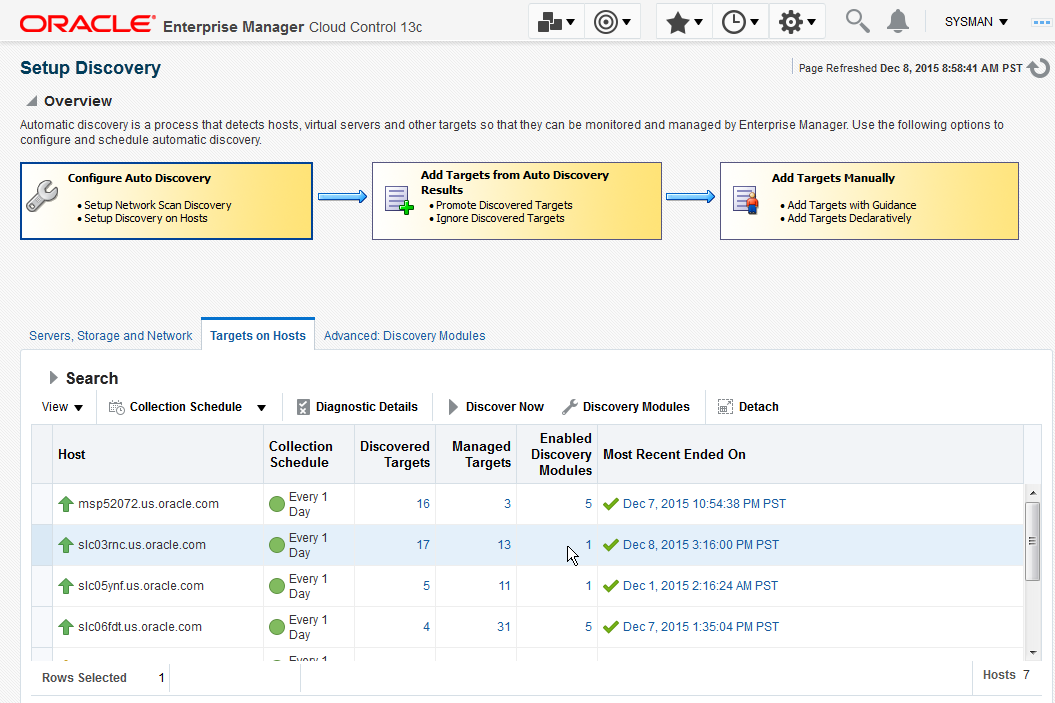
The Target Discovery (Agent Based) window opens.
- Click OK in the Discover Now dialog to confirm that you want to run the discovery.
Figure 5. Confirming the discovery 
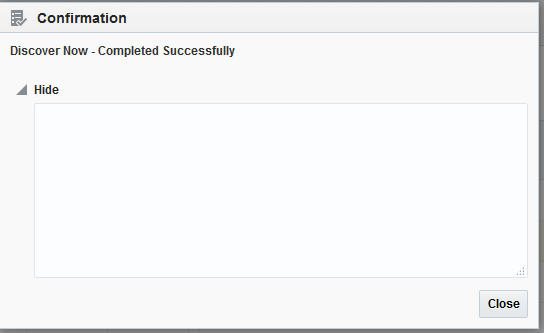
- A confirmation dialog appears on successful discovery of the host. Click Close to dismiss the confirmation dialog.
Figure 6. Host discovery confirmation dialog