
Patch Import
To import patches:
- Open the OUAF Home Target Home page and click the Patch Import button.
Figure 1. Starting the Patch Import Process 
- On the first page of the Import Patches walk-through, enter the download directory (the directory on the server where the downloaded zip files are stored when you manually downloaded them from My Oracle Support). The path entered here should be accessible from the server on which the target environment is hosted. After entering the path, click Next.
Figure 2. Entering the Patch Path 
- On the Credentials page, choose a set of saved credentials or enter your user name and password, then click Next to proceed.
Figure 3. Patch Import Credentials 
- On the Schedule page, choose to either perform the import operation Now or Later. If set for Later, click Schedule to complete the process and schedule the deployment procedure.
Figure 4. Scheduling the Patch Import 
- To check the output, go to
Figure 5. Import Patch Procedure Activity 
- Search the Procedure Activity list for the appropriate run item, and click the link.
Figure 6. Checking a Patch Import 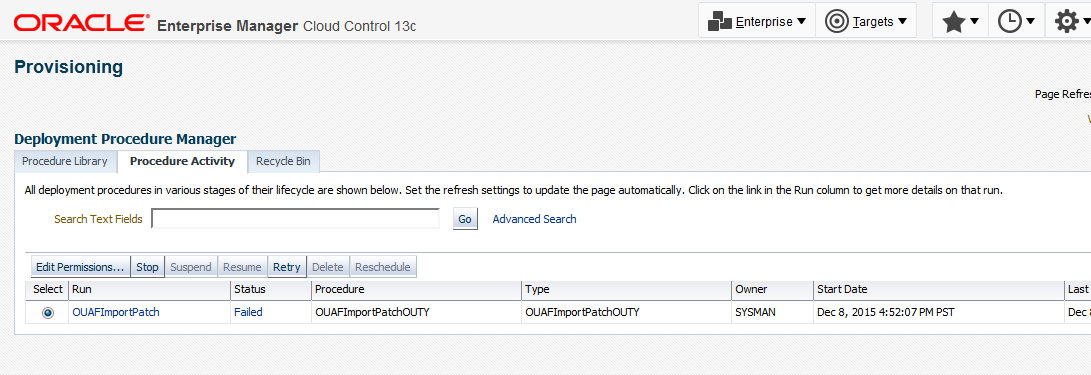
- Expand the Procedure Steps on the left and review the Import Patch Structuring / Step to view the output.
Figure 7. Patch Provisioning Procedure Activity page 
On completion of the patch import job, the imported zip file is unpackaged in the appropriate staging directory and a *.zip-unpacked file is created.
Example: An FW V4.1.0 patch zip file called p12548444_4100_Generic.zip is imported and placed in /tugbu_oem/download. On completion of the import procedure, the following occurs:
/tugbu_oem/download/p12548444_4100_Generic.zip-unpackedis created. This prevents patches that have already been imported from being processed again. If you would like a patch to be re-imported, delete its*.zip-unpackedfile.For a single fix or hotfix,
/tugbu_oem/download/staging_directory/FW/V4.1.0/multiplatform/FW.V4.1.0-12548444/ 12548444_sf_patch_info.xmlis created. This file contains information about the patch. The contents of the file are also placed in the proper product, release, platform, and patch number directory.For a service pack containing the new SP model, the following file should be present:
/tugbu_oem/download/staging_directory/FW/SP/multiplatform/9999999/Metadata.xml.