4 Working with the Portal Asset Application Template
This chapter provides an overview of how to create, modify, and publish assets for use in WebCenter Portal using the WebCenter Portal Asset application template.
This chapter includes the following topics:
4.1 About the WebCenter Portal Asset Application Template
You can use the WebCenter Portal Asset application template to create asset applications for the following asset types:
Layouts define the basic properties of a page, such as the number and relationship of columns, and are part of a page's page style. For more information, see Developing Layouts.
Page Styles define the layout of a newly created page, and may also dictate the type of content the page supports. For more information, see Developing Page Styles.
Page Templates define the interface that surrounds page content and help to apply a consistent look and feel across groups of pages. For more information, see Developing Page Templates.
Skins define the appearance and look and feel, including colors and fonts, of a specific portal or the entire application. For more information, see Developing Skins.
Visualization Templates determine the layout of content in a task flow that is created at runtime. Visualization templates can also include objects that can be bound to any data visualization that is added to the task flow. For more information, see Developing Visualization Templates.
Content Presenter Display Templates define templates for displaying content. For more information, see Developing Content Presenter Display Templates.
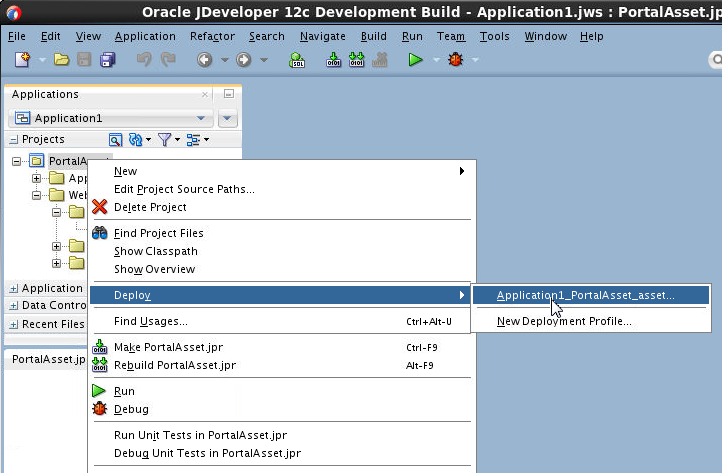
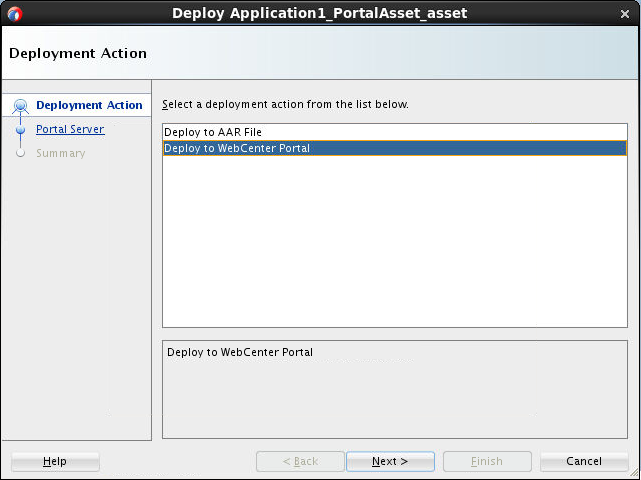
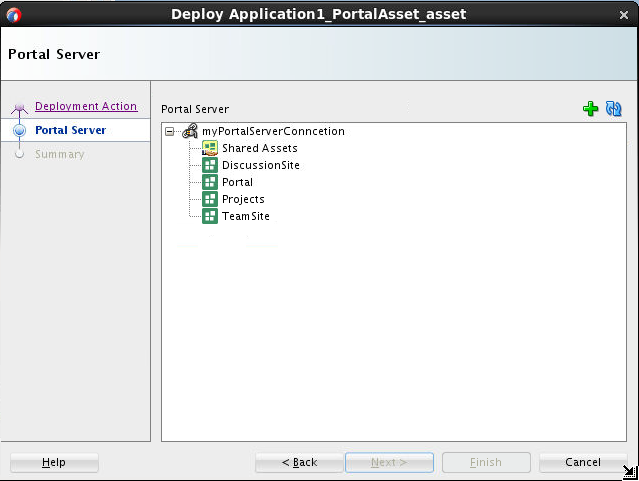
The resulting asset applications include a default WebCenter Portal Asset Archive deployment profile that you can use to publish the asset to WebCenter Portal across a Portal Server Connection.
4.2 Creating a WebCenter Portal Asset Application
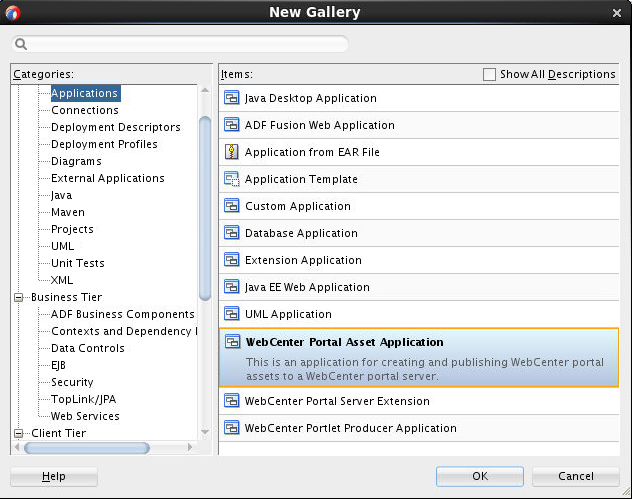
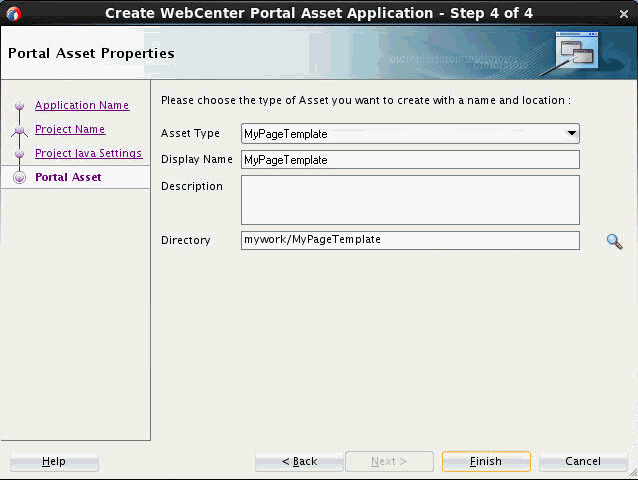
To create or edit WebCenter Portal assets in JDeveloper that can be published to WebCenter Portal, you start by creating a WebCenter Portal asset application using the WebCenter Portal Asset Application template. The application defines the asset type (for example, a page template) that you want to create or modify. Within that application, you can then define or edit properties for the asset, and finally, publish it to WebCenter Portal as a shared or portal-specific asset.
This section includes the following topics:
4.2.1 How to Create a WebCenter Portal Asset Application
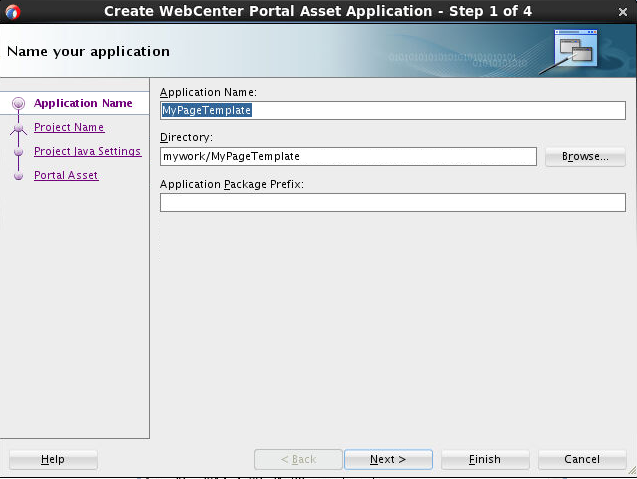
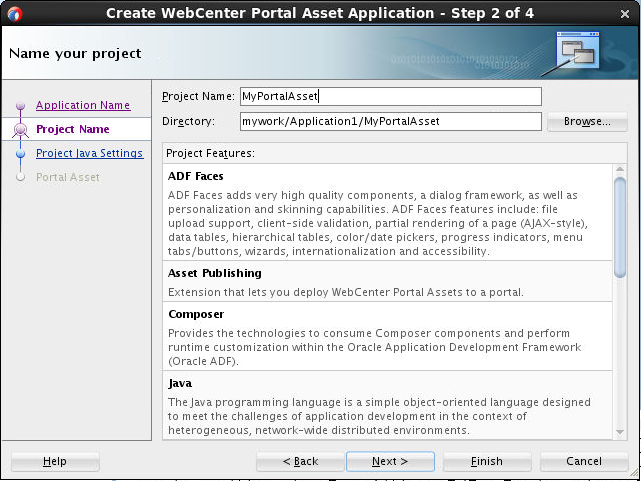
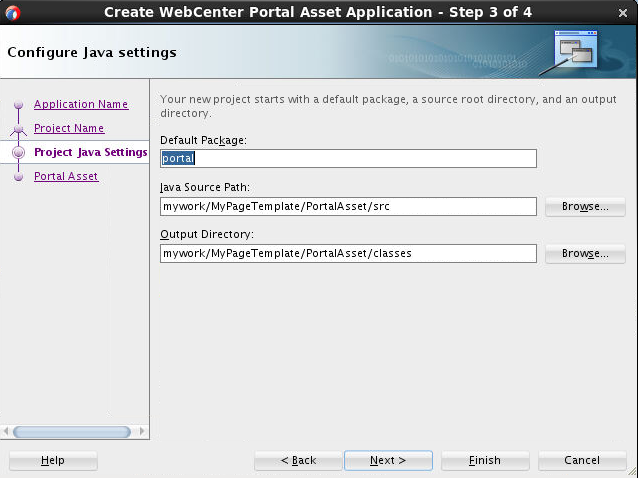
To create a WebCenter Portal asset application:
4.2.2 What You May Need to Know About Asset Application Artifacts
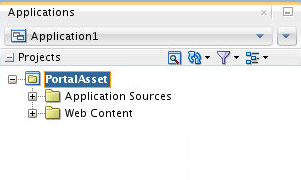
When you create a WebCenter Portal asset application, you create a single named workspace and a single named project (PortalAsset by default) in that workspace. A WebCenter Portal asset application project follows JDeveloper's standard for a Web application. It has the same structure and contains all of the features as an ADF Fusion Web application's ViewController project plus the following WebCenter Portal specific features:
Asset Publishing - lets you publish an asset application to WebCenter Portal.
Page Editor- lets you consume page components and perform runtime customizations within the Oracle Application Development Framework (Oracle ADF).
Customization Components - also lets you consume Composer components and perform runtime customizations within the Oracle Application Development Framework (Oracle ADF).
The asset project is seeded with Fusion ViewController's default JSP Tag and JDeveloper libraries plus some WebCenter Portal specific JSP Tag and JDeveloper libraries. It contains a Default Package named portal, which is also used, for example, as the folder name for DataBindings.cpx.
After an asset application has been created, you can change the values for asset-specific properties, such as displayName and the Description, by editing the assetDef.xml file under META-INF/assets/<assetName>.
4.3 Creating and Editing WebCenter Portal Assets
After creating an asset application, as described in Creating a WebCenter Portal Asset Application, you are now ready to define or modify properties for the asset. Table 4-1 shows where to find further information about creating and modifying the different types of assets. After creating the asset, continue by publishing it to WebCenter Portal (see Publishing WebCenter Portal Assets) where you can test and debug it (see Testing WebCenter Portal Assets).
Table 4-1 Creating WebCenter Portal Assets
| Asset Type | More Information |
|---|---|
Layouts |
|
Page Styles |
|
Page Templates |
|
Skins |
|
Visualization Templates |
|
Content Presenter Display Templates |
4.4 Publishing WebCenter Portal Assets
This section describes the steps for publishing WebCenter Portal assets to WebCenter Portal as a shared or portal-specific asset.
This section contains the following topics:
4.4.1 Creating a WebCenter Portal Server Connection
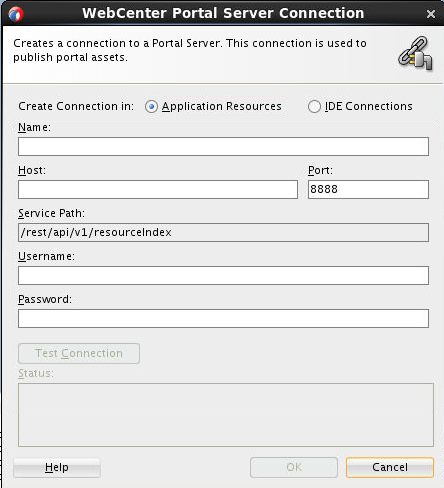
Before you can publish an asset to WebCenter Portal as a shared asset or to a specific portal, you need to set up a connection to the target Portal Server. Use the WebCenter Portal Server connection dialog to configure a connection to a Portal Server. You can set the connection up either as an application resource, or as an IDE connection that can be reused in other asset applications.
To create a WebCenter Portal Server connection:
Tip:
Although the Service Path field is not editable, you can use the field to copy and paste into a browser to determine the REST endpoint for the server connection.
4.5 Testing WebCenter Portal Assets
After creating or modifying an asset application and publishing the asset to WebCenter Portal, you can continue by testing the runtime results. Note that you must test the asset within WebCenter Portal’s runtime. You can iterate by modifying the asset in the JDeveloper, republishing to Portal Server, and then validating in WebCenter Portal. There are two ways to republish: you can either right-click on the Portal Asset project node > Deploy > use the recently used deployment item, or use the default Alt-Shift-P shortcut key.
Note:
To change or view shortcut key settings, go to Tools > Preferences > Shortcut Keys > and search for “Republish Portal Asset” or other shortcut key.
To help with the debug process, you can ask an Administrator (or someone with Administrator rights) for the test or staging environment to configure error messages and the calling stack to display in the runtime. For more information, see Viewing and Configuring Error Messages in WebCenter Portal in Administering Oracle WebCenter Portal.
