Configure RAID in UEFI Boot Mode
This procedure configures a RAID volume where you can install an operating system.
Note - The steps and screens in this procedure are examples. What you actually see might be different depending on your system's equipment and configuration.
-
Configure the server for a one-time boot to BIOS.
- Access the Oracle ILOM web interface.
- Navigate to Host Management > Host Control.
-
Select BIOS from the drop-down list, and then select Save.
The server is configured to boot to BIOS on the next boot.
-
From the Summary window, select Remote Console > Launch and answer the
dialogs.
The remote console screen appears.
-
Power on or reset the host.
For example, to reset the host, do one of the following:
-
From the local server, press the Power button (approximately 1 second) on the front panel of the server to power off the host, then press the Power button again to power it back on.
-
From the Oracle ILOM web interface, select Host Management > Power Control, then select Reset from the Select Action list box.
-
From the Oracle ILOM CLI, type: reset /System
The BIOS setup utility appears.
-
-
Navigate to the Advanced tab, select LSI MegaRAID Configuration Utility
<LSI MegaRAID 9361-8i>, and then press Enter.
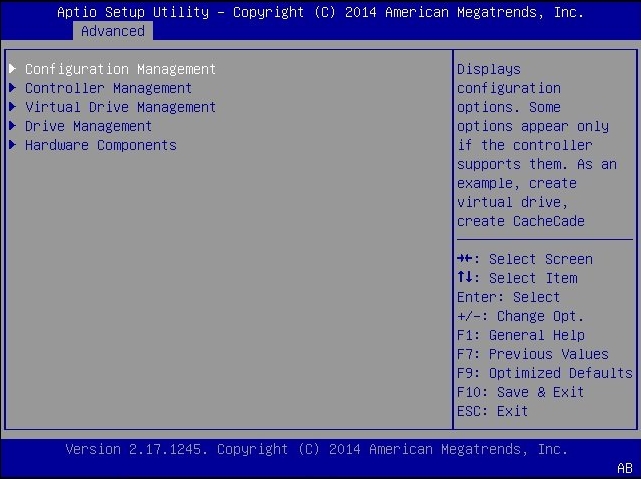
The following screen appears:
-
Select Configuration Management and then select Enter.
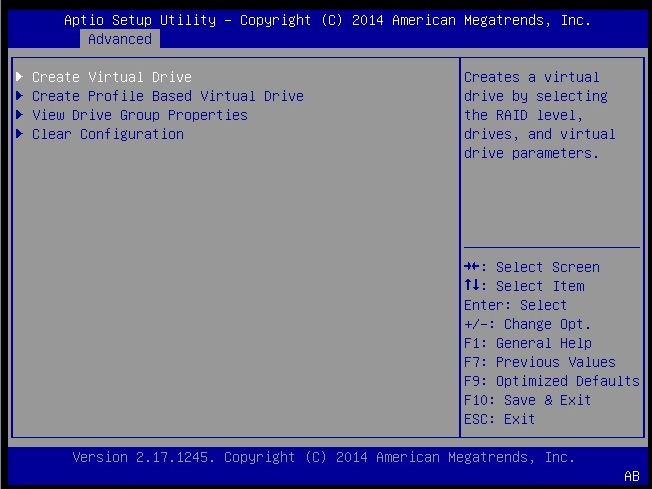
The following screen appears:
-
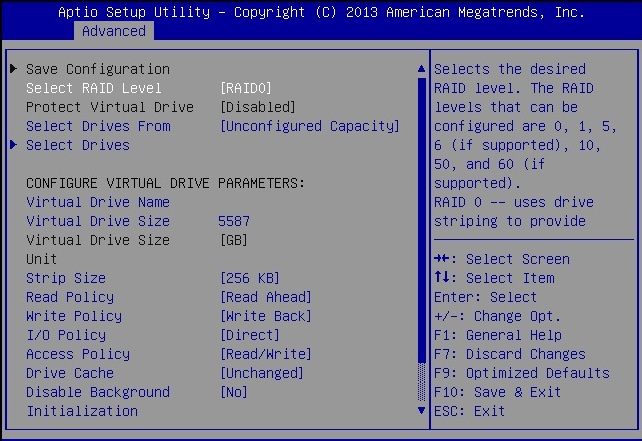
Select Create Virtual Drive > Advanced, and then press Enter.
Alternatively, you can select the Create Virtual Drive option, which provides a RAID configuration wizard. You cannot configure advanced settings for a virtual drive in the Create Virtual Drive screen.
The Create Virtual Drive > Advanced screen appears.
-
Select the Select RAID Level option, and then press Enter.
The Select RAID Level dialog box appears.
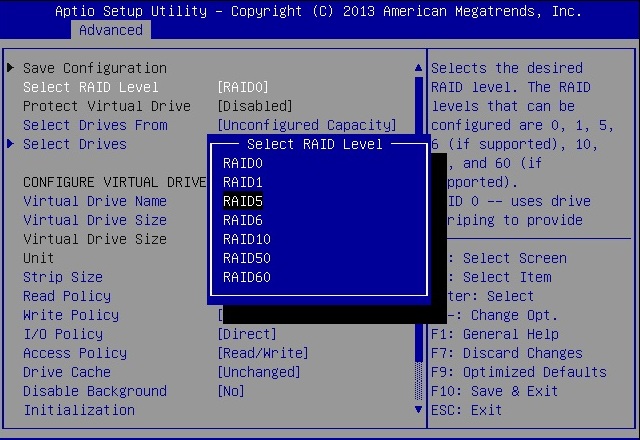
- Select the desired RAID level, and then press Enter.
-
Select the Select Drives option, and then press Enter.
The Drive Selection screen appears.
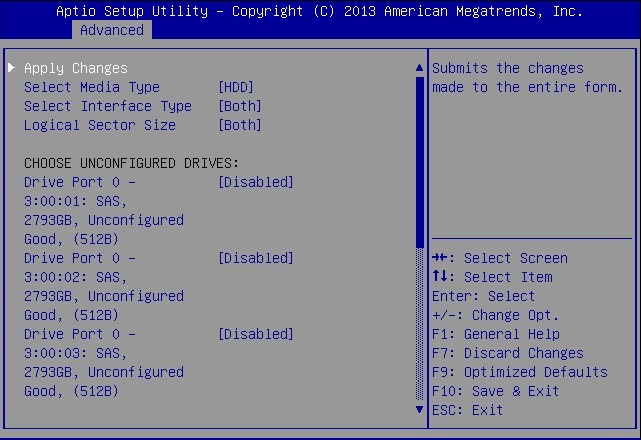
- In the Drive Selection screen, select the media type, the interface type, and the drives to be included in the RAID configuration.
-
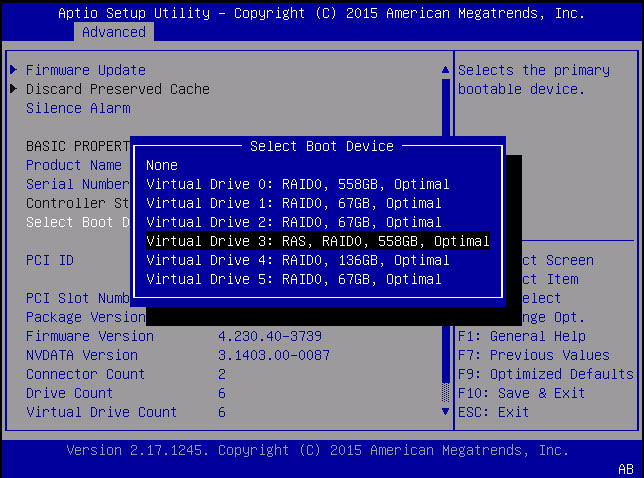
Select Select Boot Device, then select a boot drive from the drop-down
list.
-
Select Apply Changes, and then press Enter.
The RAID Configuration Confirmation screen appears.
-
Select Save Configuration and then press Enter.
The RAID Configuration Confirmation screen appears.
-
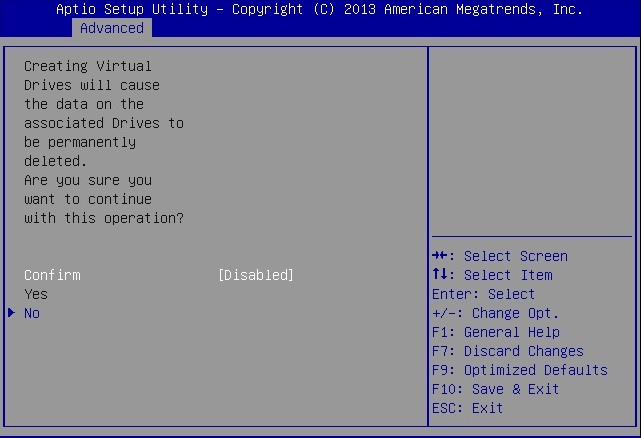
To confirm your RAID configuration, select Confirm and then select Yes.
The Confirmation screen appears.
- Select OK to continue.
-
Press F10 to save your changes and exit.
This completes the RAID configuration. You can now install an operating system on the drive that you have created.