10g (9.0.4)
Part Number B10356-01
Home |
Solution Area |
Contents |
Index |
| Oracle® Application Server Portal Configuration Guide 10g (9.0.4) Part Number B10356-01 |
|
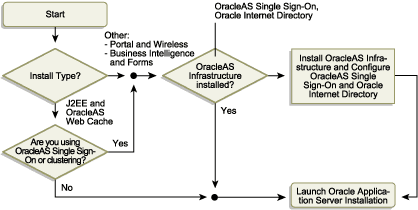
This chapter provides a brief overview of the installation process and describes a few things you need to know about installing OracleAS Portal that are not covered in the Oracle Application Server 10g Installation Guide. This chapter contains the following sections:

If you are planning to upgrade OracleAS Portal from a previous release, you'll need to refer to the Upgrade documentation on Portal Center, http://portalcenter.oracle.com/upgrades/.
To install OracleAS Portal:
The Oracle Application Server 10g Installation Guide tells you how to start the Installer, what command-line options are available, and provides step-by-step procedures. If you need multiple Oracle Application Server instances, you must run the Installer multiple times, once for each Oracle Application Server instance.
The OracleAS Portal online help system, which uses Oracle Help for the Web, relies on certain fonts to render the Online Help User Interface in different languages. To get the correct fonts installed, you must select all the languages in which you want to render the online help at installation time. To do this, click the Product Languages button, and select your languages on the Select a Product to Install screen, during the installation.
Additionally, you must make sure that the languages that are installed on the Application Server middle-tier correspond with the languages that are installed on the Application Server Infrastructure, to avoid problems with the Set Language request issued to the OracleAS Single Sign-On server. See Section B.2.3, "LANGUAGE" for more details.
Installing all languages increases the time required for the middle-tier installation.
Note:

http://hostname.domain:7777 (7777 is the default port number used during installation). Here you can view the documentation library, take the Quick Tour, and run some demos. To run the demos, click the Demonstrations tab then select Portal and Wireless from the Navigation panel.
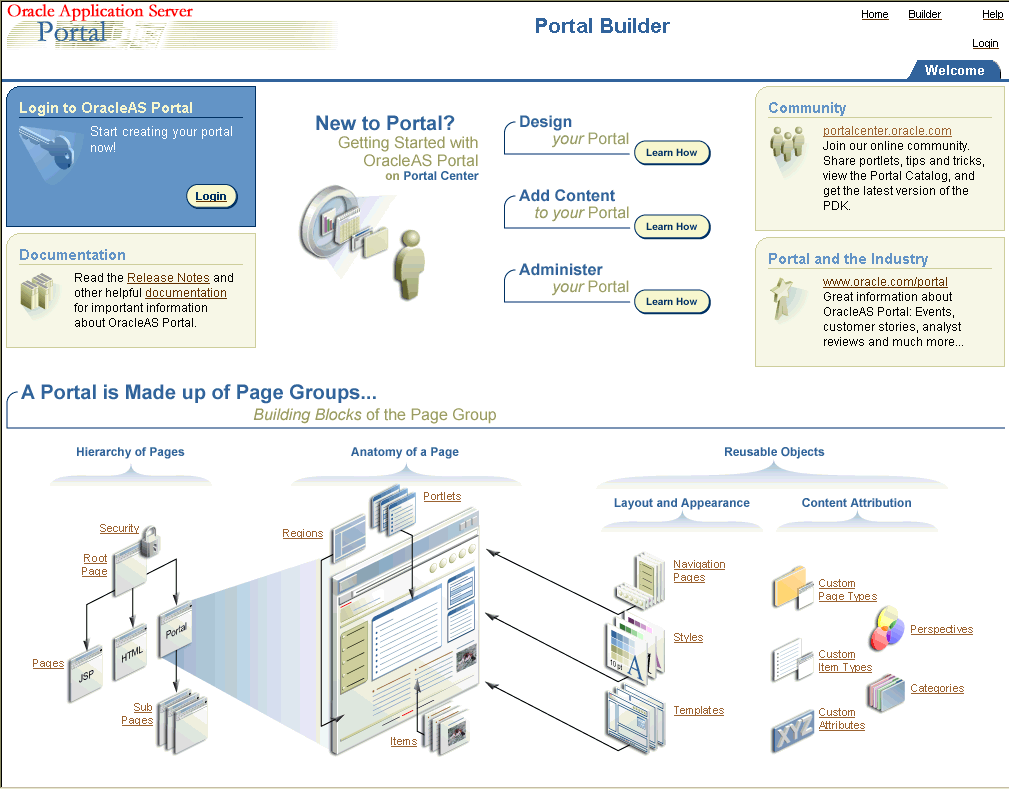
http://<hostname>:<portnumber>/pls/<dad>
The Portal Builder page is displayed as shown in Figure 3-2.

Text description of the illustration cg_sshot_portal_home_page.gif
The following table explains the components that make up the URL used to access OracleAS Portal.


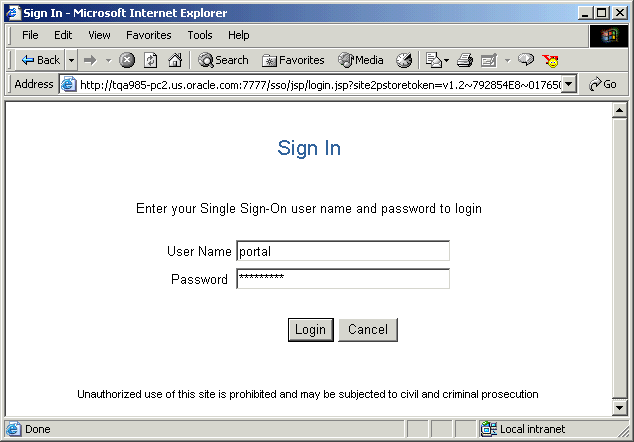
Text description of the illustration cg_sshot_sign_in_page.gif
When you install OracleAS Portal, some default database schemas and user accounts are also installed. It's a good idea to take the time to familiarize yourself with these defaults.
The installation of the OracleAS Metadata Repository component of Oracle Application Server 10g creates a new database and populates it with a collection of schemas used by Oracle Application Server components, such as the OracleAS Portal metadata schema.
Out of the box, the initialization parameters for this new database are suitable for a very small OracleAS Portal configuration with few users. If you plan to use OracleAS Portal, it is recommended that you modify the initialization parameters for the database based on the requirements for installing the OracleAS Metadata Repository in an existing database, using the settings specified in the Oracle Application Server 10g Installation Guide. As you make changes in your configuration, you may need to further tune the initialization parameters based on the size of your configuration, and the number of simultaneous users of OracleAS Portal. The init.ora file can be found in the database's ORACLE_HOME. If init.ora is modified, the database must be restarted for this change to take effect.
During a middle-tier installation, that includes OracleAS Portal, you can specify if you want to configure, and automatically start OracleAS Portal at the end of the installation. If you select that option, Oracle Universal Installer (OUI) will go configure OracleAS Portal in two phases:
If you choose not to configure OracleAS Portal, and want to do this later, you need to:
You can update the OracleAS Metadata Repository with any changes made to the Portal Dependency Settings file iasconfig.xml, related to middle-tier component properties, such as OracleAS Web Cache, and Oracle Enterprise Manager.
Portal does not support serving two middle-tiers from a single repository, unless it is front-ended by a load balancing router (LBR). Refer to Section 5.3, "Configuring Multiple Middle-Tiers with a Load Balancing Router" for instructions on how to set up OracleAS Portal with an LBR.
If you want to add additional middle-tiers to a farm that is already using Infrastructure Services, you do not want to overwrite the existing configuration entries during the deployment. In this case, you would install the additional middle-tier, without configuring OracleAS Portal, and configure OracleAS Portal, using Application Server Control, and the Portal Dependency Settings file and tool.
|
Note:
By default, |
To use Application Server Control to deploy OracleAS Portal on the middle-tier, follow the following steps outlined in Section 7.1.2, "Using Application Server Control to Configure OracleAS Portal".
At this point, your OracleAS Portal middle-tier components are deployed, and configured. The DAD has been created, and the Portal Dependency Settings file iasconfig.xml has been updated.
To update the OracleAS Metadata Repository with any changes made to the Portal Dependency Settings file iasconfig.xml, run the script ptlconfig, located in the directory ORACLE_HOME/portal/conf, as follows:
ptlconfig -all -dad portal
Additional middle-tiers are often added to production sites, to improve scalability. The two-phased process described in the preceding text allows the flexibility of adding additional middle-tiers, without restarting the site.
|
|
 Copyright © 2002, 2003 Oracle Corporation. All Rights Reserved. |
|