| Oracle® Database Express Edition 2 Day Plus PHP Developer Guide 10g Release 2 (10.2) Part Number B25317-01 |
|
|
View PDF |
| Oracle® Database Express Edition 2 Day Plus PHP Developer Guide 10g Release 2 (10.2) Part Number B25317-01 |
|
|
View PDF |
This chapter explains how to install and test your Oracle Database Express Edition (Oracle Database XE) and PHP environment. It has the following topics:
Oracle Database Express Edition is available from the Oracle Technology Network at
http://www.oracle.com/technology/xe
Install Oracle Database XE following the instructions in Oracle Database Express Edition Installation Guide for Linux or Oracle Database Express Edition Installation Guide for Microsoft Windows.
See Also:
http://www.oracle.com/technology/xe/forum
for the Oracle Database XE discussion Forum
http://www.oracle.com/technology/xe/documentation
for the Oracle Database XE documentation
Perform the following steps to test that you can connect to Oracle Database XE.
To test that Oracle Database XE is accessible, connect to the database using the Oracle Database XE home page:
In a browser, enter the URL for your Oracle Database Express Edition home page:
http://localhost:8080/htmldb
In the Oracle Database XE Login page, enter hr in the Username and Password fields. Click Login:

The Oracle Database XE Home page appears:
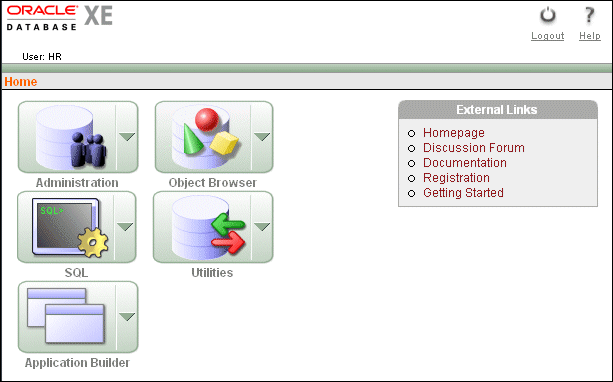
If the message, Invalid Login Credentials appears, you may need to unlock the HR user. See Unlocking the HR User following.
Click the Logout link to terminate the HTMLDB session.

The Logout Confirmation page appears:

The PHP application connects to the database as the HR user. You may need to unlock the HR account as a user with DBA privileges. To unlock the HR user:
In a browser, enter the URL for your Oracle Database Express Edition home page:
http://localhost:8080/htmldb
At the login screen, in the Username field enter system, and in the Password field enter manager (or the password you entered at the prompt during configuration of Oracle Database XE). Click Login.
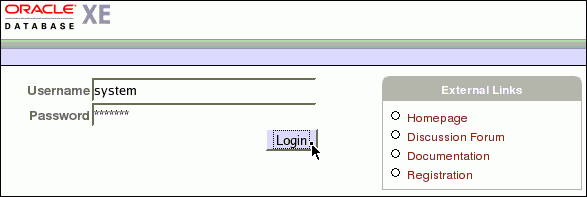
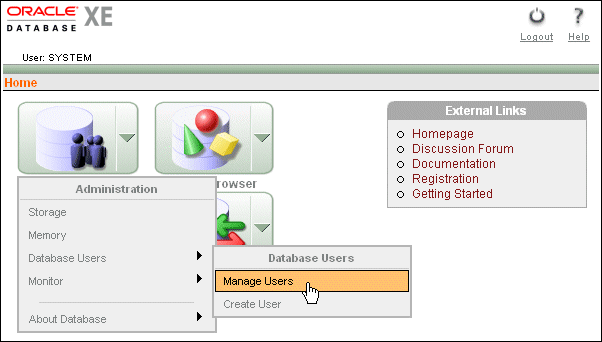
In the Home page, click the arrow on the Administration icon, move the mouse over Database Users, and click Manage Users:
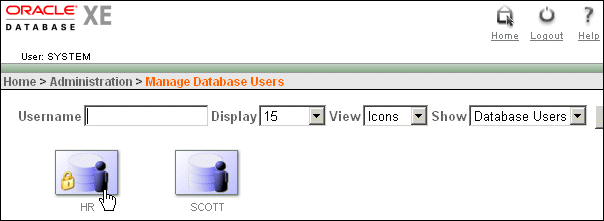
In the Manage Users page, click the HR user icon:
In the Manage Database User page, select Unlocked from the Account Status list and then click the Alter User button. The message User Altered appears below the navigation breadcrumb toward the top of the page.
Click the Logout link to terminate the HTMLDB session.

For further information about unlocking an Oracle Database account, see Chapter 6, "Managing Users and Security," in the Oracle Database Express Edition 2 Day DBA guide.
You can download Apache for Windows or Linux from:
Apache is normally a standard part of a Linux environment.
Install Apache following the instructions available from the same site.
To test the Apache Web server installation:
Start your Web browser on the host on which you installed Apache.
Enter the following URL:
http://localhost/
Your browser should display a page similar to the following:
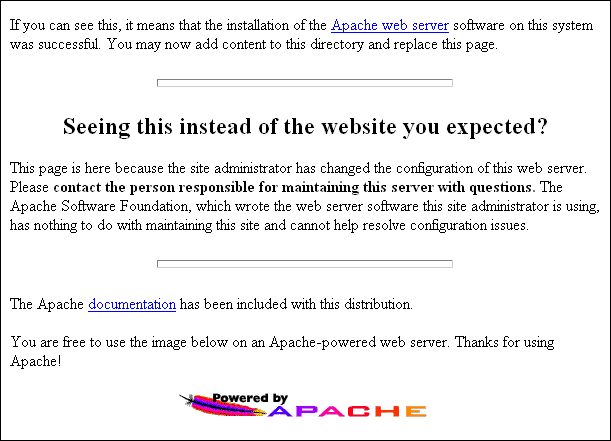
If this page does not appear check your Apache configuration. Common problems are that Apache is not running, or that it is listening on a non-default port.
To test the Apache Web server installation:
Start your Web browser on the host you installed Apache on, and enter the following URL:
http://localhost/
Your browser should display a page similar to the following:
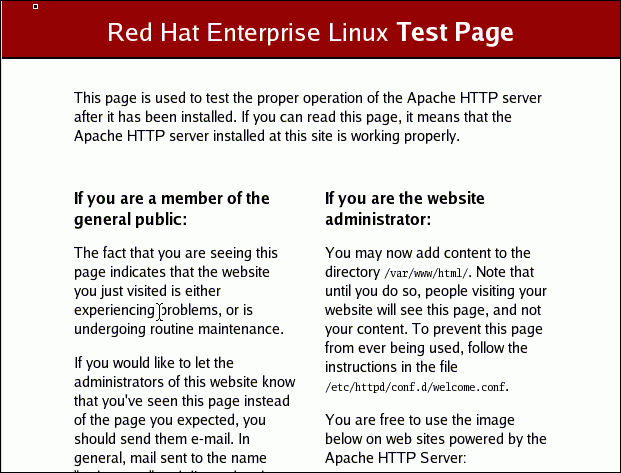
If this page does not appear check your Apache configuration. Common problems are that Apache is not running, or that it is listening on a non-default port.
In the default Apache Web server configuration file, set up a public virtual directory as public_html for accessing your PHP files. Use your preferred editor to open the Apache configuration file /etc/httpd/conf/httpd.conf (the directory may be different in your installation of Linux) and remove the "#" character at the start of the following line:
#UserDir public_html
This enables the browser to make an HTTP request using a registered user on the system and to serve files from the $HOME/public_html directory of the user. For example:
http://localhost/~user/
In this example, your Apache httpd.conf file should contain the following lines:
<IfModule mod_userdir.c>
    #
    # UserDir is disabled by default since it can confirm the presence
    # of a username on the system (depending on home directory
    # permissions).
    #
    #UserDir disable

    #
    # To enable requests to /~user/ to serve the user's public_html
    # directory, remove the "UserDir disable" line above, and uncomment
    # the following line instead:
    #
    UserDir public_html
</IfModule>
In a command window, to use the new Apache configuration file, restart Apache by entering the following commands:
su -
Password: <enter your su (root) password>
apachectl restart

If the Apache Web server does not start, check the error log files to determine the cause. It may be a configuration error.
In the command window, log in as a normal (not root) user and create a public_html subdirectory in the $HOME directory with the following command:
mkdir $HOME/public_html

To obtain Zend Core for Oracle for Windows or Linux:
Enter the following URL in your Web browser
http://www.oracle.com/technology/tech/php/zendcore/index.html
To the right of the "Zend Core for Oracle" Web page, click the Free Download button:

Save the downloaded file in a temporary directory, such as c:\tmp on Windows, or \tmp on Linux.
This section describes how to install Zend Core for Oracle on Windows.
This tutorial is specific to PHP in Zend Core for Oracle.
For detailed setup information for Zend Core for Oracle, see the Installation Guide under Product Information on the Zend Core for Oracle Web page at
http://www.oracle.com/technology/tech/php/zendcore/index.html
This procedure assumes you downloaded the Zend Core for Oracle software to c:\tmp. If not, in step 1 you must cd to the directory containing the downloaded software, and not to c:\tmp.
The file name and extraction directory are based on the current version. Throughout this procedure, ensure you use the directory name for the version you are installing.
You must be the administrator user to install Zend Core for Oracle. To install Zend Core for Oracle, perform the following steps:
In Windows Explorer, navigate to the directory where you downloaded the Zend Core for Oracle software.
To start the Zend Core for Oracle installation process, double click the .exe file.
Review the README and installation documentation distributed with Zend Core for Oracle.
Use the tab or arrow keys, or use your mouse to navigate between input fields and buttons in the Zend installer. Press Enter or click with the mouse to select a button.
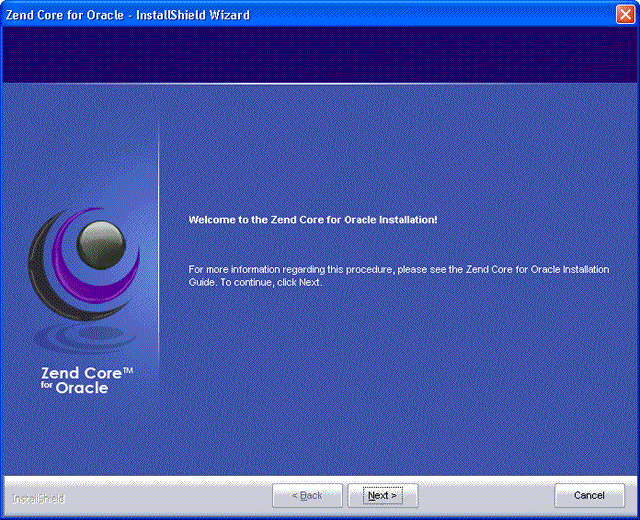
In the initial Zend Core for Oracle Installation page, click Next.
Copyright, 2005, Zend Technologies Ltd.
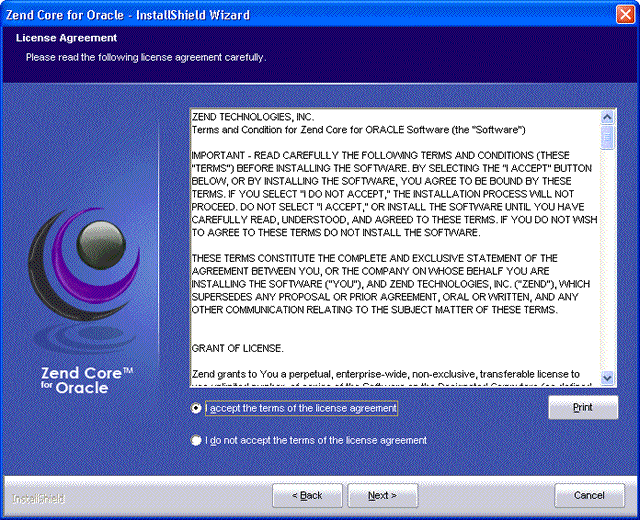
In the Zend Core for Oracle License Agreement page, read the license agreement. To continue with the installation, select I accept the terms of the license agreement and then click Next.
Copyright, 2005, Zend Technologies Ltd.
You are prompted to select the type of installation you want. Select Complete and then click Next.
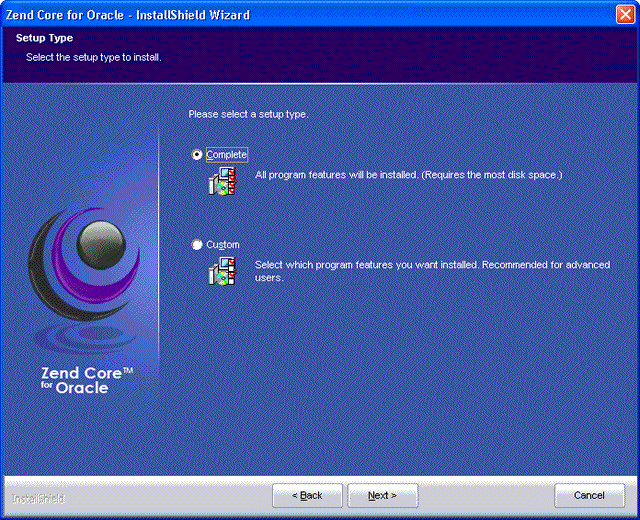
Copyright, 2005, Zend Technologies Ltd.
When prompted to specify the location for installing Zend Core for Oracle, accept the default (or enter your preferred location), and click Next.
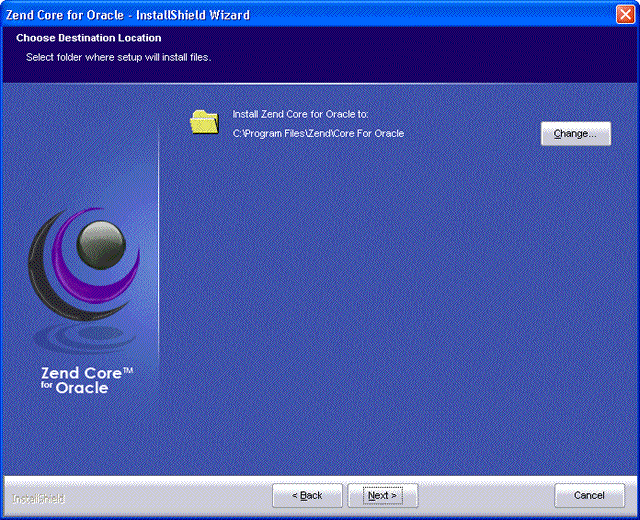
Copyright, 2005, Zend Technologies Ltd.
The next page prompts you to select the Web server for Zend Core installation. Accept the Apache installation and click Next.
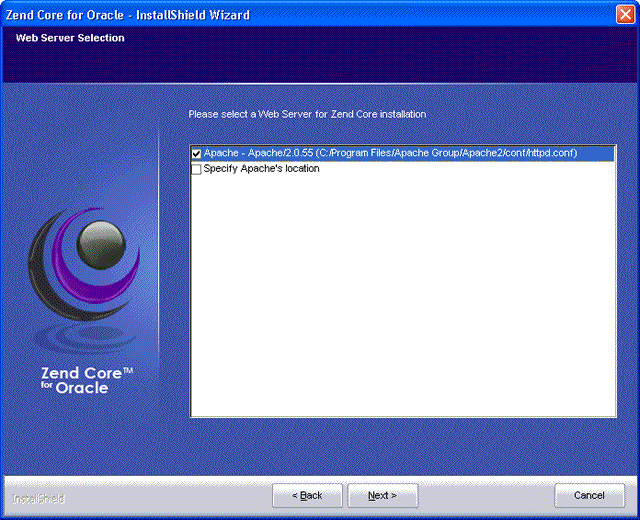
Copyright, 2005, Zend Technologies Ltd.
You are then prompted to select the Web Server API to use. Select Apache Module and then click Next.
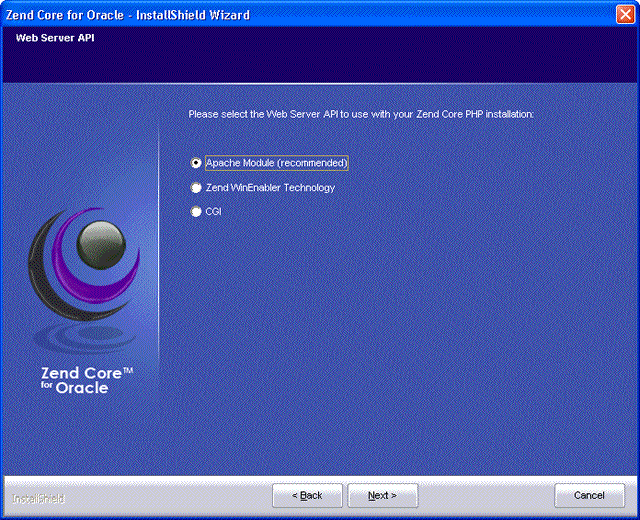
Copyright, 2005, Zend Technologies Ltd.
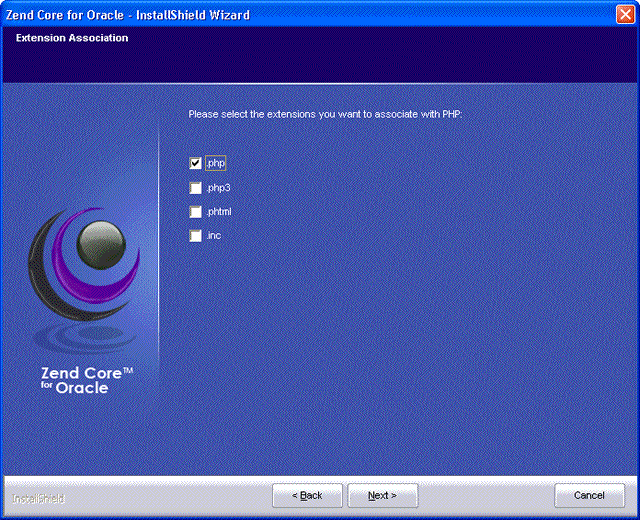
When prompted to select extensions to associate with your Zend Core for Oracle installation, select php and click Next.
Copyright, 2005, Zend Technologies Ltd.
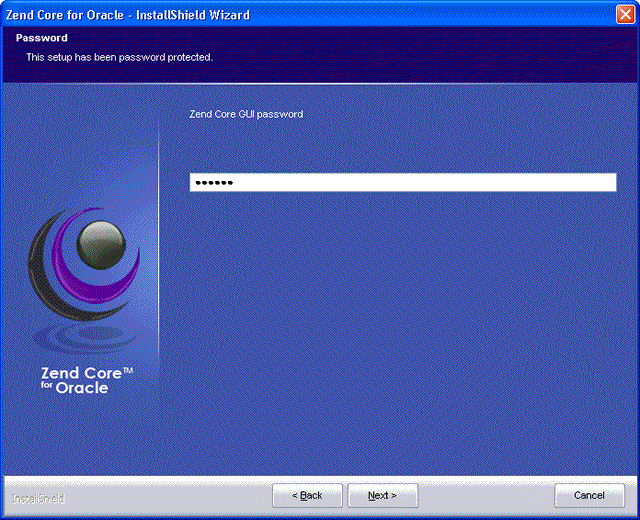
You are now prompted to enter a Zend Core GUI password. This password enables you to log in to the Zend Core Console to configure directives or property values.
Enter the password you want to use when accessing the Zend Core Console, and click Next.
Copyright, 2005, Zend Technologies Ltd.
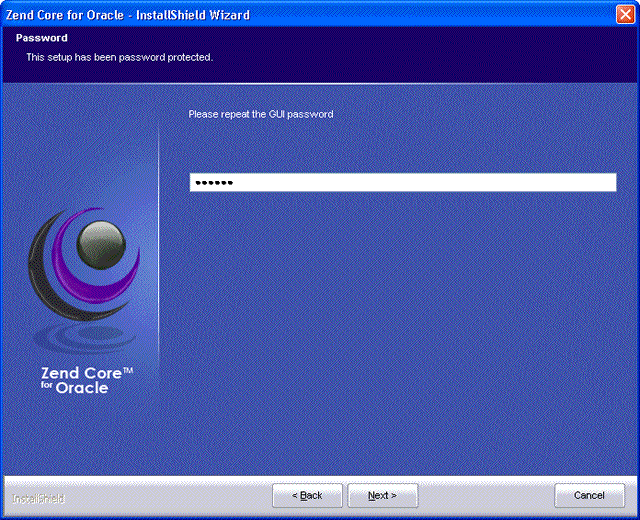
You are prompted to reenter your Zend Core GUI password.
Copyright, 2005, Zend Technologies Ltd.
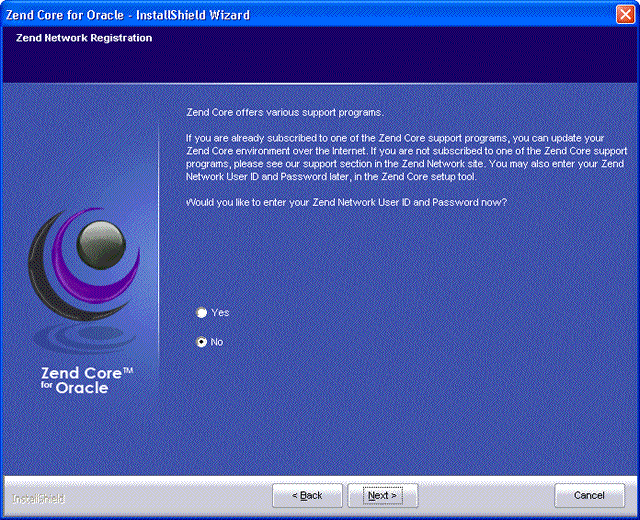
You may optionally enter your Zend network user ID and password to be able to use the Zend Core Console to track when updates to Zend Core and PHP components are available. If you have not registered, or do not want to track updates, select No and then click Next.
Copyright, 2005, Zend Technologies Ltd.
The installation wizard is now ready to begin installing Zend Core for Oracle on your computer. Click Install to start the installation wizard.
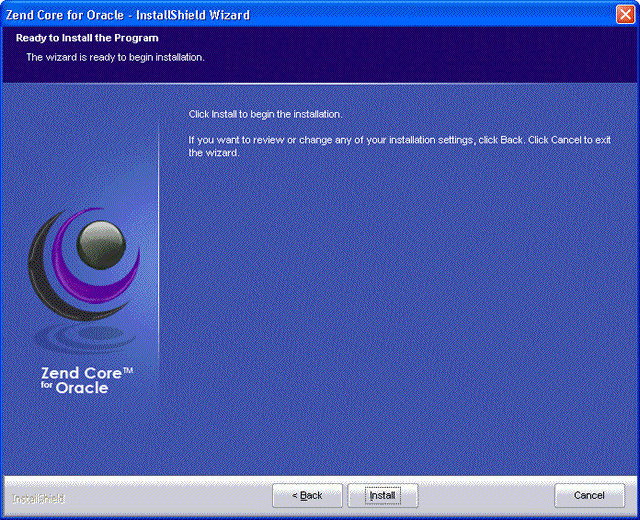
Copyright, 2005, Zend Technologies Ltd.
You are notified that the Apache configuration file has been modified, and where the original Apache configuration file has been stored. Click OK to continue.

Copyright, 2005, Zend Technologies Ltd.
When the installation completes, you are prompted to restart your computer. Select Yes, I want to restart my computer now and then click Finish.
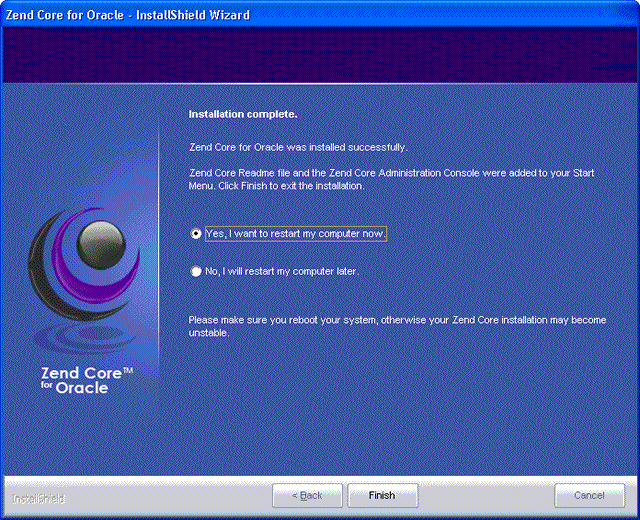
Copyright, 2005, Zend Technologies Ltd.
The Zend Core for Oracle installation is now complete.
This section describes how to install Zend Core for Oracle on Linux.
This tutorial is specific to PHP in Zend Core for Oracle.
For detailed setup information for Zend Core for Oracle, see the Installation Guide under Product Information on the Zend Core for Oracle Web page at
http://www.oracle.com/technology/tech/php/zendcore/index.html
This procedure assumes you downloaded the Zend Core for Oracle software to /tmp. If not, in step 1 you must cd to the directory containing the downloaded software, and not to /tmp.
The file name and extraction directory are based on the current version. Throughout this procedure, ensure you use the directory name for the version you are installing.
You must be the root user to install Zend Core for Oracle. To install Zend Core for Oracle, perform the following steps:
Enter the following commands in a command window to extract the contents of the downloaded Zend Core for Oracle software:
su -
Password: <enter the root password>
cd /tmp
tar -zxf ZendCoreForOracle-v1.2.1-Linux-x86.tar.gz
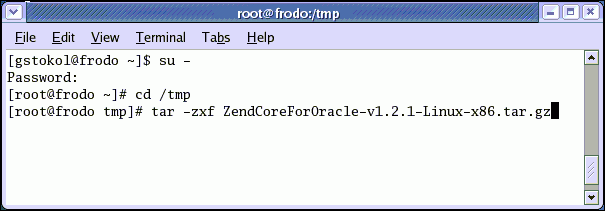
By default, files are extracted to a subdirectory called ZendCoreForOracle-v1.2.1-Linux-x86.
Review the README and installation documentation distributed with Zend Core for Oracle.
To start the Zend Core for Oracle installation process, enter the following commands:
cd ZendCoreForOracle-v1.2.1-Linux-x86
./install
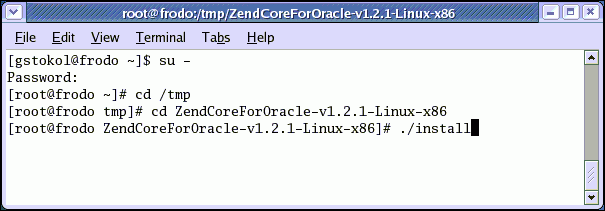
The install command must be executed with root user privileges. After you enter the ./install command, the installation process begins, as documented in subsequent steps.
Use the tab or arrow keys, or use your mouse to navigate between input fields and buttons in the Zend installer. Press Enter or click with the mouse to select a button.
In the initial Zend Core for Oracle Installation page, click OK.
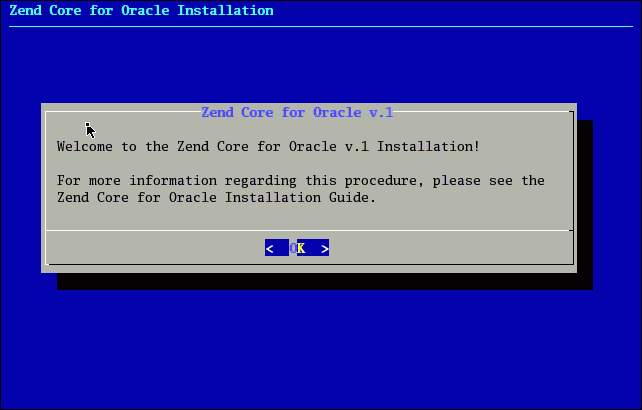
Copyright, 2005, Zend Technologies Ltd.
In the Zend Core for Oracle V.1 page, read the license agreement. To continue with the installation, click Exit.
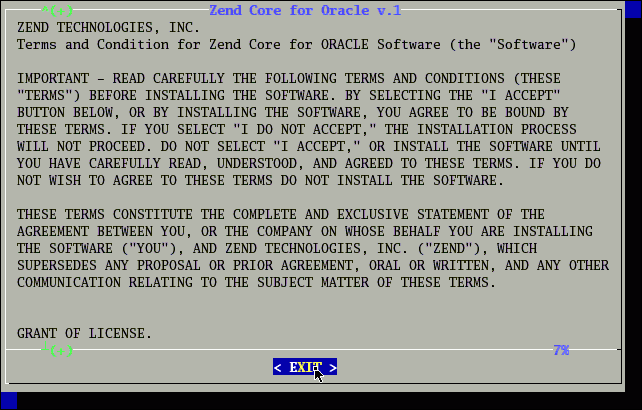
Copyright, 2005, Zend Technologies Ltd.
When prompted to accept the terms of the license, click Yes.
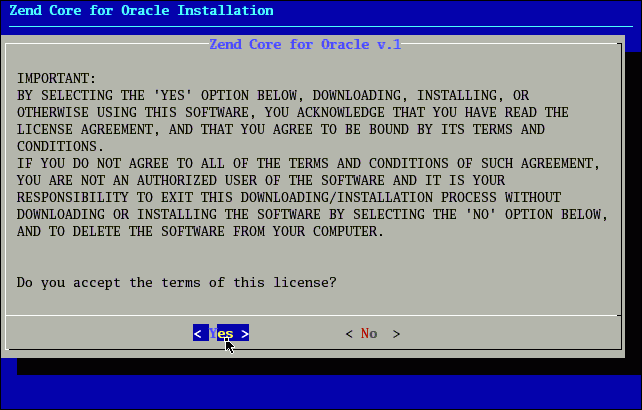
Copyright, 2005, Zend Technologies Ltd.
When prompted to specify the location for installing Zend Core for Oracle, accept the default (or enter your preferred location), and click OK.
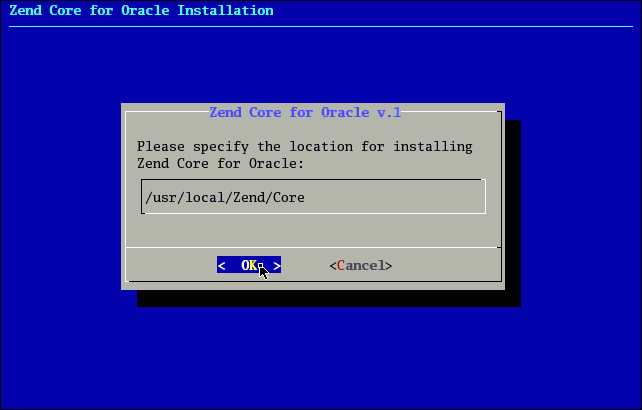
Copyright, 2005, Zend Technologies Ltd.
The installer begins extracting the files required for the installation. The following progress screen is visible during the installation process:
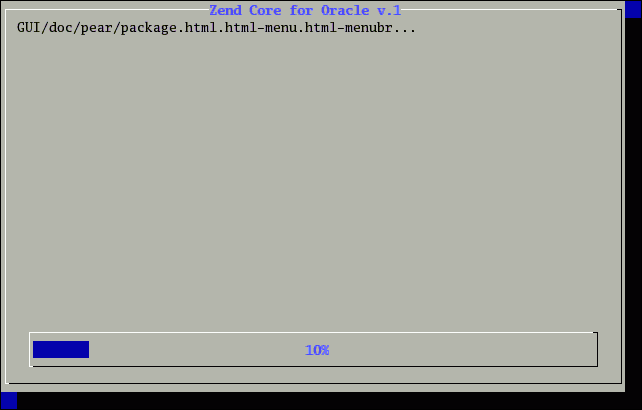
Copyright, 2005, Zend Technologies Ltd.
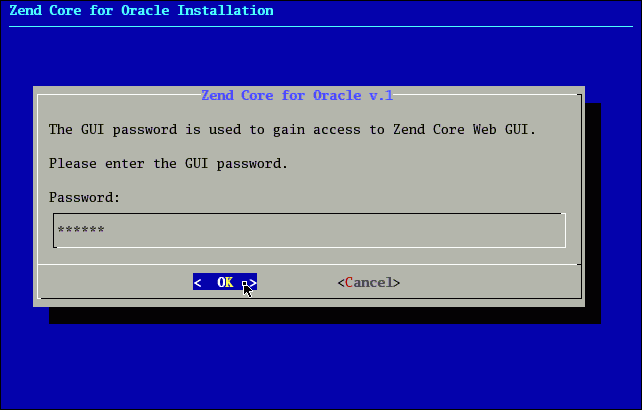
When the progress window indicates that all the software has been installed, you are prompted to "Please enter the GUI password." In the Password field, enter the password you want to use when accessing the Zend Core Console, and click OK.
Copyright, 2005, Zend Technologies Ltd.
The password specified here allows you to log in to the Zend Core for Oracle administration Web pages to enable configuration of Zend Core for Oracle engine directives or property values.
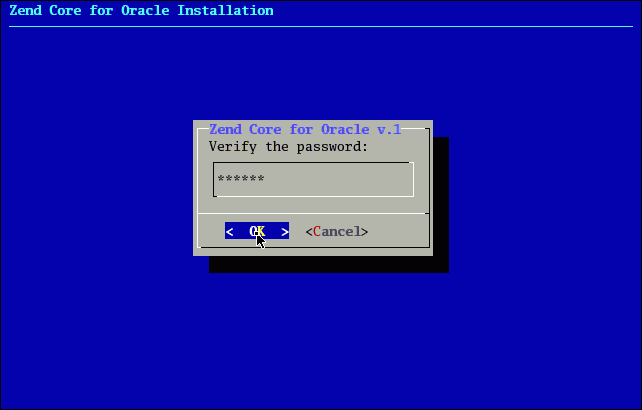
When prompted to "Verify the password," enter the same password as specified in Step 7 and click OK.
Copyright, 2005, Zend Technologies Ltd.
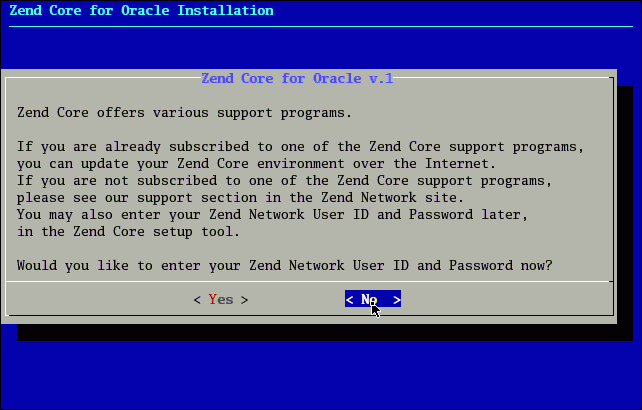
In the Zend Core support page, you may optionally enter your Zend network user ID and password to be able to use the Zend Core Console to track when updates to Zend Core and PHP components are available. If you have not registered, or do not want to track updates, click No.
Copyright, 2005, Zend Technologies Ltd.
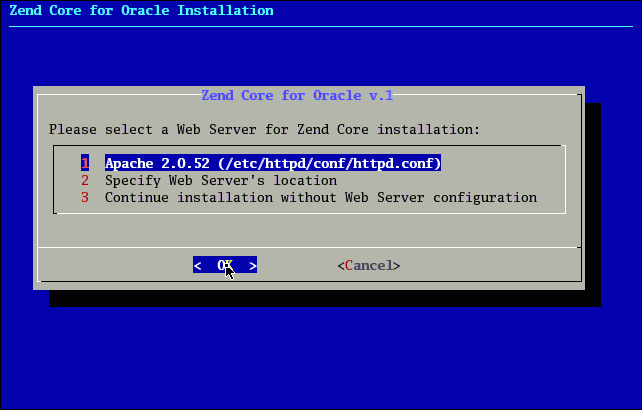
The next page prompts you to select the Web server for Zend Core installation. Select the default Apache installed with Linux. Click OK.
Copyright, 2005, Zend Technologies Ltd.
If you choose, you can install Zend Core for Oracle with another supported Web server that is installed on your system.
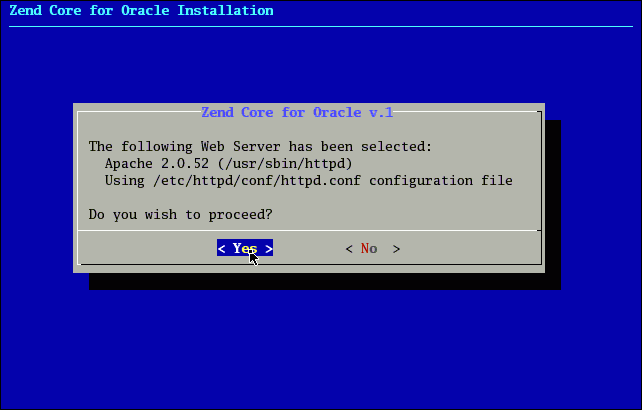
In the page confirming your Web server selection, at the "Do you wish to proceed?" prompt, click Yes.
Copyright, 2005, Zend Technologies Ltd.
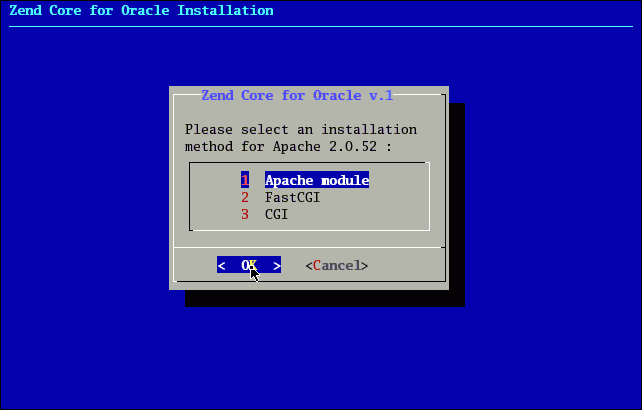
In the next installation page, you are prompted to "Please select an installation method for Apache 2.0.52." Select Apache module as the method, and click OK.
Copyright, 2005, Zend Technologies Ltd.
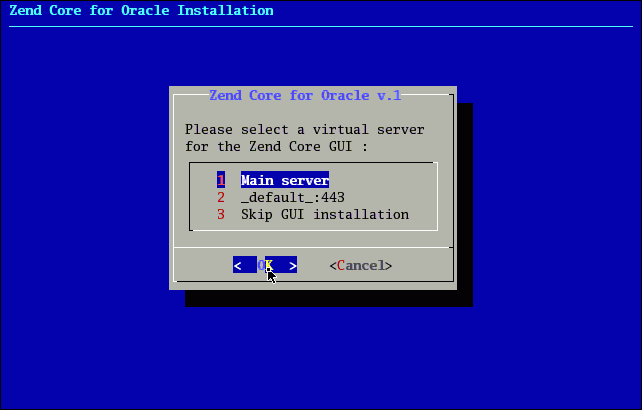
In the next installation page, when you are prompted to "Please select a virtual server for the Zend Core GUI," select Main Server, and click OK.
Copyright, 2005, Zend Technologies Ltd.
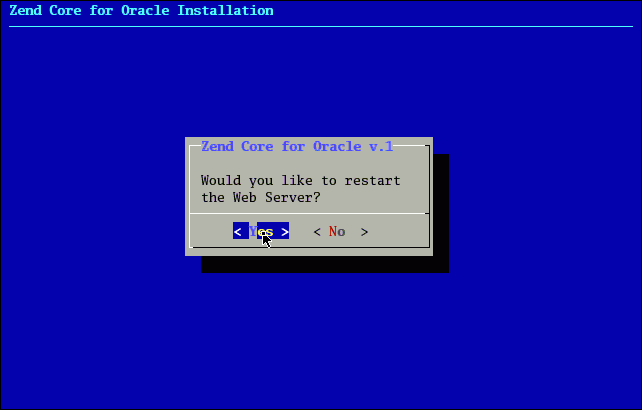
In the next installation page, at the "Would you like to restart the Web Server" prompt, click Yes.
Copyright, 2005, Zend Technologies Ltd.
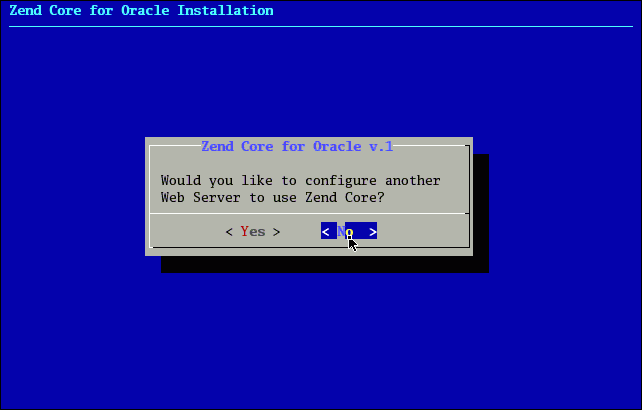
When prompted "Would you like to configure another Web Server to use Zend Core," click No.
Copyright, 2005, Zend Technologies Ltd.
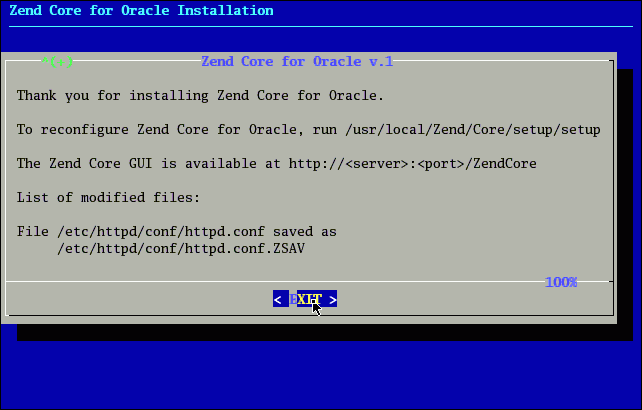
The final installation page (containing "Thank you for installing Zend Core for Oracle") lists useful configuration commands and a Web page for the administration of the Zend Core engine. Take note of the information and click EXIT.
Copyright, 2005, Zend Technologies Ltd.
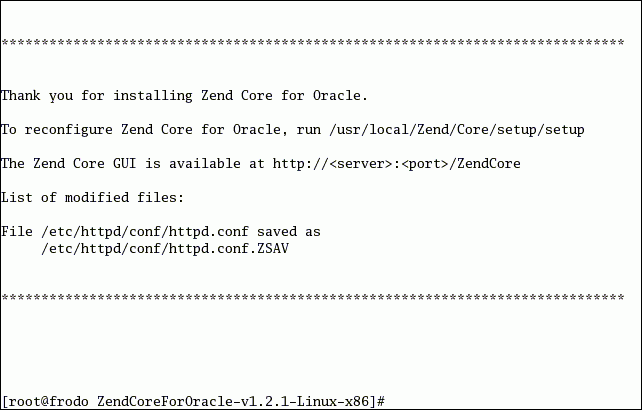
When the Zend Core installation pages are terminated, a message is displayed in your command window.
Copyright, 2005, Zend Technologies Ltd.
The Zend Core for Oracle installation is now complete.
In this section, you configure environment variables and Zend Core directives that control default error reporting in Web pages.
Enter the following URL in a Web browser to access the Zend Core Administration page:
http://localhost/ZendCore/
The Zend Core for Oracle Welcome page is displayed.
Enter the GUI password that you provided during Zend Core for Oracle installation in the Password field. Click the login >>> icon.
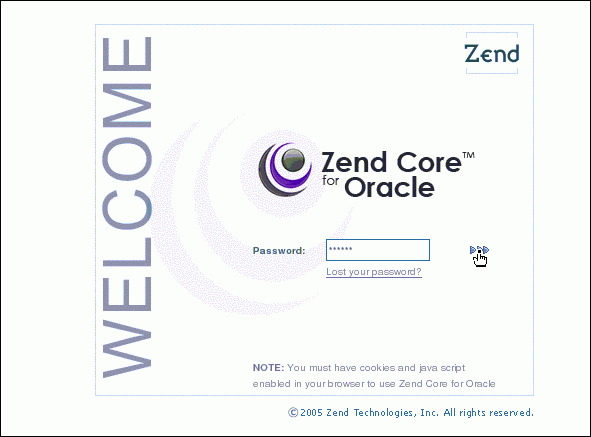
Copyright, 2005, Zend Technologies Ltd.
The Control Center System Overview page is displayed.
Click the Configuration tab to display the configuration options.
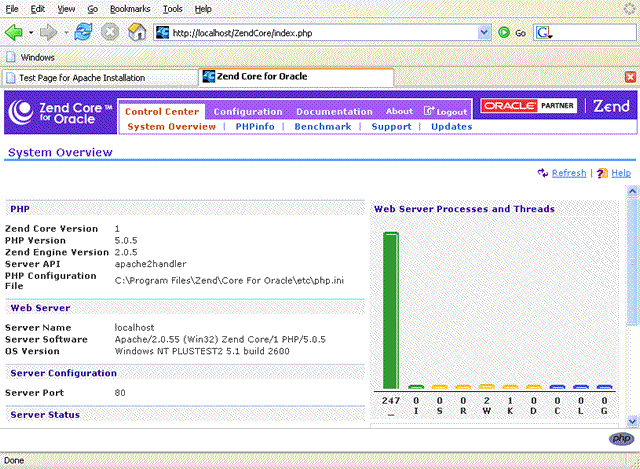
Copyright, 2005, Zend Technologies Ltd.
Click the + icon to expand the Error Handling and Logging configuration entry.
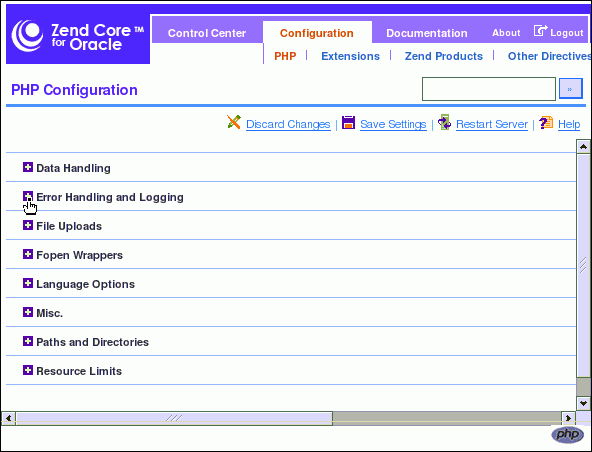
Copyright, 2005, Zend Technologies Ltd.
Set the display_errors directive to On to enable the display of errors in the HTML script output during development.
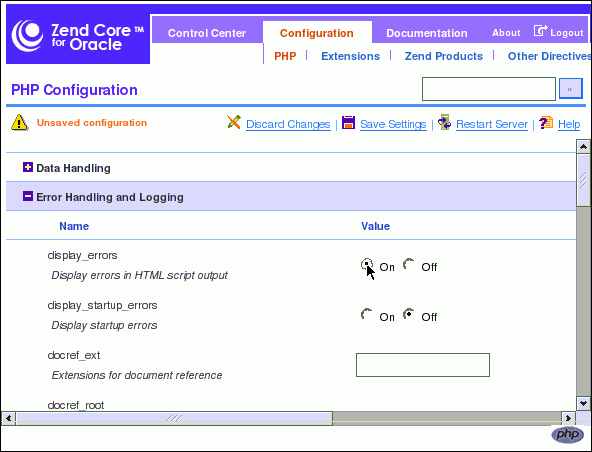
Copyright, 2005, Zend Technologies Ltd.
Because there are unsaved changes, the "Unsaved configuration" message appears under the page header.
Click Save Settings to save the configuration change.
Because you have made configuration changes, you must restart the Apache Web server. Under the page header notice the "Please Restart Apache" message reminding you to do so.
Click Restart Server to restart the Apache server.
The PHP Configuration page is refreshed after the Apache server restarts. Should the page not refresh after a short period of time, manually restart Apache and reload the PHP Configuration page.
Click Logout to exit the Zend Core for Oracle Administration page.
Now that you have completed the basic configuration changes, proceed to the next section to test the Zend Core for Oracle installation.
To test the Zend Core for Oracle installation:
Create a subdirectory called chap2. To create a directory for your application files, and to change to the newly created directory, enter the following commands in a command window:
On Windows:
mkdir c:\program files\Apache Group\Apache2\htdocs\chap2
cd c:\program files\Apache Group\Apache2\htdocs\chap2
On Linux:
mkdir $HOME/public_html/chap2
cd $HOME/public_html/chap2
If you create files in a different location, you must change the steps for file editing and execution to match your working directory name and URL.

Create a file called hello.php that contains the following HTML text:
<?php
  echo "Hello, world!";
?>
Open a Web browser and enter the following URL in your browser:
On Windows:
http://localhost/chap2/hello.php
On Linux:
http://localhost/~<username>/chap2/hello.php
The line "Hello, world!" appears in the browser.
