Approval Process Locate
The approval process includes two types of users:
requestor - A user of the publication registry who can ask for the approval of data for promotion. Every user can ask for approval, but to have data considered for promotion, a user must have an administrator-assigned approver.
An approver is a user or group given the ability to review published information on the publication registry and grant or deny approval to promote that information to the discovery registry. If the approver is a group then any of its members may approve or reject approval requests.
![[Note]](../images/note.gif) | Note |
|---|---|
We recommend reading Approval Process in BEA AquaLogic Service Registry to become familiar with approval process. | |
In this chapter, we will describe:
Requestor's actions
Approver's actions
Requestor's Actions Locate
Create and Submit Request Locate
We assume you have prepared entities for promotion to the discovery registry. In the following steps, we will create and submit an approval request for promoting the HR Services provider and its service. If you have not already done so, create the HR Services provider as described in Publishing.
Under the Catalog main menu tab, click on the Providers branch of the tree menu, then click My providers.
The page shown in Figure 31 will appear. Toggle the check box in front of the provider's name, select Promote from the action drop down list located in the bottom of the page, and then click the Go button.
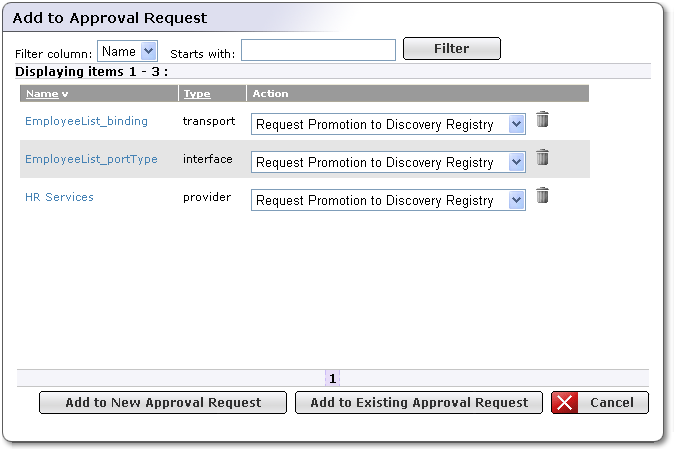
The page shown in Figure 32 will appear. You will see which entities will be added to the approval request. You can adjust the list of entities with the delete icon button. Since this is the first approval request, selected entities can be only added to a new approval request. Click Add to New Approval Request.
The default value in the action column is Request Promotion to Discovery Registry. If you have already promoted entities to the Discovery registry and wish to delete these entities from the that registry, select the option Request Demotion from Discovery Registry on the page shown in Figure 32.
On the next screen, shown in Figure 33, you must name the approval request, and optionally enter a request description. When you have done so, click Create Request.
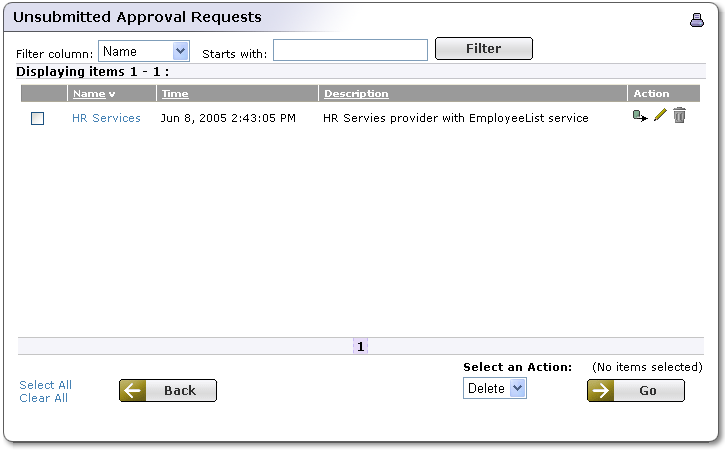
The approval request appears on the page with unsubmitted approval requests as shown in Figure 34. In the Action column, click on the icon Submit Request for Approval
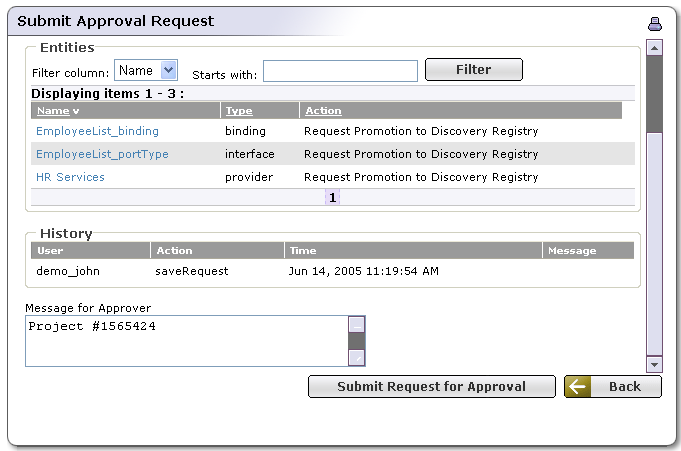
On the page, shown in Figure 35, you can enter a message for the approver. Once you have, click the Submit Request for Approval button, to submit the request to the approver.
![[Tip]](../images/tip.gif)
Tip If you click on the Back button, the request will stay in your request work list. You can later delete entities from the request or add new entities to it.
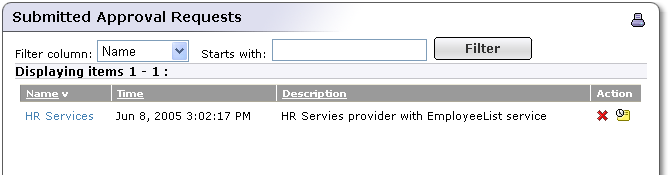
To view your submitted approval request, click on the Submitted Approval Requests link under the Tools main menu tab. A page similar to that shown in Figure 36 will appear.


Manage Requests Locate
You can manage your approval requests under the Tools main menu tab. On this tab, there are the following links for managing your approval requests:
Unsubmitted Approval Requests - The request work list holds requests that you have not yet submitted to an approver. You can add multiple types of entities into a single approval request. The work list is also a place to which you can restore canceled requests or requests for editing and re-approval. The request work list is persistent. You can work with requests in the work list after you log out of the Business Service Console.
Submitted Approval Requests - The Submitted Approval Requests link will display a page where you can see your submitted approval request. These requests have been submitted but have not yet been approved or rejected. You can cancel a pending request or remind approver about the request. See Figure 36.
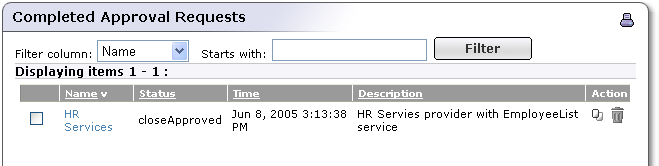
Completed Approval Requests - The Completed Approval Requests link will display a page where you can see all your requests that have been approved or rejected. You can delete a request from this list or use the request for to create a new request. For more information, see Cloning Requests.
Cloning Requests Locate
You can create a new approval request from an existing approval request. We call this operation cloning.
To clone a request, follow these steps:
Click on the Completed Approval Request link under the Tools main menu tab. The page shown in Figure 37 is returned.
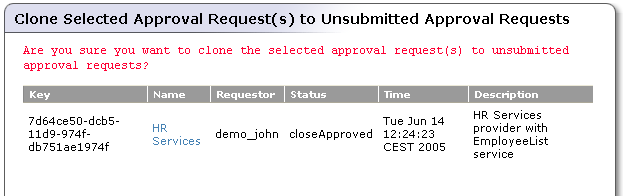
Select the approval request and click on the Clone icon in the Action column. The page shown in Figure 38 will appear. Once you click on the Yes button, the new approval request will be created in your request work list with the name starting with The clone. Name of the original request. The cloned request contains the same entities as the original request.
Approver's Actions Locate
An approver can perform the following actions:
Approve/Reject Request Locate
To approve or reject an approval request:
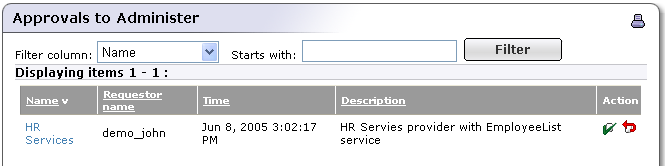
Click on the Approvals to Administer link under the Tools main menu tab. The page shown in Figure 39 will appear.
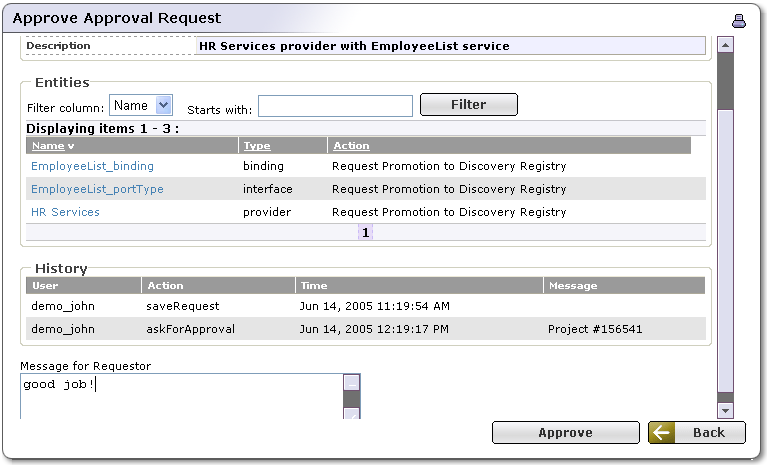
If you click on the request name, you will see the request's detailed information including a list of entities the requestor wants to be promote. To approve or reject the request, click on an appropriate button icon in the Action column. If you click Approve, the page shown Figure 40 will appear.
You can review all entities in the request, see request history, and optionally enter a message for the requestor. Once you click Approve, an email notification will be sent to the requestor and entities listed in the request will be promoted to the discovery registry.
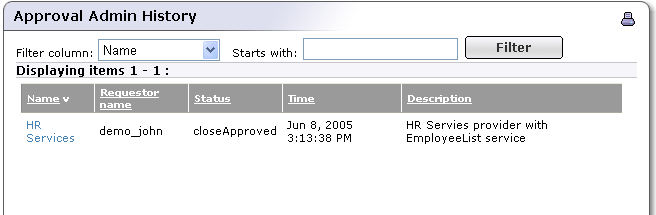
View Approval History Locate
Approvers have the ability to see all approval requests they have approved or rejected. To access the approval history, click on the Approval Admin History link under the Tools main menu link. The Approval Admin History page shown in Figure 41 will appear.
| Note |
|---|---|
Approvers are not allowed to delete any approval requests, only requestors can delete their approval requests. | |