

|
|
|
|
|
|
WebLogic Collaborate Console-Mode Installation
This section provides the information you need to install WebLogic Collaborate on a UNIX system that does not include support for a graphics (windowing) workstation or terminal. It includes the following topics:
Using Console Mode to Install WebLogic Collaborate
The text-based, console-mode program mimics the graphical installation program. For details about the information you must provide, review the steps described in Installing WebLogic Collaborate.
Warning: If you are migrating from a previous version of WebLogic Collaborate, review Migrating BEA WebLogic Collaborate to Release 2.0 before proceeding with the installation. To migrate repository data from a previous release, you must perform several steps using the previous release. Do not install this release until you have performed those steps. See Migrating the Repository in Migrating BEA WebLogic Collaborate to Release 2.0.
To install WebLogic Collaborate on a UNIX system:
Note: If the daemon /usr/sbin/vold is running, the CD should be mounted in the /cdrom directory. If vold is not running, see the instructions for mounting a CD in your UNIX administration documentation.
cd wlintegration2.0/unix/collaborate
sh install.bin -i console
The message Preparing to install is displayed, followed (within a of couple of minutes) by the message Preparing CONSOLE Mode Installation. Once preparation is complete, the Introduction is displayed, as shown in the following figure.
Figure 3-1 Introduction
The license agreement is displayed, as shown in the following figure. Figure 3-2 License Agreement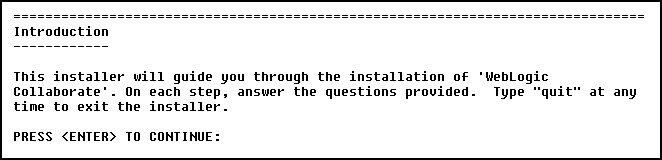
When you reach the end of the agreement, you are prompted to accept or reject the terms as shown in the following figure. Figure 3-3 Accept Agreement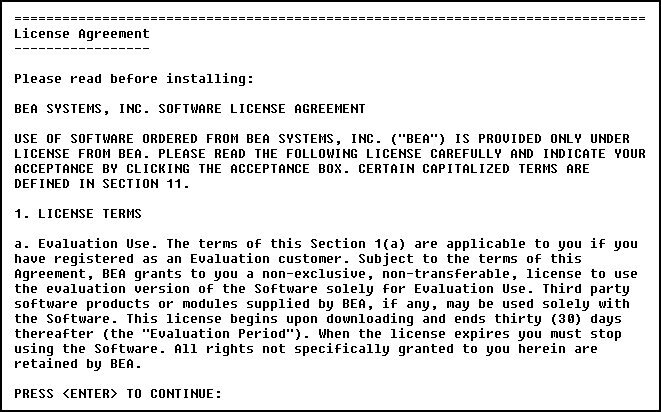
You are prompted to choose the install set. As shown in the following figure, Full Installation is currently the only option. Figure 3-4 Choose Install Set
You are prompted to specify the BEA Home directory, as shown in the following figure. Figure 3-5 Choose BEA Home Directory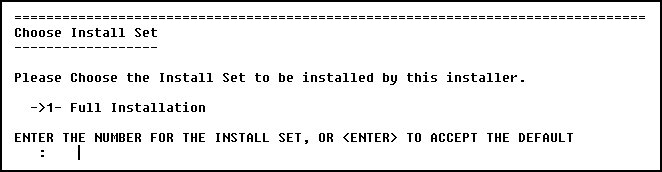
You are prompted to select among the available BEA Home directories, as shown in the following figure. (Typically, only one BEA Home is available. If you have more than one BEA Home directory configured, multiple options are displayed.) Figure 3-6 Confirm BEA Home Directory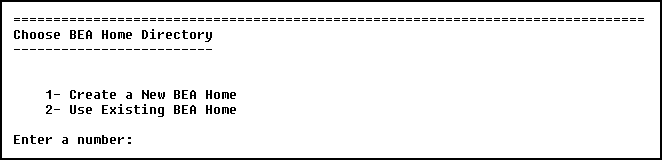
You are prompted for the installation location as shown in the following figure. Figure 3-7 Choose Product Directory
Once you have specified the installation location, you are prompted to select the database for the custom domain as shown in the following figure. Figure 3-8 Additional Database Selection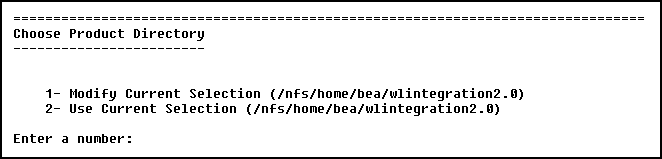
Note: For additional information about the domains that are configured during installation and the information required to configure the database for the custom domain, see Step 4. Selecting the Database for the Custom Domain.
Once you have provided the information required to configure the database, the installation begins. Progress is indicated as shown in the following figure.
Figure 3-9 Installation Progress
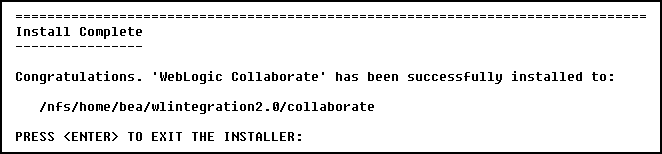
When the installation is complete, the Install Complete message is displayed, as shown in the following figure. Figure 3-10 Install Complete
Using Console Mode to Uninstall WebLogic Collaborate
To uninstall WebLogic Collaborate:
sh uninstall -i console
Figure 3-11 Starting the Uninstaller
When the uninstallation process is complete, the Uninstall Complete message is displayed, as shown in the following figure. Figure 3-12 Uninstall Complete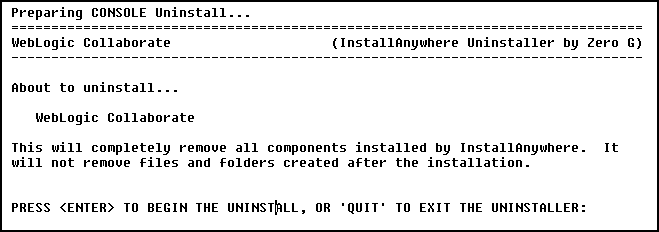

|

|
|
|
|
Copyright © 2001 BEA Systems, Inc. All rights reserved.
|
