|
|
|
|
|
|
Working with XML Entities
The following sections explain how to use the XML Finder to find XML entities, and how to manage XML entities in the XML repository:
Locating XML Entities Using the XML Finder
The XML Finder dialog box helps you find XML entities stored in the XML repository, or the local file system, or at a URL. The dialog box also maintains a list of the XML entities you used most recently, so you do not have to search for them if you want to use them again. XML entities can be XML documents, DTD files, schema files, and XSLT template documents. Once you select an XML entity, the XML Finder returns the entity to the Studio.
You can access the XML Finder in a couple of ways:
Using this method, you can access XML entities stored in the XML repository, the local file system, or at a URL. The following sections provide details.
Using this method, you can access XML entities stored in the XML respository only. For details, see Managing the XML Repository.
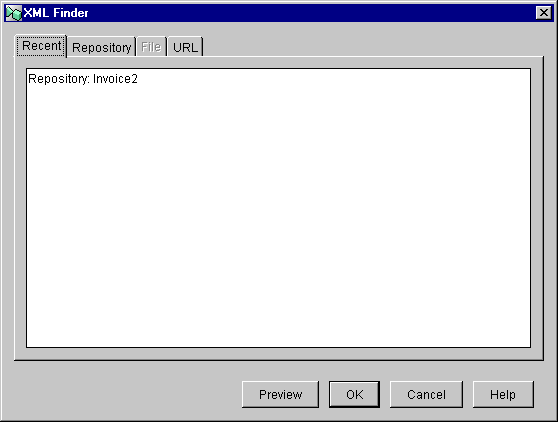
Retrieving the Most Recently Used XML Entities
The XML Finder maintains a list of the XML entities you used most recently on your workstation. You can re-use the entities in the list without having to search for them again.
To retrieve an entity from the most recently used list:
Figure C-1 Recently Used XML Objects
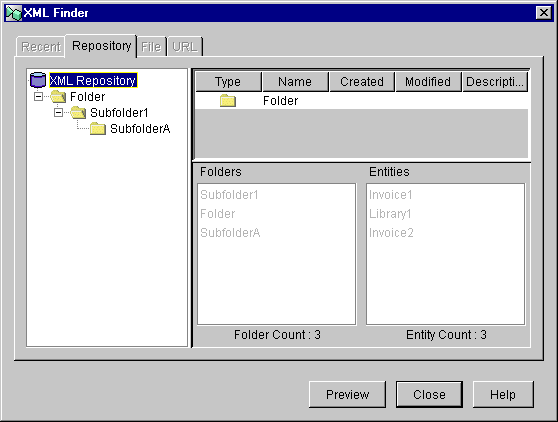
Retrieving XML Entities from the XML Repository
The XML Finder provides a way to obtain XML entities stored in the XML repository maintained by BEA WebLogic Process Integrator. The XML Finder also provides a way to manage the entities in the repository. For more information about the XML repository, see Managing the XML Repository.
To retrieve an entity from the repository:
Figure C-2 XML Objects in the Selected Folder
The left panel shows you a tree view of the repository with folders and subfolders arranged hierarchically. The top-most panel on the right shows you the entities in the selected folder. The Description field contains a description of the selected folder, and the Notes field contains any notes about the selected folder. 
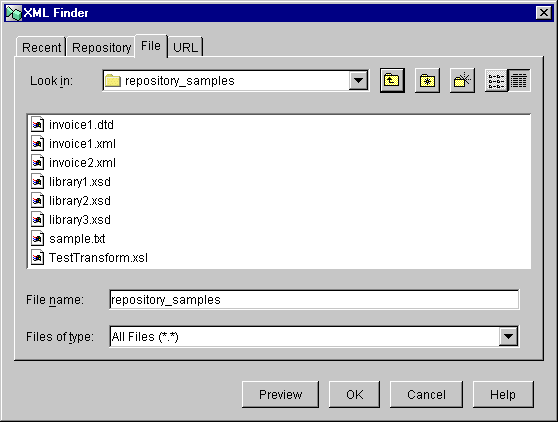
Retrieving XML Entities from the Local File System
The XML Finder provides a way to retrieve XML entities from the file system on your workstation.
To retrieve an entity from the local file system:
Note: The File tab is unavailable if you access the XML Finder from a dialog box that you are using to specify an action that takes place at run time. For example, if you access the XML Finder from the XSL Transform dialog box, the File tab is unavailable because the XSL transformation occurs at run time. Specifying an XSL template document located on the local file system is not appropriate in this case because BEA WebLogic Process Integrator can not access the local file system at run time.
Figure C-3 XML Objects in the File Sytem
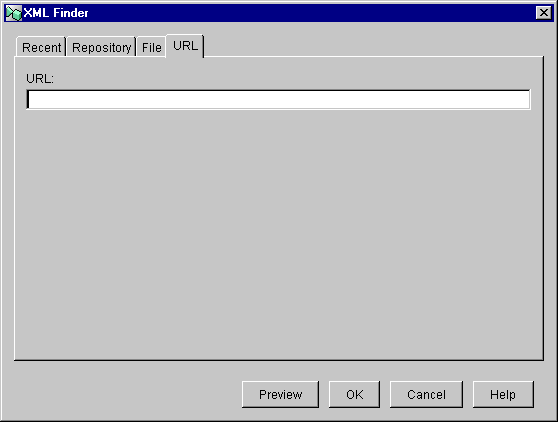
Retrieving XML Entities from a URL
The XML Finder provides a way to retrieve XML entities from a URL.
To retrieve an entity from a URL:
Figure C-4 URL Tab in the XML Finder Dialog Box
Managing the XML Repository
The XML repository is maintained by BEA WebLogic Process Integrator, and is used to store XML entities, such as XML documents, DTD files, and XSL template documents.
You can view the contents of the repository, and perform actions on the repository, on folders in the repository, and on XML entities in folders.
Viewing the Contents of the Repository
You can view the contents of the entire repository, or the contents of individual folders in the repository.
To view the contents of the entire repository,
Figure C-5 Contents of the Entire Repository
The left panel shows you a tree view of the repository with folders and subfolders arranged hierarchically. The top-most panel on the right shows you a detailed view of the repository. The Folders field lists all the folders in the repository, including their total number. The Entities field lists all the XML entities in the repository, including their total number.
To view the contents of a folder, select the folder you want to view.
Figure C-6 XML Entities in the Selected Folder
The left panel shows you a tree view of the repository with folders and subfolders arranged hierarchically. The top-most panel on the right shows you the contents of the selected folder. The Description field contains a description of the selected folder, and the Notes field contains any notes about the selected folder. The XML repository stores different types of XML entities, each one represented by a symbol, as shown in the following table.
Symbol XML Entity Type DTD file MFL file Schema file Text file XML document XSLT template document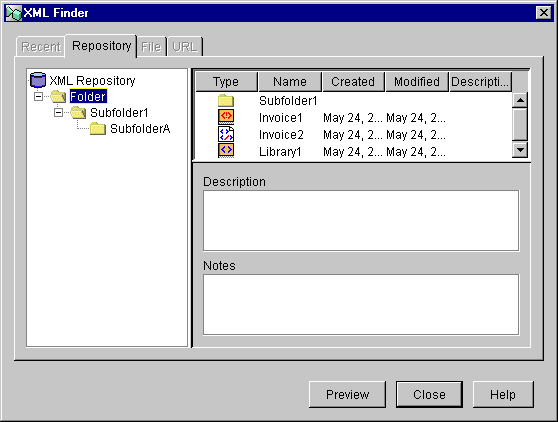


Working with the Entire Repository
You can perform several different actions at the root level of the repository. To perform actions at the root level of the repository:
You can also export the contents of the repository to a Java Archive (JAR) file, and import the contents of a JAR file into the repository. For details, see Exporting and Importing Workflow Packages.
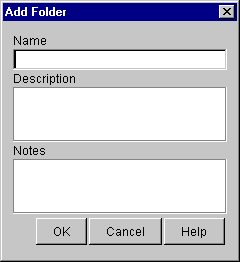
Adding a Folder
Clicking Add Folder in the pop-up menu opens the Add Folder dialog box.
Figure C-7 Add Folder Dialog Box
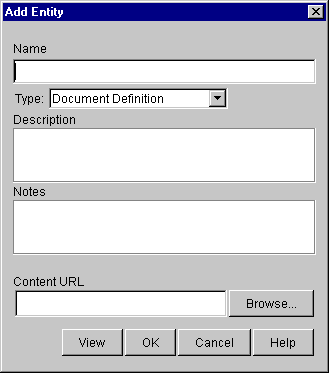
Adding an XML Entity
Clicking Add Entity in the pop-up menu opens the Add Entity dialog box.
Figure C-8 Add Entity Dialog Box
Working with Folders
You can perform several different actions on a folder. To perform actions on a folder:
Updating Folder Information
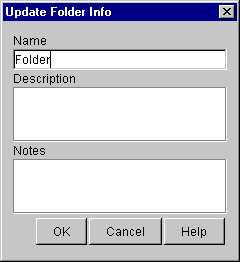
Clicking Update Folder Info in the pop-up menu opens the Update Folder Info dialog box which displays current information about the selected folder.
Figure C-9 Update Folder Info Dialog Box
Working with XML Entities
You can perform several different actions on XML entities in folders in the repository. To perform actions on XML entities:
Updating Entity Information
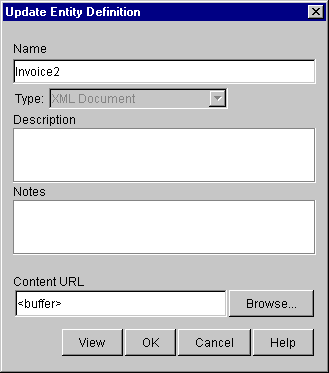
Clicking Update Entity in the pop-up menu opens the Update Entity Definition dialog box which displays current information about the selected entity.
Figure C-10 Update Entity Definition Dialog Box
Note: You cannot change the entity content type using the Update Entity Definition dialog box. To change the type of an entity, you must create a new entity with the desired content type. For details, see Adding an XML Entity.
Exporting an Entity
Clicking Export Entity in the pop-up menu opens the Save dialog box.
Figure C-11 Save Dialog Box
To export an entity to the local file system: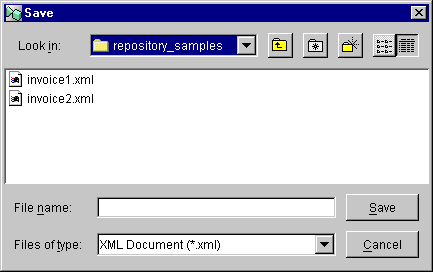

|

|
|
|
|
Copyright © 2001 BEA Systems, Inc. All rights reserved.
|