bea.com | products | dev2dev | support | askBEA
 Download Docs   Site Map   Glossary 
Search

Administration Guide

 Previous Next Contents Index View as PDF  

Tutorial - Creating a Portal and Group  Portal

A Group Portal is one of the most powerful features of WebLogic Portal. A portal contains a potentially large number of pages and portlets. However, it may not be appropriate or useful for everyone who visits the portal to see all those pages and portlets.

With Group Portals you can create many different views of a portal for portal visitors. Each Group Portal can have its own look and feel, display specific pages and portlets, and have its own administrators, allowing different groups of visitors to see a customized portal that can be administered by a dedicated Group Portal administrator.

You can create a Group Portal in two ways:

This tutorial includes the following steps:


Step 1: Create and Deploy a Portal

When you create a new portal, a default Group Portal is created automatically. This step shows you how to create a new Group Portal by creating a portal. In this tutorial, you will create a portal in the Portal Example domain.

  1. Start the server by choosing Start —> Programs —> BEA WebLogic Platform 7.0 —> WebLogic Portal 7.0 —> Portal Examples —> Portal Example —> Launch Portal Server.

    On UNIX, run <BEA_HOME>/weblogic700/samples/portal/sampleportalDomain/
    startSamplePortal.sh
    .

    The server is running when you see the following message in the command window: <Server started in RUNNING mode>.

  2. Open the E-Business Control Center; see Starting the E-Business Control Center.

  3. When the E-Business Control Center has started, open the project file for the Portal Examples. Choose File —> Open and open the <BEA_HOME>weblogic700/samples/portal/sampleportalDomain/
    beaApps/sampleportal-project/sampleportal-project
    file, as shown in
    Figure  4-1.

    Figure 4-1 Opening a Project File


  4. Click the Presentation tab on the E-Business Control Center Explorer window.

  5. Click New —> Portal on the Explorer window toolbar, as shown in Figure  4-2.

    Figure 4-2 Opening the New Portal dialog


  6. In the New Portal window, select the Use the Portal Wizard option, as shown in Figure  4-3, and click OK.

    Figure 4-3 Portal Wizard Option


  7. In the first window of the Portal Wizard, name the new portal, as shown in Figure  4-4. For this tutorial, use the name MyNewPortal.

    Figure 4-4 Naming the New Portal


  8. A portal must run in a Web application. To create a Web application in which the new portal will run, click New next to the Web Application field. The New Portal Web Application window appears.

  9. Enter the Web application name, and click OK. For this tutorial, use the name mynewwebapp, as shown in Figure  4-5. This name, which is case sensitive, will be used as the portal's URL. Click Next.

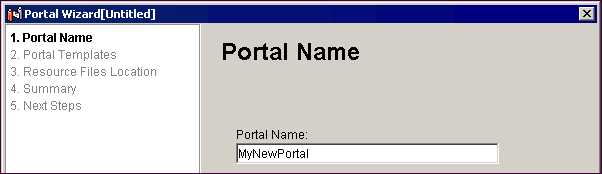
    Figure 4-5 Naming the New Portal Web Application


  10. In the Portal Templates window, click a portal template, as shown in Figure  4-6. Click Next.

    The template creates all the necessary files for the portal.

    Figure 4-6 Select a Portal Template


  11. Web applications are modules of enterprise applications. Common resources used by Web applications, such as Enterprise JavaBeans, are stored at the enterprise application level. In the Resource Files Location window, verify that the location for enterprise application is set to <BEA_HOME>\weblogic700\samples\portal\sampleportalDomain\
    beaApps\sampleportal
    , as shown in
    Figure  4-7.

  12. Click Create.

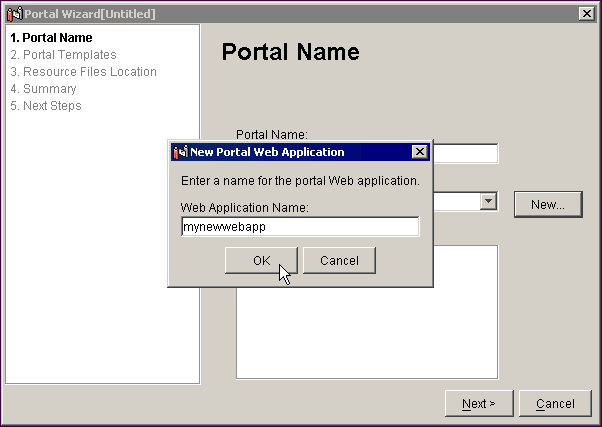
    Figure 4-7 Select a Location for Resource Files
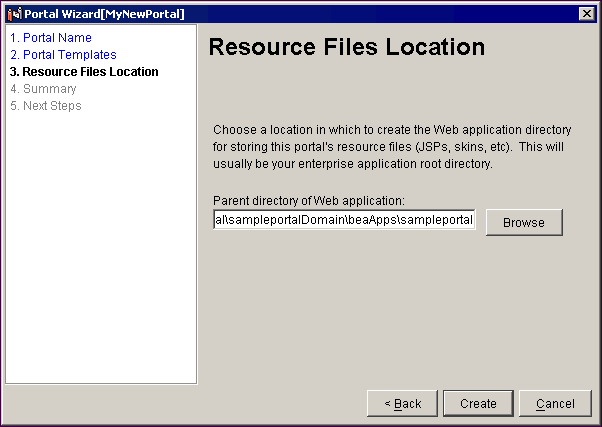


  13. In the Summary window (Figure  4-8), click Next.

    Figure 4-8 Summary


  14. For portal visitors to be able to view the portal, you must deploy the Web application to the server. In the Next Steps window, select the Yes, Hot Deploy Now option and click Deploy, as shown in Figure  4-9.

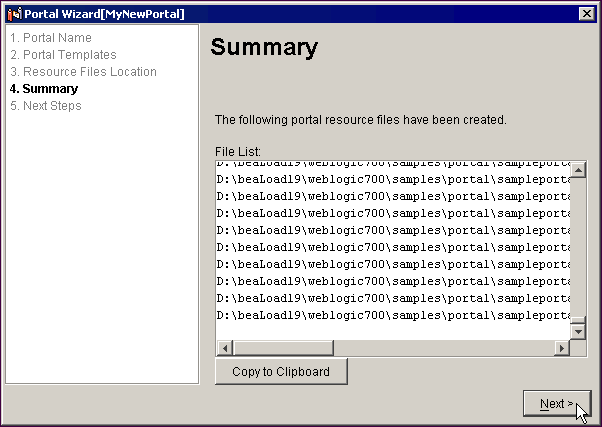
    Figure 4-9 Hot Deploying the New Portal


  15. When prompted, enter the default WebLogic Server system administrator username and password weblogic/weblogic, as shown in Figure  4-10.

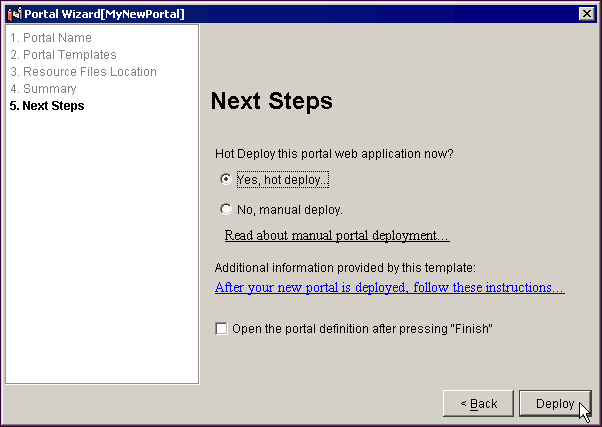
    Figure 4-10 Enter the WebLogic Server System Administrator Username and Password


  16. The deployment process runs, displaying the window in Figure  4-11.

    Figure 4-11 Processing Message During Hot Deployment


  17. When the new portal has been deployed successfully, as indicated in Figure  4-12, click Close.

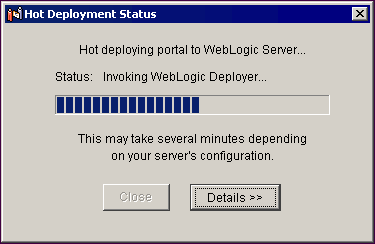
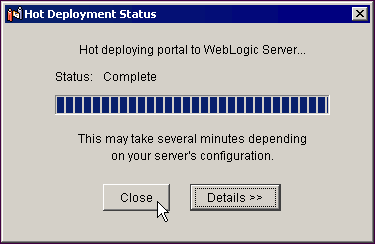
    Figure 4-12 Hot Deploy Success Message


    Note: If hot deploy fails because of an incorrect login, close and restart the E-Business Control Center. The project file reloads automatically. Delete and recreate the new portal, and hot deploy again with the correct login.


Step 2: Making the Default Portlet Visible

After successful hot deployment of the Web application, you can access the WebLogic Portal Administration Tools for the portal. In this step, you will use the WebLogic Portal Administration Tools to make the default portlet visible to the portal visitors.

  1. On Windows, start the WebLogic Portal Administration Tools by choosing Start —> Programs —> BEA WebLogic Platform 7.0 —> WebLogic Portal 7.0 —> Portal Examples —> Portal Example —> Start Portal Admin Tools.

    Or enter the following URL in your browser: http://localhost:7501/sampleportalTools.

    Substitute the correct <hostname>:<port> as appropriate.

  2. When prompted to log in, log in as the default WebLogic Portal system administrator: administrator/password. The WebLogic Portal Administration Tools Home page appears, as shown in Figure  4-13.

    Figure 4-13 Clicking the Portal Management Icon


  3. Click the Portal Management icon. The Portal Management Home page appears.

    The mynewwebapp Web application is shown, and the default (everyone) group portal is displayed, as shown in Figure  4-14.

    Figure 4-14 Portal Management Home Page with New Group Portal


  4. Click the default (everyone) Group Portal link. The Group Portal Management Home page appears, as shown in Figure  4-15.

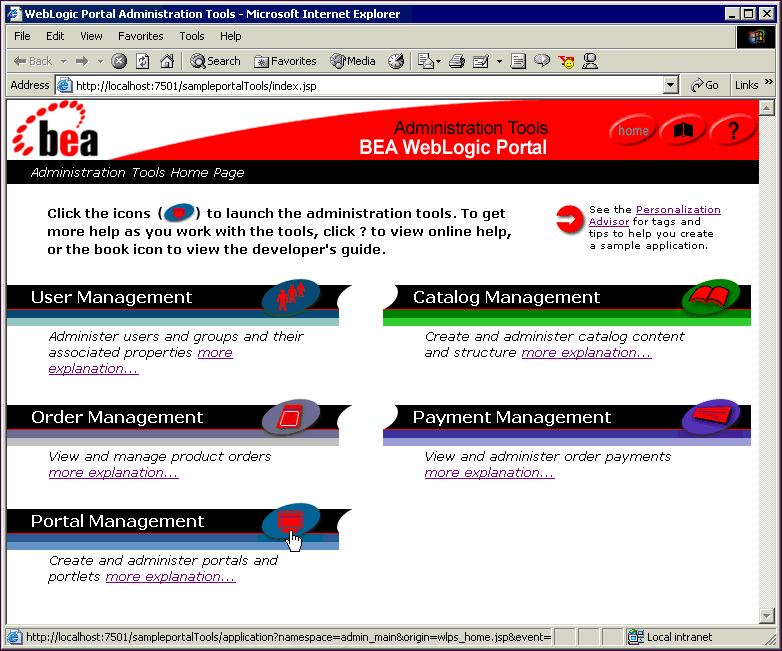
    Figure 4-15 Group Portal Management Home Page


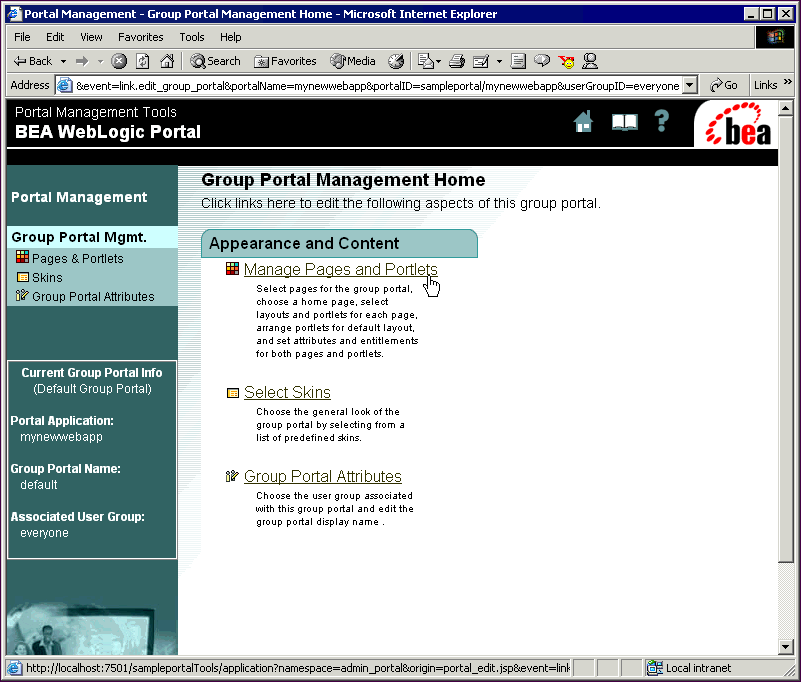
    The default Group Portal is associated with the everyone user group, meaning that anyone who visits the portal Web site without logging in will be able to see the default view of the portal. From the Group Portal Management Home page, you can change the look and feel (skins and layouts) used by the Group Portal, administer the pages and portlets for the Group Portal, and set up Group Portal administrators.

    In this tutorial, you will make the default portlet visible.

  5. Click Manage Pages and Portlets.

  6. On the Pages and Portlets page that appears, click Edit Portlets, as shown in Figure  4-16.

    Figure 4-16 Editing the Home Page Portlets


  7. In the Edit Portlet Entitlements and Attributes page that appears, select Portlet1, and click Set Attributes, as shown in Figure  4-17.

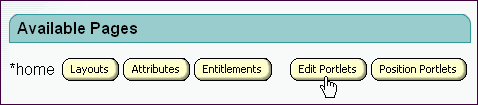
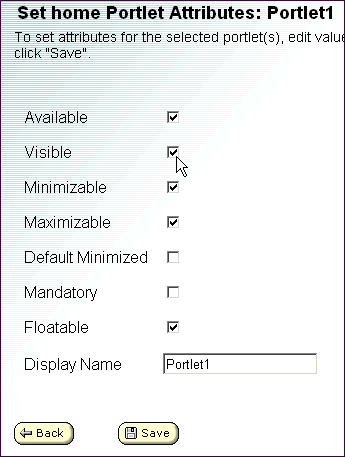
    Figure 4-17 Setting the Portlet's Attributes


  8. In the Set home Portlet Attributes page that appears, select the Available and Visible options, as shown in Figure  4-18, and click Save.

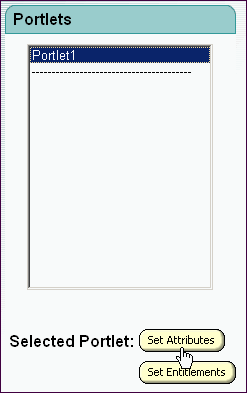
    Figure 4-18 Making the Portlet Visible


Now view the default Group Portal.


Step 3: View the Default Group Portal Site

The new portal you created includes only a single page, a single, default portlet and default skins and layouts. Because the default Group Portal the was created is assigned to the everyone group, everyone who visits the portal without logging in will see the view provided by the default Group Portal.

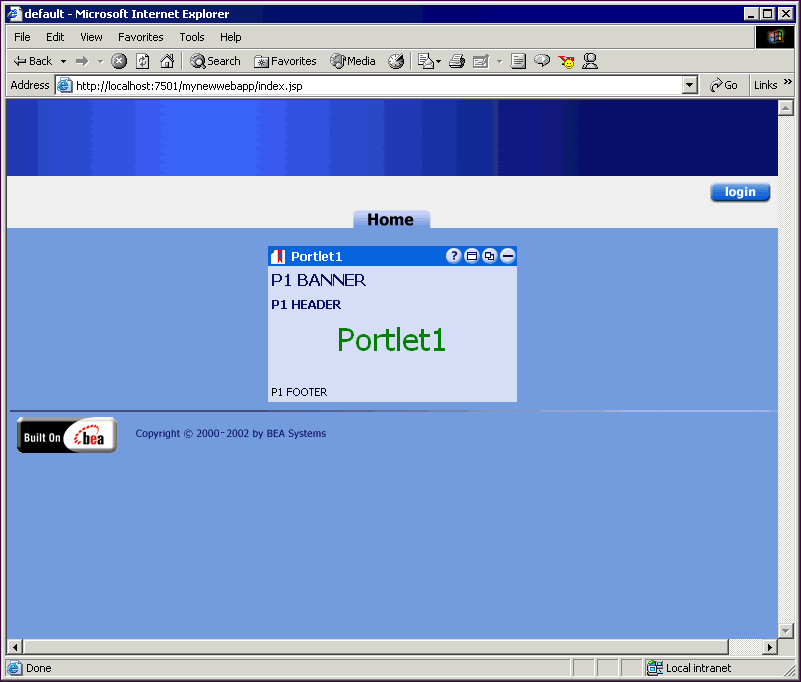
To see the default Group Portal view of this portal, enter the following URL in your browser:

http://localhost:7501/mynewwebapp

Substitute the correct <hostname>:<port> as appropriate. The default view of the portal appears, as shown in Figure  4-19.

Figure 4-19 The Default Group Portal


Back to Top Previous Next