2.15 How to Place the System Into the Rack Glides
This procedure assumes that the slide assembly is already installed in the rack. For further information on assembling the slide assemblies and rack enclosures, see the Sun Enterprise 220R Server Setup and Rackmounting Guide.
The chassis is heavy. Two people are required to place the system into the rack enclosure glides in the following procedure.

2.15.1 Before You Begin
Complete the following tasks:
-
Identify a helper to assist you in removing the system.
-
Verify that your helper can safely lift and carry 34 lbs (17 kg), which is approximately half the weight of a fully-equipped system.
-
Assemble the correct tools for the procedure. See "2.13 Tools Required for Installation and Service".
-
Open (and remove) the rack enclosure front door.
When completing a two-person procedure, always communicate your intentions clearly before, during, and after each step to minimize confusion.
2.15.2 What to Do
-
Extend the cabinet's anti-tip legs.
 Caution -
 Unless the rack is bolted to the floor, you must extend the cabinet's anti-tip legs and adjust the stabilizing feet to the floor.
-
Push the runner on each slide assembly as far back as possible into the slide assembly.
-
Push in the inner rail on each slide assembly until it reaches the stops that are located furthest away from the front of the rack.
-
Push in the runner until it stops in the slide assembly.

-
-
Position one person on each side of the system, facing the inner glides on the system chassis.
When you are both in position, verify that your helper understands what to do with the system after you lift it. Also agree on a route to follow to the rack enclosure, and visually inspect the route for potential safety hazards (for example, cables on the floor, other people working in the vicinity, and so on).
-
Lift the system.
Each person should place both hands beneath the chassis and support half the weight of the system.
-
Carry the system from its location to the front of the rack enclosure.
-
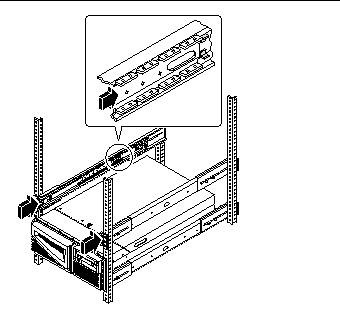
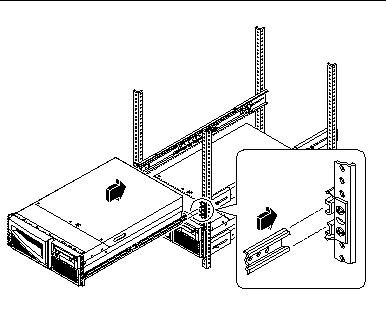
Insert the system glides into the inner slides of the rack glides.
Verify that the empty rack slides are completely inside their protective outer glides. Slide the crimped end of each system glide into the corresponding inner slide within the rack glide.

-
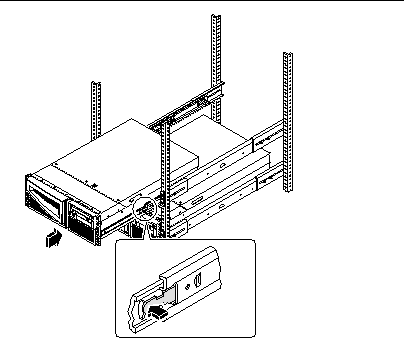
Slide the system smoothly into the rack until the flat spring catches stop the system.
-
Simultaneously press in on both flat spring catches and finish sliding the system completely into the rack.

-
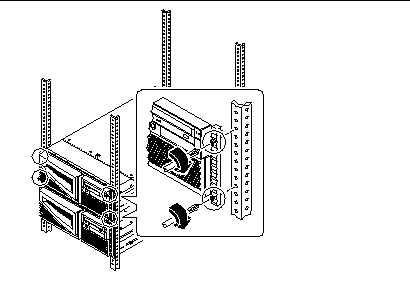
Tighten the four captive screws securing the system to the left and right vertical rails at the front of the rack.
Use a Phillips #2 screwdriver to tighten the captive screws, which are in recessed access holes in the filler panels affixed to the system's front panel.

-
Reconnect every external cable previously attached to the back panel of the system.
As you reconnect each cable, check it for information indicating the cable's origin and its terminating connection.
-
Reattach, close, and lock the rack door(s) as appropriate.
2.15.3 What Next
To power on the system, see:
- © 2010, Oracle Corporation and/or its affiliates
