 How To Design a New
Farm
Steps
-
Login to the Control Center as Administrator or User. If logged in as User, proceed to Step 3.
-
Click Editor on the Navigation Bar and proceed to Step 4.
The Editor screen appears.
-
Click the New button and proceed to Step 5.
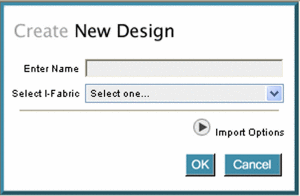
The Create New Design dialog box appears.
-
To create a new farm design, choose New from the File menu.
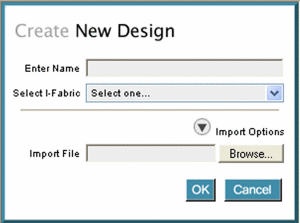
The Create New Design dialog box appears.

-
Type the farm name in the Enter Name field.
The name becomes part of your domain name. For example, farmname.accountname.ifabricname.yourorgname.com
Note –The farm name must conform to DNS naming conventions. See DNS Naming Conventions and Farm Naming Conventions in the Control Center
-
Select an I-Fabric from the drop-down list.
I-Fabrics are named during installation.
-
(Optional) Click the Import Options button and type a file name to import.

-
Click OK to close the Create New Design dialog box.
The Editor screen is displayed.
-
Drag elements from the palette onto the Editor.
-
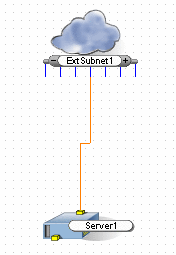
Click the port on the element to initiate a connection.
The selected port is highlighted in green if the port is available.
-
Move the pointer over the element port to which you want to complete a connection.
The wire connector appears in red.

-
Click the second port to complete the connection.
The connection represents the allocation of an IP address from the subnet to the device. See Connecting Farm Elements for a description of elements and rules for port connections.
See Also
- © 2010, Oracle Corporation and/or its affiliates
