| C H A P T E R 4 |
|
Performing Administration Tasks |
This chapter includes procedures that describe how to manage control modules and tasks. For more information about modules, see Modules.
For information about the Administration menu functions, see About the Administration Menu.
You must log in to the Sun Control Station application as the administrator to perform all tasks.
|
The Sun Control Station software for Solaris 9 systems includes the CST and LPS modules and a placeholder for the DMM module. For Solaris 10 systems, the control station software includes the CST module and placeholders for the LPS and DMM modules. To learn more about these modules, view the online documentation. See How to Access Online Documentation.
|
Note - You can schedule the installation of a new control module. See How to Schedule a Task. |
1. From the Administration menu, click Modules.
The Control Modules page appears.
The Add Module dialog box appears.

3. Specify the location of the module in one of the following ways:
The Task Progress dialog box appears. If the newly installed control module does not appear in the menu on the left, refresh your browser window.
|
The Control Modules page appears.
|
1. From the Administration menu, click Modules.
The Control Modules page appears.
2. Find the entry in the table that corresponds to the module you want to remove.
3. Click the icon in the Actions column to remove the module.
The Confirm Removal Of Control Module page appears.
4. Click Confirm to remove the module.
Click Cancel to cancel the remove operation and return to the Control Modules page.
If you proceed with the remove operation, the Task Progress dialog box appears, When the operation completes successfully, the Control Modules page appears with the updated information.
|
1. Select one of the following tasks to perform:
2. To schedule the task, click Schedule It.

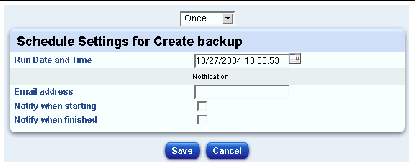
3. Configure the schedule settings.
These settings are available for any scheduled task:
You can also click the calendar icon next to the Run Date and Time field to specify the date and time. A separate browser window opens. Choose the date and time for the scheduled task and press Return. The date and time you specified appears in the Run Date and Time field.
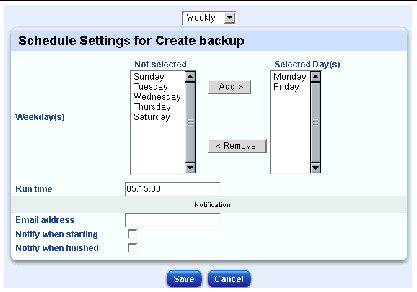
4. (Optional.) Specify the frequency of the task from the pull-down menu at the top of the page.
This menu is only available for the Create Backup task.

The task is added to the list of scheduled tasks. The Scheduled Tasks (Schedule) page appears with the new task.
|
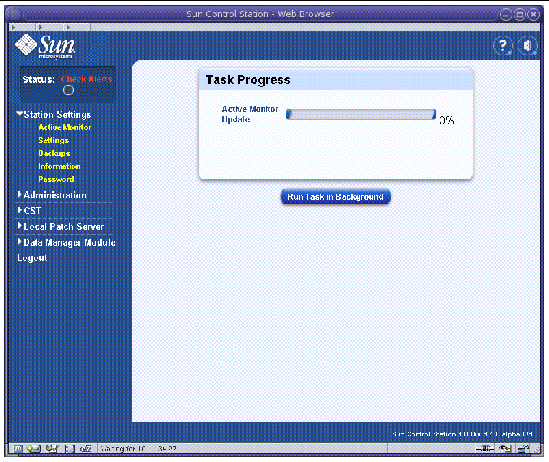
You can monitor the progress of a running task by viewing the Task Progress page that appears when the task runs.

From the Task Progress page, click Run Task In Background.
From the Administration menu, click Tasks.
If the task is still running, a status message appears in the Duration column of the Tasks page.
Click the progress bar icon to open the Task Progress dialog box for this task.
|
1. From the Administration menu, click Tasks.
2. View the events for a task, by clicking the magnifying glass icon in the Actions column.
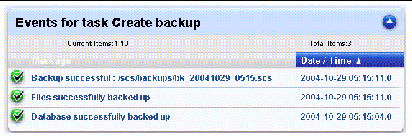
The Events for task page appears.

The information about each event includes the following:
You can sort the list of events in ascending or descending order by the message, or the start time and date of the task. By default, the event list is sorted by start date and time in ascending order.
The sorting order is indicated by a triangle in the heading of the column that has been sorted. A triangle that points down indicates ascending order, while a triangle that points up indicates descending order.
3. Click the up arrow icon to return to the Tasks page.
|
1. From the Administration menu, click Schedule.
2. Click the pencil icon next to the task you want to modify.
The Schedule Settings page for the task appears.
The Schedule page appears with the updated settings for that task.
|
1. From the Administration menu, click Schedule.
2. Click the delete icon next to the task that you want to delete.
The Schedule page appears with the scheduled task removed from the list.
Copyright © 2004, Sun Microsystems, Inc. All Rights Reserved.